Wedding Ideas Decoration: A Reusable Decor Kit
You can save dozens of wedding decoration ideas and still have no clear plan for what goes where. A ceremony backdrop, a set of table vases, and a welcome sign may look beautiful in separate photos, yet become three unrelated purchases when the day arrives. A useful decoration plan begins with the spaces guests will actually enter and the objects that can serve more than one of those spaces.
This wedding ideas decoration guide builds a small, adaptable kit rather than a long shopping list. Choose a focal piece, a repeatable table element, a consistent textile, a light source, and a functional detail. Then give each item a first location, a possible second location, and a person responsible for moving it. The result can be quiet or colorful, formal or relaxed. What matters is that the room makes sense to guests and the setup makes sense to the people carrying it out.
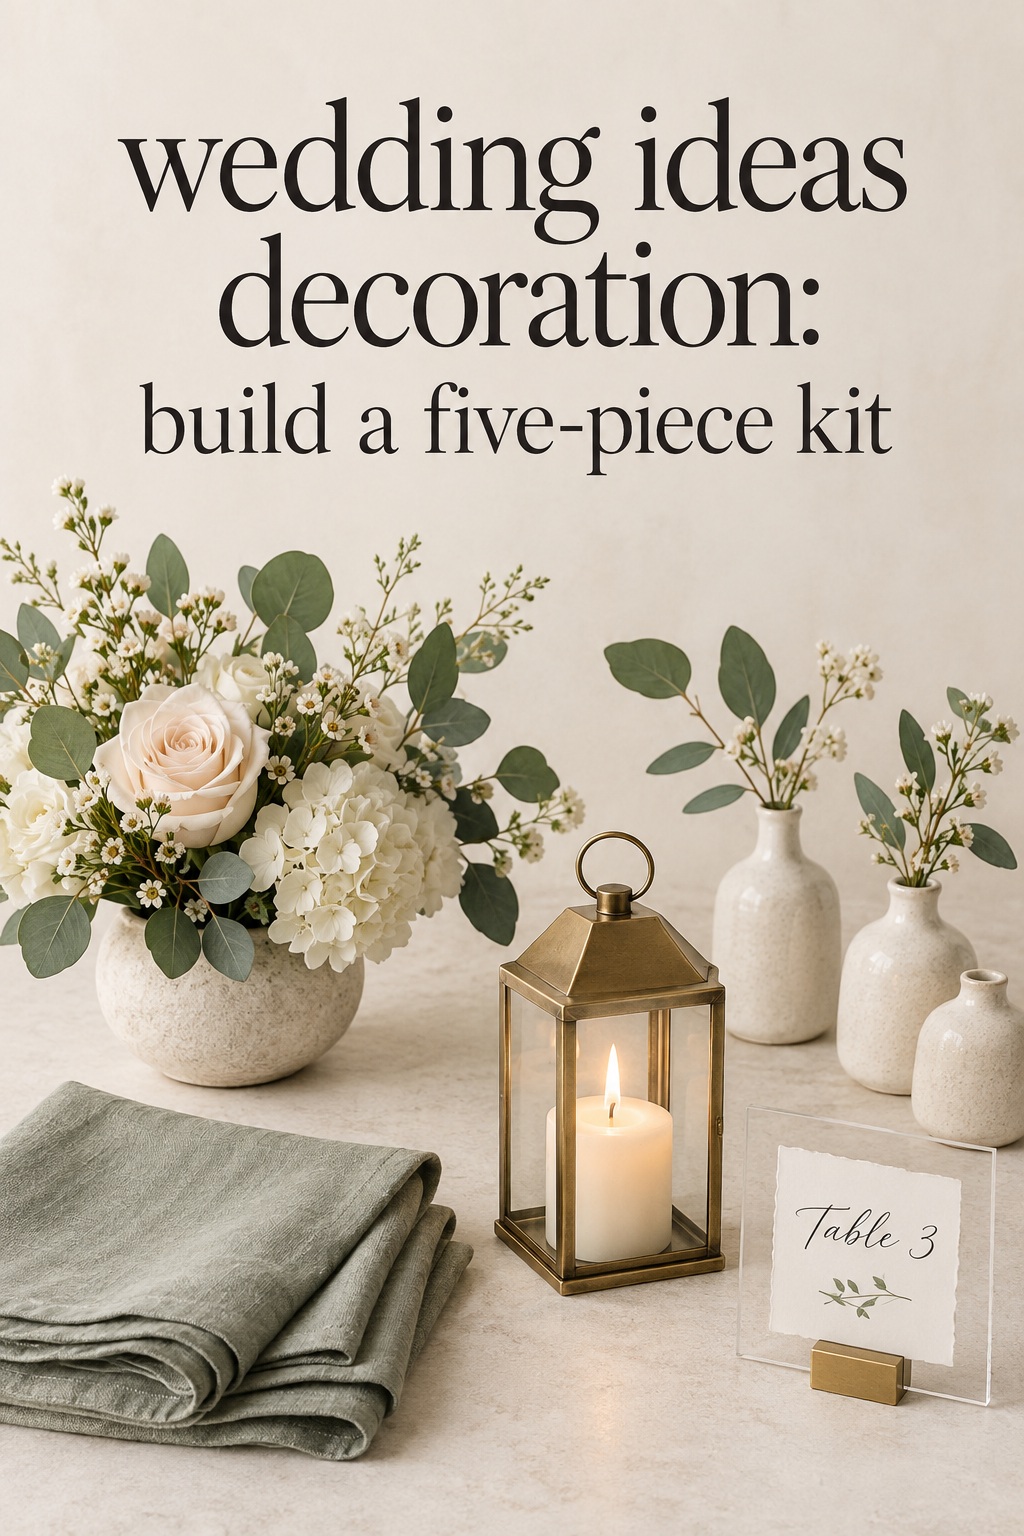
The five pieces in a reusable wedding decoration kit
Think of this kit as a design vocabulary, not a prescribed set of products. Its five parts are a focal piece, a repeating object, a textile, lighting, and a useful detail. Each has a different job. A focal piece tells guests where to look. Repetition makes distant spaces feel connected. A textile changes a large surface quickly. Lighting affects how the space feels once daylight changes. A useful detail helps guests find their way or take their seats.
Before choosing colors, walk through the venue or review its photographs and floor plan. Mark what the venue already gives you: attractive walls, garden planting, chairs, tables, existing lamps, or a view worth preserving. An elaborate backdrop against a striking stone wall might hide the very feature that made you book the room. In that case, a modest arrangement at the ceremony entrance could do more work. The kit should fill genuine visual gaps rather than compete with built-in character.
Turn wedding inspiration into a plan you can actually follow.
Zarellea brings your guest list, budget, vendors, and day-of details into one shared space — so no beautiful idea gets lost in the shuffle.
1. One focal piece with a clear first job
Choose one element large enough to register from the back of its space. This could be a freestanding floral frame, a fabric panel, a pair of substantial arrangements, or a sculptural sign. Its first job is usually to frame the vows, the room entrance, or the reception’s principal gathering point. Pick the job before picking the shape. A backdrop is only useful if it fits the available footprint, does not obstruct movement, and can be safely installed where you need it.
Ask whether this piece can work somewhere else later. A freestanding ceremony structure might frame the sweetheart table, while two grounded arrangements might move to either side of the band. That is a planning possibility, not a promise. Confirm with the florist, rental company, venue, or coordinator who may move it, whether it can be moved after installation, and when the next space will be ready. If the answer is uncertain, give the focal piece one excellent location and design the rest of the day without assuming a transfer.
2. A repeatable object that links the spaces
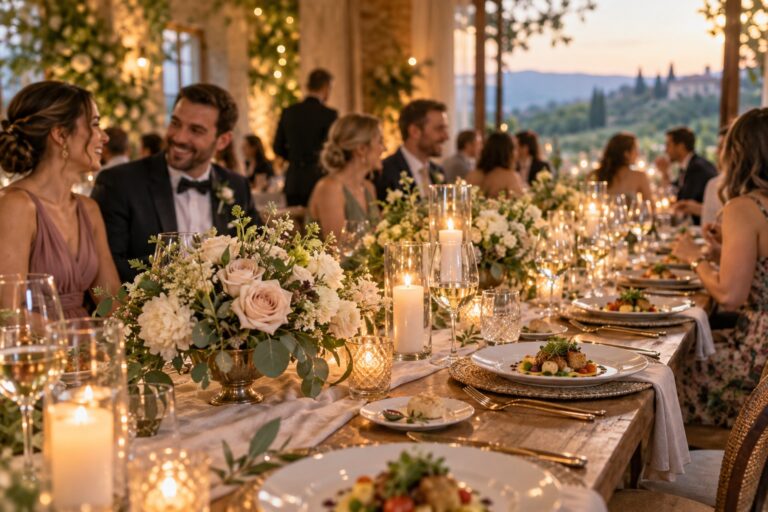
The easiest way to make separate areas feel related is to repeat a recognizable small object. Bud vases, ceramic bowls, low lanterns, or compact floral clusters can appear at the entrance, on cocktail tables, and at dinner. They need not be identical. Hold one feature steady, such as vessel shape, material, or flower palette, while varying the contents to suit each table. This creates continuity without forcing every surface into a rigid match.
Start with the number of surfaces rather than a photograph of a fully styled room. Count guest tables, cocktail tables, the bar, the card table, and any separate lounge. Decide which need an object and which already have a visual anchor. Three useful clusters in visible places often read better than a thin scattering across every surface. Keep conversation and service in mind: low arrangements are easier to place on dining tables than anything that interrupts sight lines or serving space. The goal is a repeatable accent with a reliable footprint.
3. One textile that gives the kit its color and texture
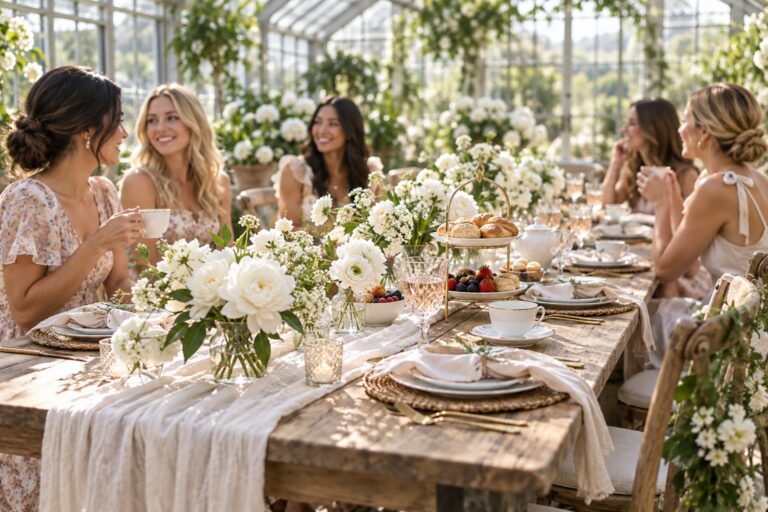
A textile can connect the ceremony, reception, and smaller guest touchpoints without repeating the same flowers everywhere. Consider a linen runner, a pair of fabric panels, or napkins in a tone already present in the venue. The choice should respond to the actual furniture. If tables already have attractive surfaces, a runner may add enough softness. If supplied linens are visually dominant, changing the napkin may be a simpler and more controlled move than changing every tablecloth.
Order or borrow a sample before committing to a large quantity. Look at it beside the venue’s chairs, table finish, and dinnerware, then view it in the kind of light the room will have during the event. A color that looks warm on a screen can behave differently beside cool flooring or bright uplighting. Use the sample to make the kit coherent, not to build a perfect match among materials that naturally vary.
4. A light source designed for the room and the timeline
Lighting belongs in the decoration plan at the start because the ceremony and dinner may happen under very different conditions. Your kit might use enclosed candles, portable lamps, existing fixtures, or a professionally installed lighting element. Choose according to what the venue allows and who will set it up. Ask about open flame, placement near fabric, power access, dimming, and removal times before buying holders or committing to a layout.
If the room already has warm, adjustable light, the best move may be to use it well and add only a few small points of glow. If it has harsh overhead light, ask what can be adjusted before assuming that more decorative objects will fix the atmosphere. Plan for guests to read menus and find their seats, not just for photographs. A softly lit table still needs enough practical light for dinner.
5. A functional detail that earns its space
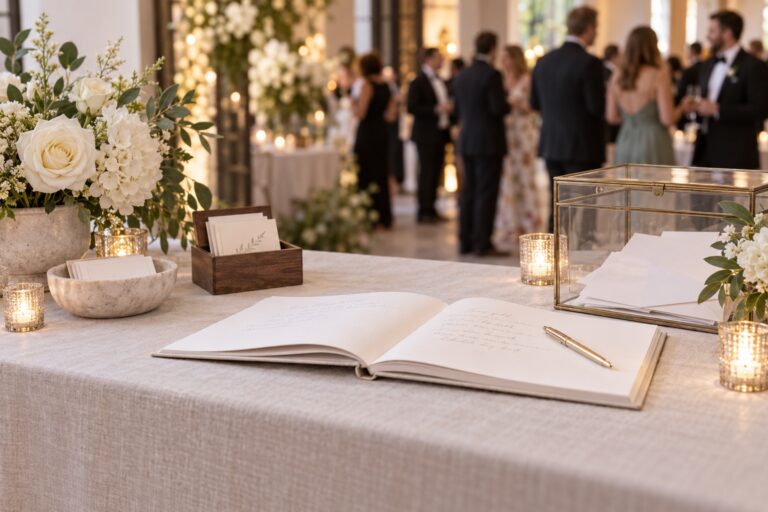
The fifth piece is something guests need: a welcome sign, seating display, table number, menu, or card box. Treat it as part of the visual design instead of an afterthought. Repeat the type style, material, or color used elsewhere, but keep the information easy to read. A beautiful sign fails if a guest cannot tell where to go. For a seating display, check the distance at which names need to be read and where a line might form.
Choose one or two functional details to emphasize. You do not need a sign to explain every ordinary part of the day. A strong entrance sign and legible seating display can do more than several decorative messages competing for attention. If a detail will move, such as a welcome sign shifting from ceremony entry to reception entry, write down its second position and the person who will carry it.
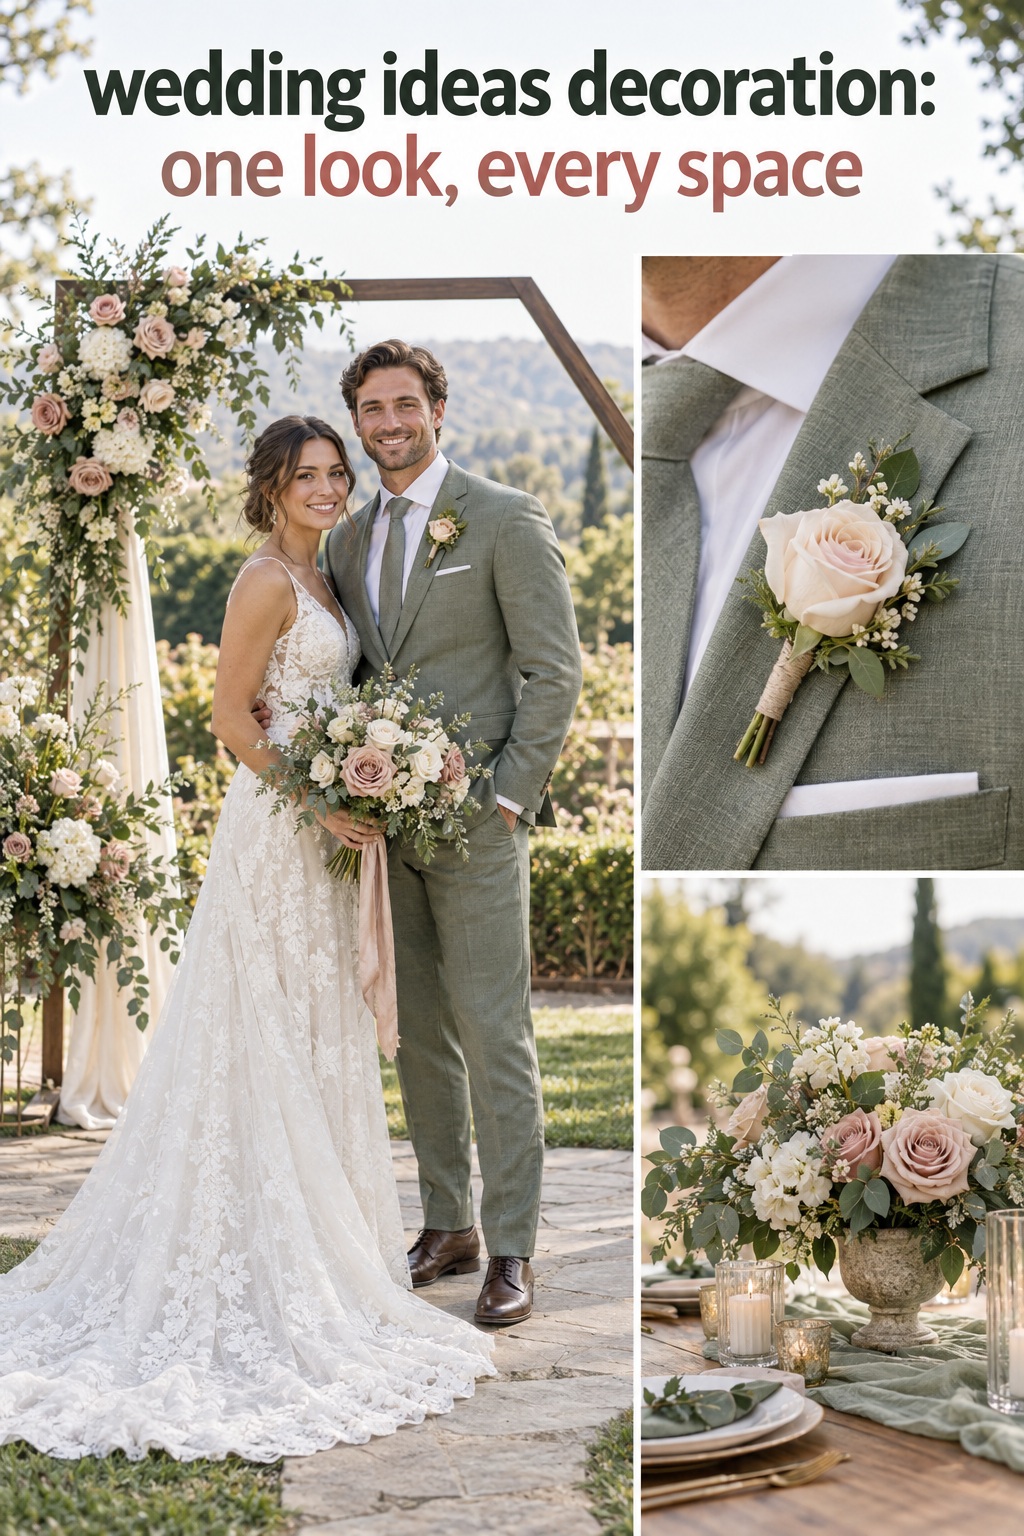
Map the kit from ceremony to reception
Once the five pieces are chosen, draw a simple path through the event. Start with arrival, then ceremony, cocktail hour, dinner, and any evening change. For each part of the kit, write a first position and, only if realistic, a second position. The venue floor plan matters here. A decoration that seems movable in a mood board may have to cross a busy guest path or move during a very short room reset. Good reuse depends on access, timing, and ownership.
One practical map could put the focal piece behind the ceremony, repeatable vases at the entrance, the textile at the reception tables, portable lighting in the cocktail area, and the welcome sign near guest arrival. After the ceremony, the focal piece remains where it is unless a designated team can move it safely. The small vases may move to the bar, but only if the bar will be accessible before guests arrive there. The sign can be turned or relocated to direct guests toward dinner. The textile and dinner lighting are already in their final positions.
This map reveals an important principle: a reusable kit does not require every object to move. A consistent material or color can travel visually even when the physical object stays put. The same vessel family can be staged in two areas from the beginning. Likewise, similar fabric can appear on ceremony chairs and reception tables without asking someone to strip chairs during cocktail hour. Repetition and movement are two different tools. Use whichever is simpler for the particular venue.
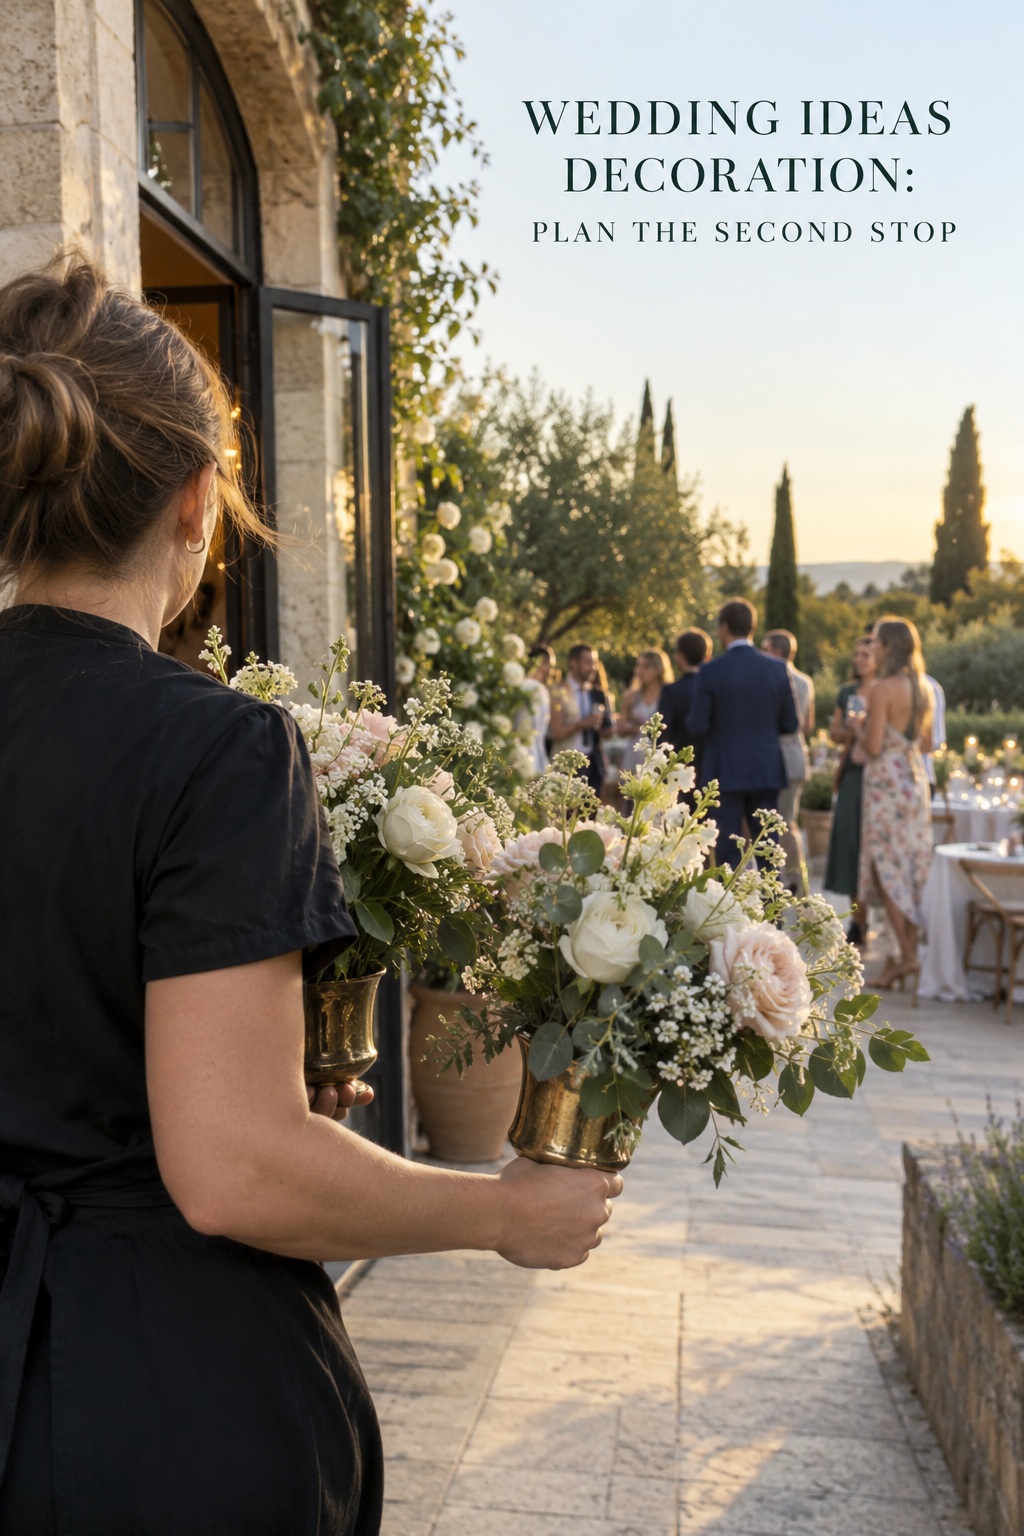
For items that really will move, write a short handoff instruction: origin, destination, earliest move time, latest finish time, carrier, and placement reference. A note saying “move flowers to reception” leaves too much open. “After portraits, coordinator moves the two grounded arrangements from ceremony stage to either side of the band, following the reception floor plan” is more useful. Confirm that the florist agrees and that the destination can accommodate the arrangements. Junebug Weddings’ examples of ceremony-to-reception reuse are useful inspiration, but each transfer still needs this local check.
Keep the guest route clear. A welcome display should not create a crowd in a narrow doorway. Table arrangements should not occupy space needed for plated service or shared dishes. A room-wide view can reveal gaps that a close-up photograph hides. The Knot’s reception layout guidance also puts guest count and movement ahead of styling the empty room. Translate that into one practical decision: place large objects on the floor plan before ordering them.
Buy, rent or make only after the map works
The map gives you a better shopping filter than a saved image collection. For every candidate item, ask what job it performs, where it will sit, whether the venue provides something similar, and whether another kit piece already solves the same problem. If you cannot assign the item a location, it can wait. That pause prevents a pile of attractive but unassigned decorations from becoming a setup problem.
Rent pieces whose size, quantity, or storage needs make ownership awkward. Large backdrops, many matching chairs, specialist lighting, and dozens of identical vessels may fit that category, but the right choice depends on local availability and the venue’s rules. Buying may make sense for a small object you want to keep, such as a frame, a table lamp, or a set of vases you genuinely have room to store. Making an item can work for simple paper goods or a modest sign when you can test its legibility and finish in advance. None of these options is automatically cheaper once delivery, labor, storage, and cleanup are included.
Compare complete quotes rather than object prices alone. Ask who delivers, installs, powers, moves, cleans, and collects each item. Check whether your venue already includes linens, candleholders, table numbers, easels, or an approved lighting package. Confirm dimensions, especially for table pieces, entrance displays, and anything suspended or freestanding. A photographed object can look small until its actual measurements meet the venue plan.
Protect the kit’s hierarchy as choices accumulate. Spend attention first on the guest route and the surfaces people use. Then strengthen the focal area that matters most to you. Add tiny accents only if the main plan is already complete and the setup team has capacity. A single repeated detail can tie spaces together; buying a new decorative category for every table usually makes the design harder to coordinate.
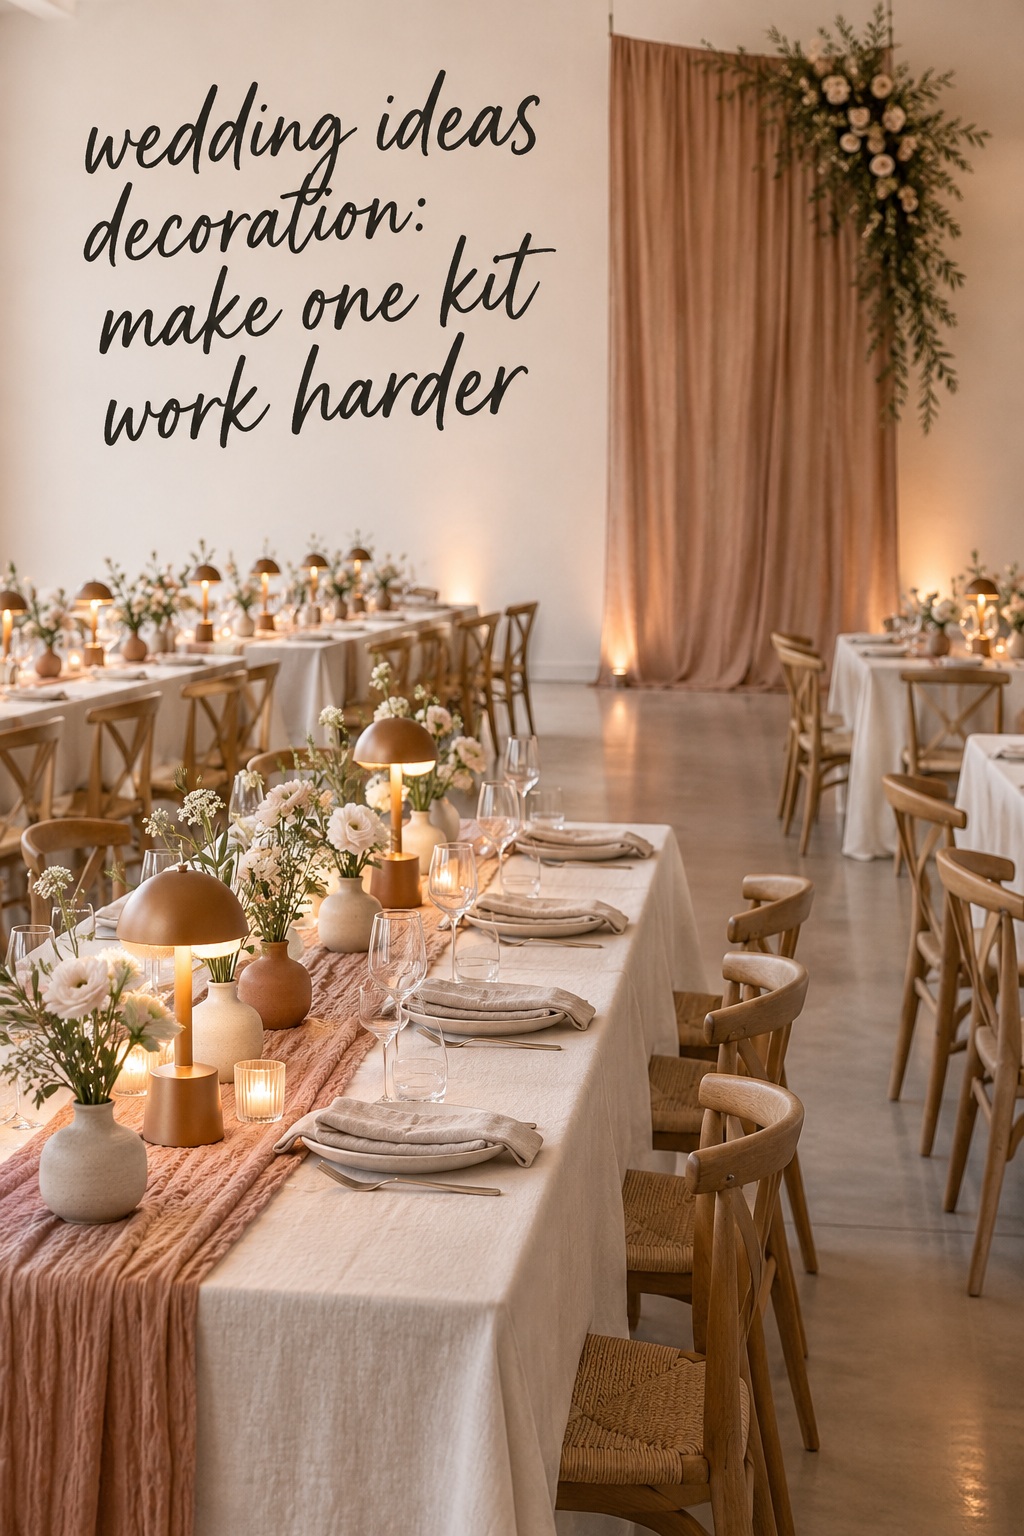
Three complete decoration kits for different spaces
These examples show how the same five-part system can create different results. They are working plans, not fixed themes. Adapt scale, materials, and quantities to your floor plan, the venue’s existing features, and the number of tables that actually need dressing.
A garden venue with a strong natural backdrop
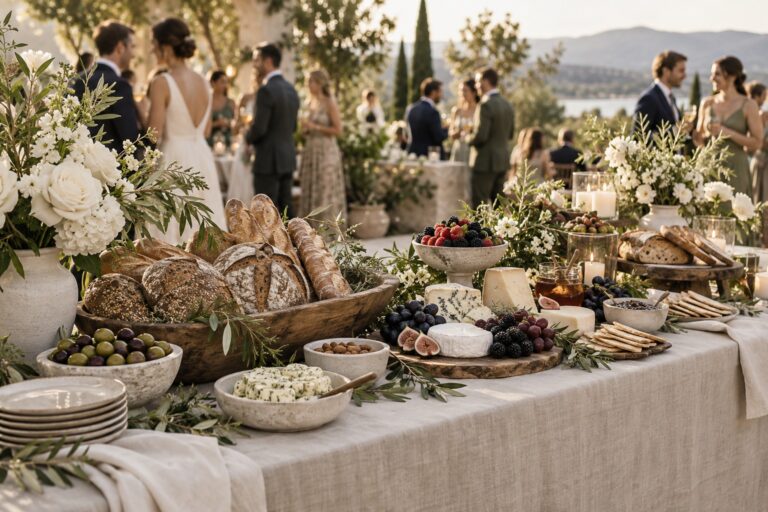
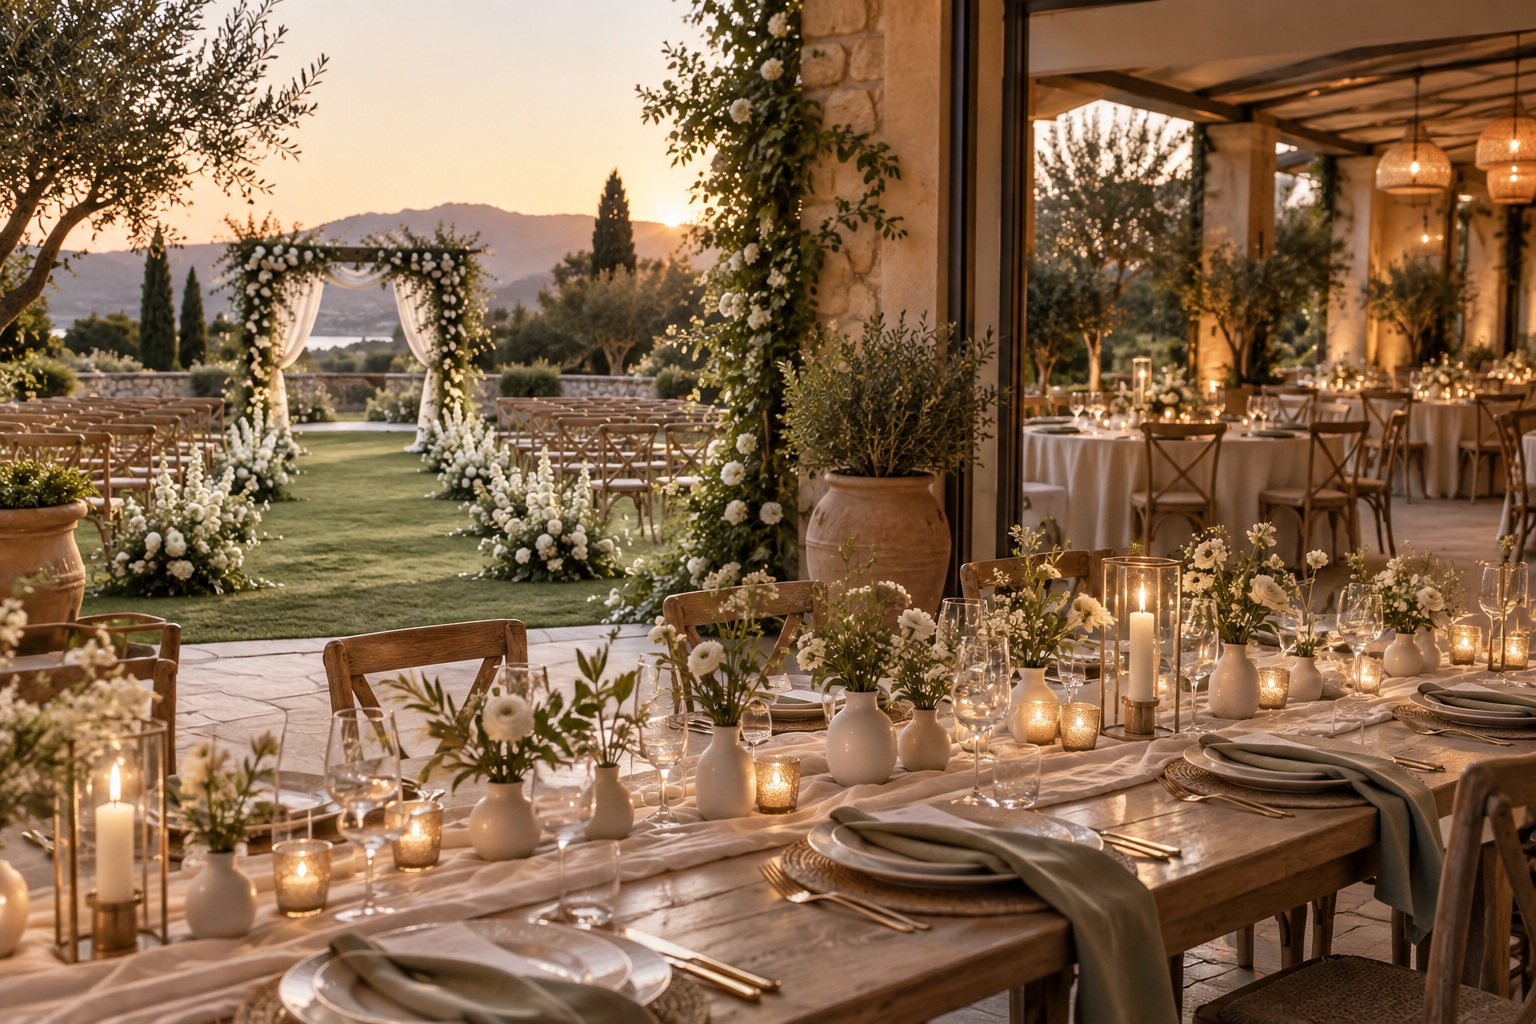
Let planting and the view do some of the focal work. Use two grounded arrangements to mark the vow position rather than covering the garden with an arch. Repeat small ceramic bud vases at the welcome table and on dining tables. Choose soft linen napkins as the textile, and use the venue’s permitted enclosed candles or portable lamps for evening tables. Make the functional detail a clear, weather-suitable seating display near the reception entrance.
In this kit, the two ceremony arrangements could move to the reception entry if the path is short and a florist or coordinator accepts the move. The table vases stay in place. This approach keeps the garden visible and avoids planning a move for every object. Ask how wind and moisture affect paper, flame, lightweight vessels, and signage. If the venue has an indoor backup, identify where each kit part would go there before finalizing rentals.
A plain room that needs warmth and orientation
Give the space one strong focal panel or freestanding frame, placed where it will matter most during dinner. Repeat warm-toned low vases across guest tables and the bar. Use textured runners to soften the biggest surfaces. Work with the venue or lighting vendor on a gentle room-wide lighting plan, then use smaller lamps or approved candles where guests need a sense of scale. Make the functional detail a prominent seating display that also helps define the reception entrance.
This kit relies less on moving objects and more on placing them well from the start. Large bare rooms can tempt couples to fill every corner, but the guest route, table groups, and focal area usually need attention first. A lounge or bar can define another zone if it serves the event; it does not need extra props simply to occupy floor space. View the plan from the doorway and from a dinner seat. If both views have a clear point of interest and the route is obvious, the room may already have enough decoration.
A historic venue with decorative architecture
Protect the room’s character. Use one modest floral or fabric focal accent near the ceremony position, rather than putting a second visual centerpiece in front of a fireplace or mural. Repeat clear or neutral vessels so flowers supply the color. Let napkins or a restrained runner echo one tone in the architecture. Use existing sconces or chandeliers where possible, supplementing only with venue-approved table light. Make the functional detail a legible seating display in a material that feels at home in the room.
Here the most important kit choice is restraint. The room may already supply texture, light, and a focal point. Your five parts can therefore be subtle, with a smaller quantity of each. Check whether historic surfaces can be attached to, whether stands must be freestanding, and which areas must remain clear. If the venue has restrictions, choose objects that sit on tables or approved stands rather than relying on tape, hooks, or drapery hardware.
Run the setup without a last-minute scramble
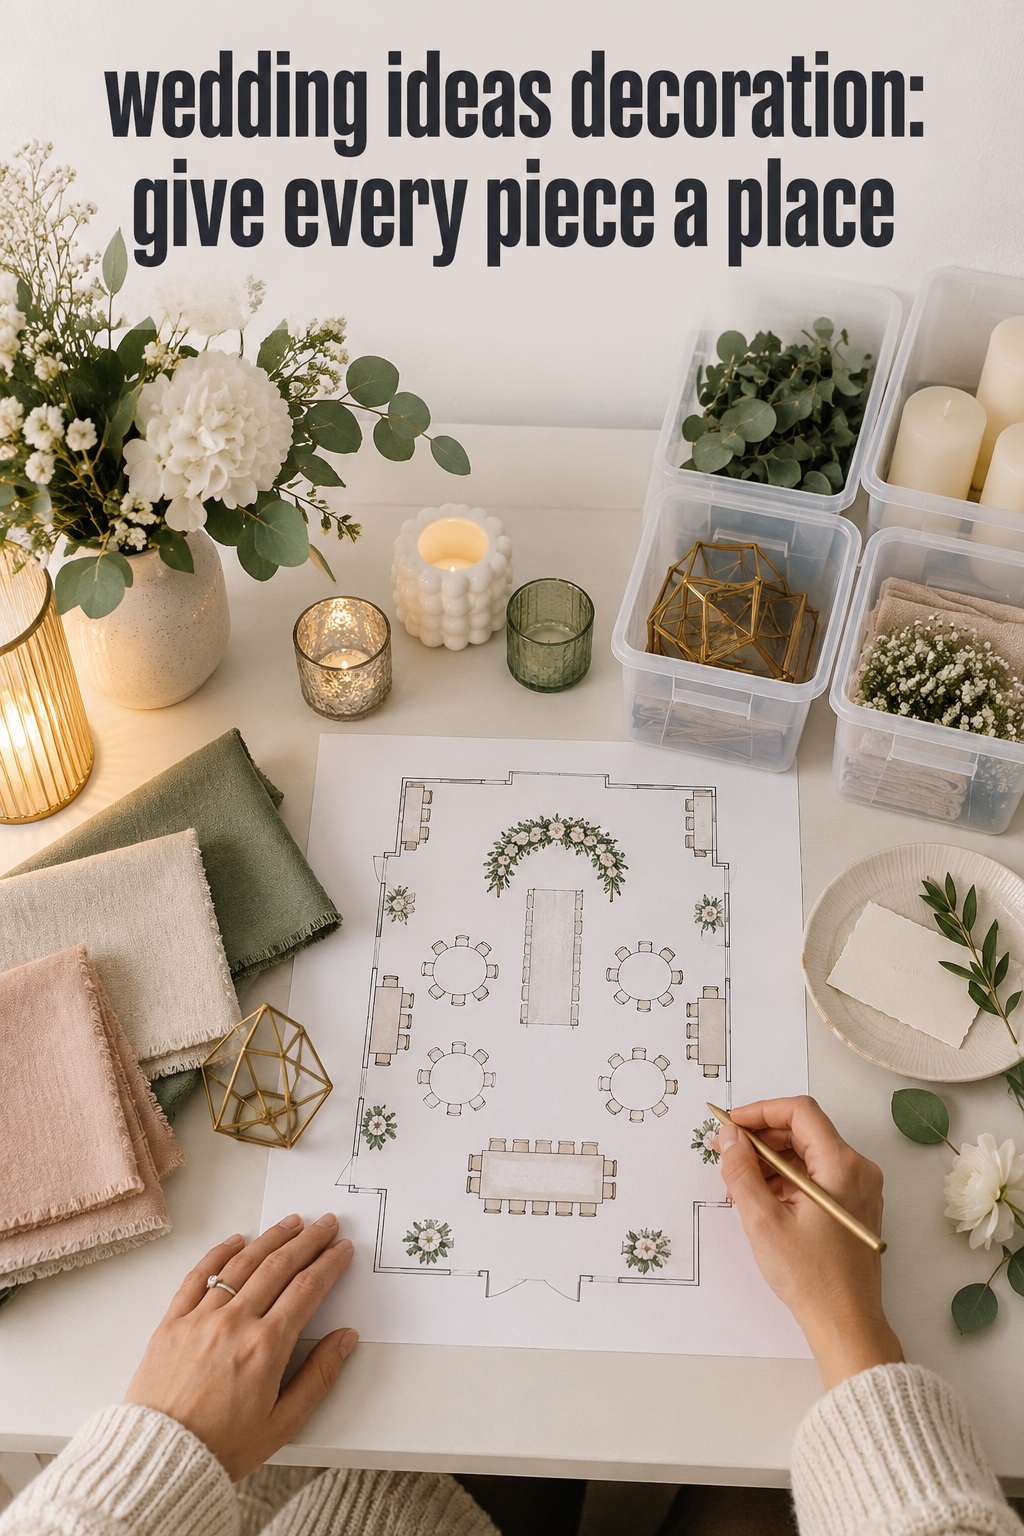
A design is ready only when someone else can set it up from your instructions. Make a one-page placement sheet that names each area and lists its objects. Add a simple marked floor plan and a few reference photographs showing scale and arrangement. Avoid a collage of many conflicting inspiration images. The setup team needs to know what has been chosen, not what was considered months ago.
Label containers by destination and contents. Put fragile items and their protective packing together. Keep small hardware, approved fasteners, batteries, and printed signs with the object they serve. If the venue or vendors provide some items, mark those as supplied rather than packing duplicates. Create a separate list for everything that must be returned, including stands and borrowed vessels. This is a practical inventory, not another decorative task.
Hold a short venue or vendor review of the plan. Confirm installation windows, access to rooms during cocktail hour, power, flame rules, furniture layout, pickup timing, and who handles each transfer. If your ceremony and reception are in the same room, ask when tables can be reset and whether any focal piece would obstruct that work. If they are in different buildings, allow for travel and loading. A move is only part of the design if it fits the actual schedule.
Finally, look for the one thing guests must understand in each zone. At arrival, they need to know where to go. At the ceremony, they need a clear view of the vows. At dinner, they need to find seats, talk comfortably, and see enough to enjoy the meal. Keep those needs visible as you edit the kit. Decoration succeeds when the spaces feel connected and the day is easier to navigate, not when every possible surface contains an object.
Sources and methodology
This guide reviewed ten US-English wedding decor articles covering ceremony, reception, tables, layout, sourcing, and reuse. The two linked pieces provide examples of physical decor transfers and floor-plan considerations. The five-part kit and worked venue examples are editorial planning frameworks rather than reported rules or tested products.
FAQ
How many decoration types does a wedding need?
There is no required count. Start with the venue’s existing character and the functions guests need. The five-part kit gives you a way to test whether you have a focal point, a repeated detail, texture, suitable light, and clear guest information. You may use fewer physical objects if the venue already supplies some of those jobs.
Can ceremony decorations really be reused at the reception?
Yes, if the items are movable, the spaces are accessible, and a named person has time to relocate them. Small grounded arrangements and freestanding signs are often easier to plan around than complex installations. Get agreement from the relevant vendor and venue before depending on a transfer.
What should I decorate first when the budget is tight?
Start with the areas guests will use and see most clearly: arrival information, the ceremony focal area, and dining tables. Check what the venue includes before paying for substitutes. Put any remaining budget toward one element with a clear purpose rather than scattering small extras across the room.
Should every reception table have the same centerpiece?
No. They should feel related and leave room for conversation and service. You can repeat one vessel material, flower palette, or arrangement scale while varying the number of pieces by table size. Confirm the table layout and meal service before deciding quantities.
Is it better to buy or rent wedding decorations?
Compare the full cost and workload. Rental can be practical for bulky or numerous items, while buying can suit small pieces you will keep. Include delivery, setup, moving, packing, collection, and storage in the decision. Ask what the venue already provides.
How do I keep different wedding spaces visually connected?
Repeat a limited set of cues, such as one vessel shape, one textile tone, and one type style, across the guest route. Physical objects do not all need to move. A related material staged in each area can create continuity with less work.
Who should move decorations between the ceremony and reception?
Assign the task to a coordinator, florist, rental team, or another person who is working rather than attending as a guest. Write the origin, destination, timing, and placement in the setup brief. Confirm the move is permitted and safe before counting on it.