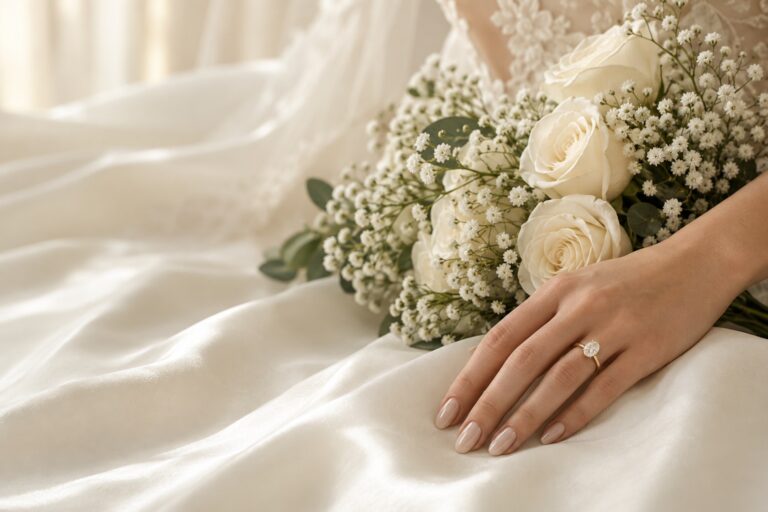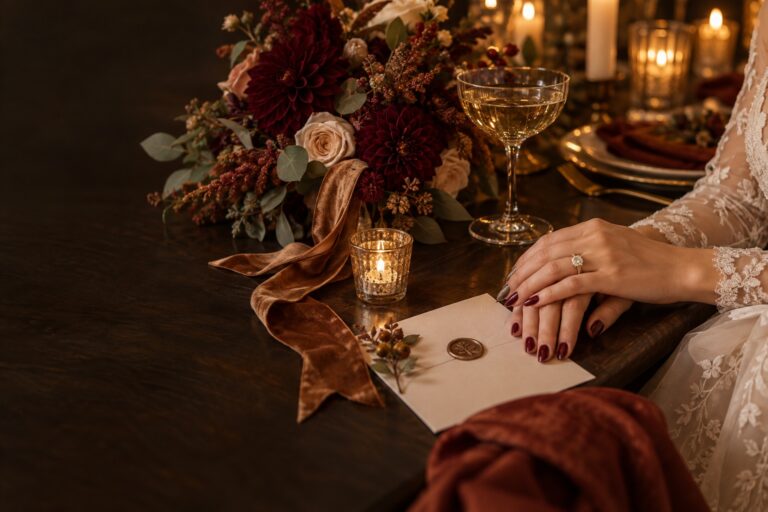
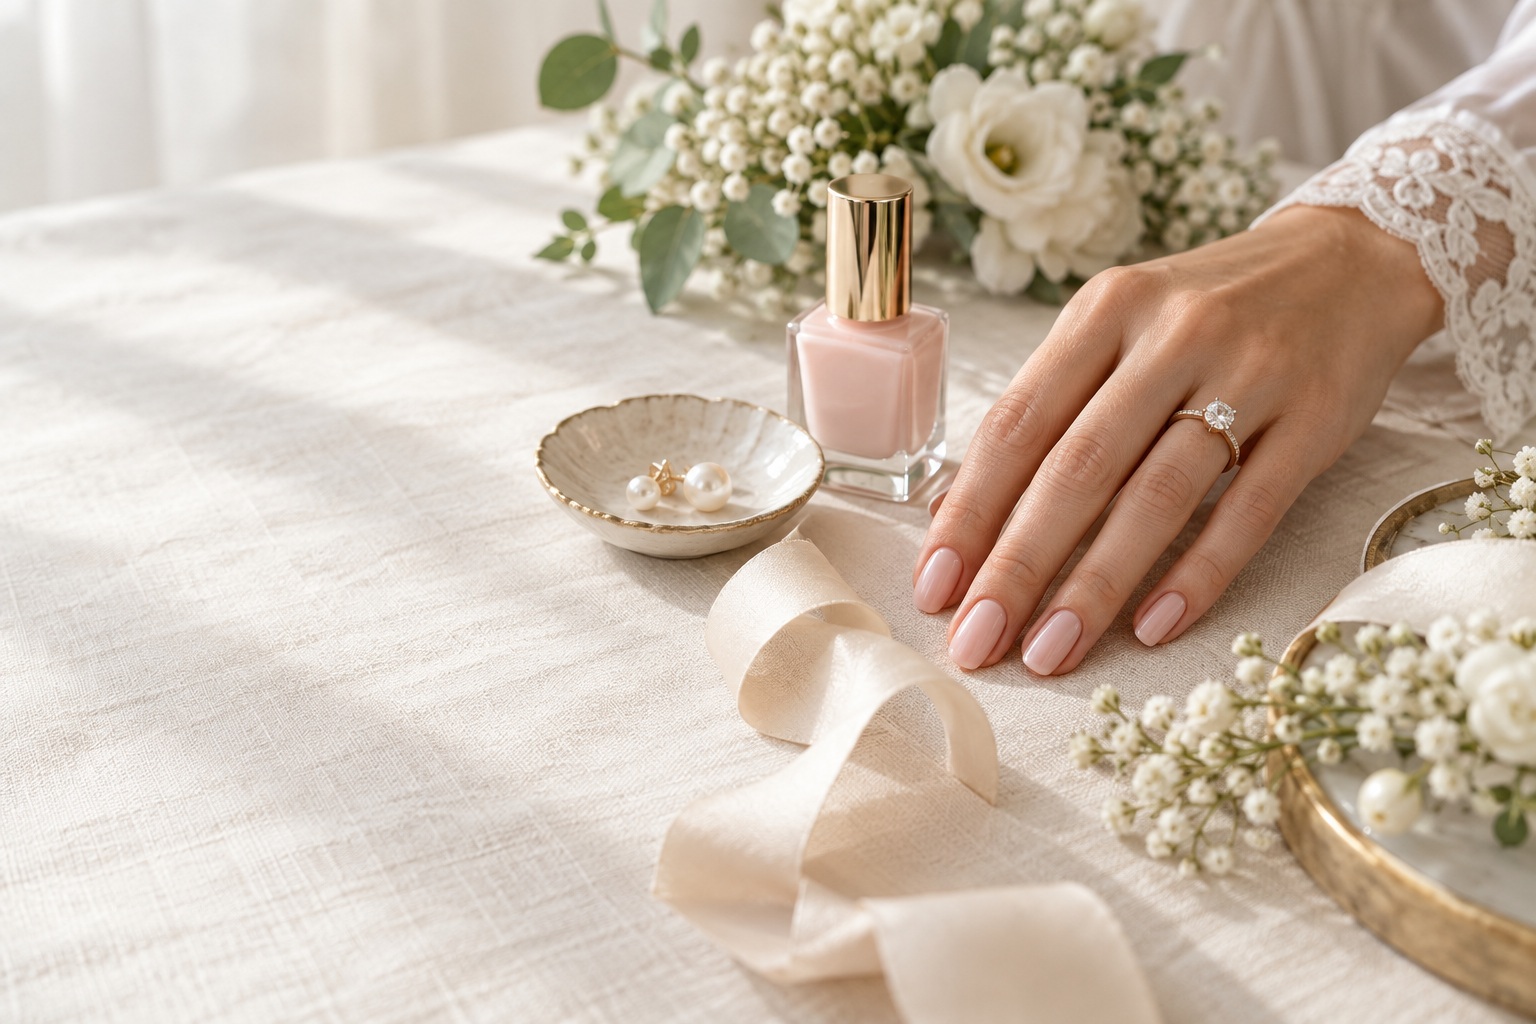
Wedding Nails Ideas: Build Your Bridal Manicure Capsule
The best wedding nails ideas do more than look pretty in a saved photo. They give you a manicure that suits your natural nail length, works with your dress and ring, photographs clearly, and still feels like something you would choose on an ordinary good day. That is why a small bridal manicure capsule is more useful than an endless gallery of unrelated designs.
This guide builds that capsule from four decisions: length, shape, base color, and finish. You can use the combinations for natural nails, gel, extensions, or press-ons. Start with the formula that matches your constraints, then add one personal detail. The result should feel intentional without making your hands compete with your bouquet, jewelry, or expression.
Build Your Wedding Nail Capsule Before Choosing a Design
A capsule is a short list of components that can be combined in several ways. For wedding nails, the components are not only colors. They include how much free edge you can comfortably keep, the shape that follows your fingers, the opacity of the base, the reflectiveness of the finish, and the amount of decoration you want to maintain. Thinking in components makes a salon conversation clearer and makes it easier to adjust if one nail breaks before the ceremony.
Choose the length you can actually live with
Natural short nails can look refined and modern. They are a sensible choice if you type, play an instrument, work with children, wear contacts, or simply do not enjoy the feeling of extensions. A short nail has less space for large artwork, but that limitation can make a thin French edge, sheer polish, tiny pearl, or high-gloss finish look especially considered.
Turn wedding inspiration into a plan you can actually follow.
Zarellea brings your guest list, budget, vendors, and day-of details into one shared space — so no beautiful idea gets lost in the shuffle.
Medium length gives you more room for an almond, oval, squoval, or narrow square outline while remaining manageable for most people. Long extensions create a stronger fashion statement and more room for sculptural art, chrome, or a long taper. They also create more maintenance, more leverage if a nail catches, and a bigger change from your everyday appearance. Pick the length you can wear through getting dressed, signing documents, hugging guests, and dancing.
Select a shape that supports the design
Almond and oval shapes create a soft, lengthening impression and suit delicate French tips, pearl finishes, and elongated lines. Squoval and rounded square shapes feel clean and stable on shorter natural nails. A straight square can look graphic with a narrow tip or a block of color, but the corners need to suit your nail beds and daily routine. Round shapes are low-maintenance and can make a minimal polish look quietly polished.
Ask your nail artist to assess your actual nails rather than copying the shape in a reference image. Nail beds are not identical, and one hand may need a slightly different balance. The goal is visual consistency, not mathematical sameness. A flattering shape should make the manicure look finished from the back of your hand, the side, and the close-up ring photograph.
Keep a base family and one accent family
Choose one base family before you choose decoration. Milky white, sheer pink, blush beige, soft peach, clear, and translucent nude are flexible starting points. A deeper rose, muted blue, champagne, or soft taupe can also work when it relates to the wedding palette or your personal style. Test the color against your skin in daylight and beside the dress fabric. A polish that looks white under salon lights may read icy, pink, or beige in photographs.
Then choose one accent family. It might be white, pearl, silver, gold, a single pastel, or a subtle tone from the bouquet. Repeating one accent across the manicure creates cohesion. You do not need a different idea on every finger. A consistent base with two accent nails often looks more modern and is easier to repair than a ten-design set.
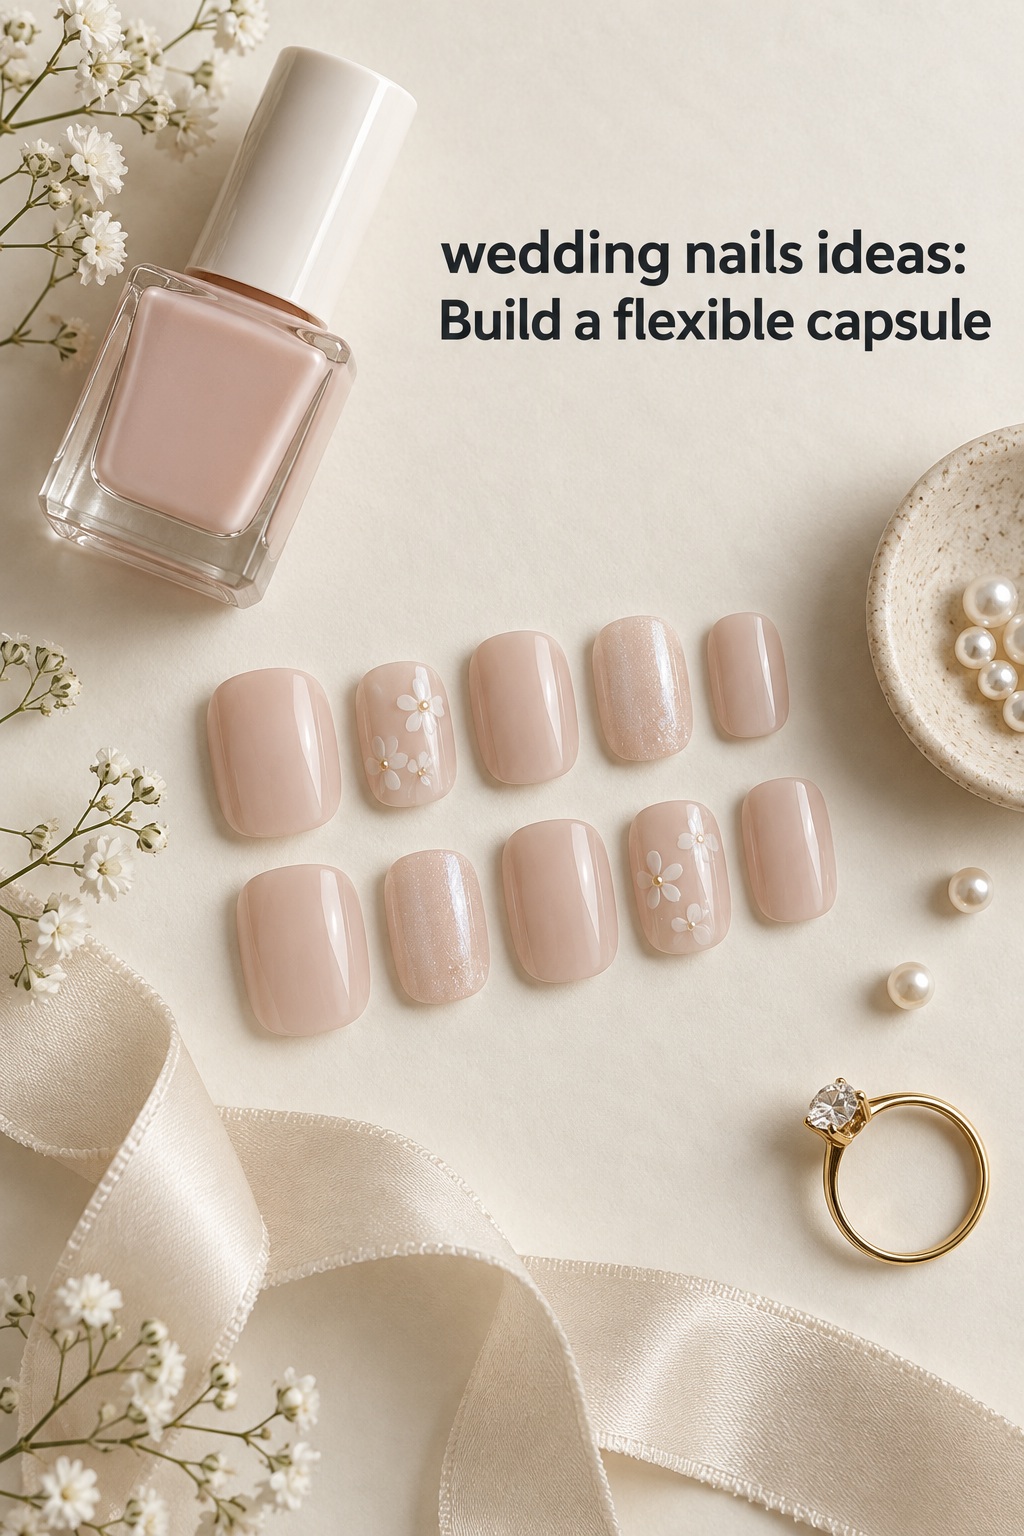
Wedding Nails Ideas by Capsule Formula
Use these formulas as starting points rather than fixed prescriptions. Each one combines a base, a finish, and a controlled detail. When you show a reference to your nail artist, describe the formula in words as well. That protects you from getting an attractive design that is wrong for your length, dress, or comfort level.
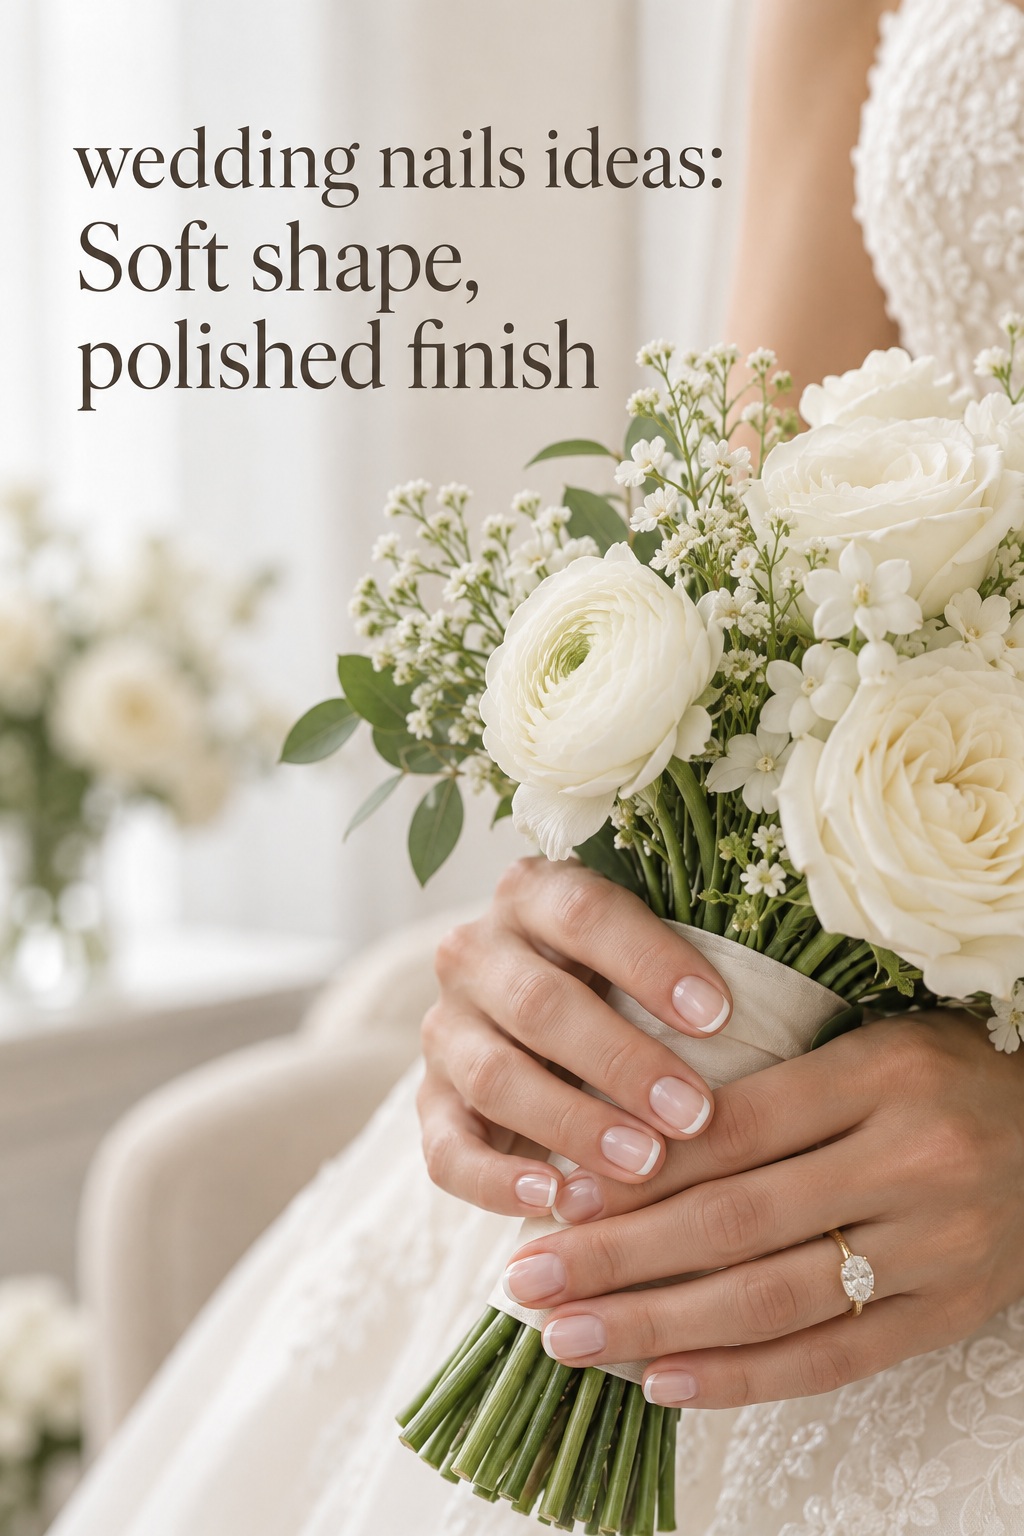
Milky base plus micro French
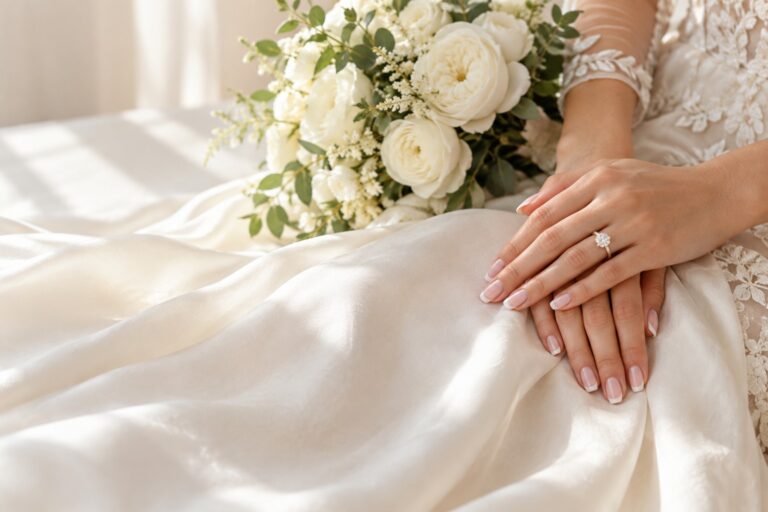
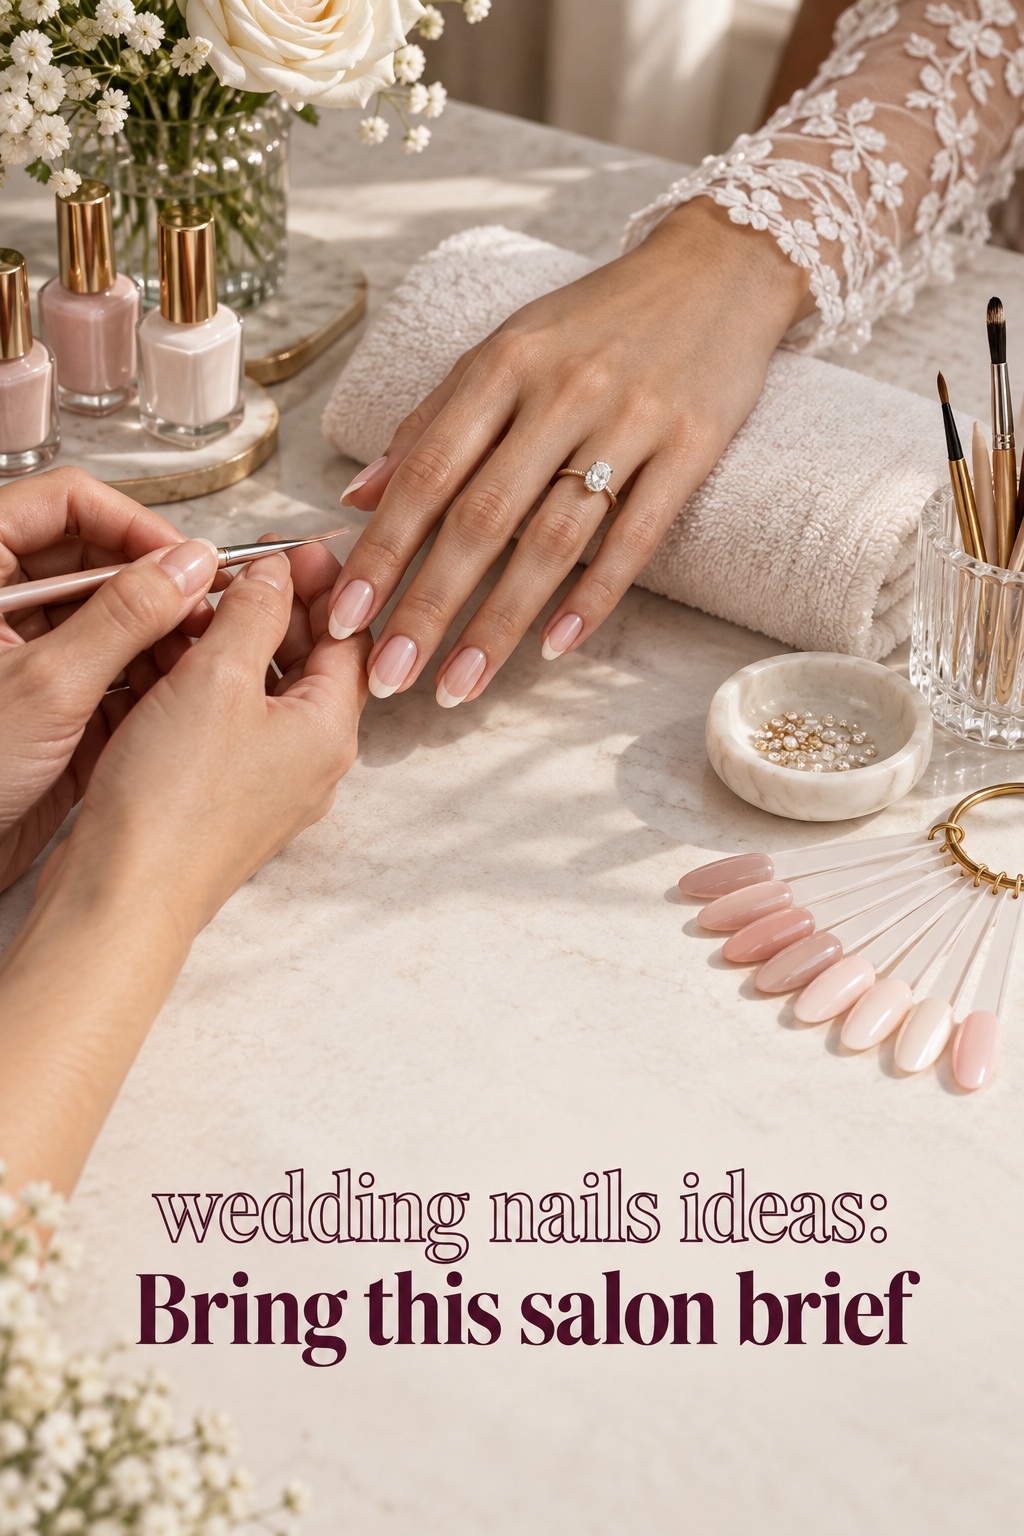
A translucent milky base with a very fine white tip is one of the easiest formulas to adapt. On short round or squoval nails, keep the tip narrow so it does not visually shorten the nail. On almond nails, let the line follow the natural curve instead of making it too straight. This choice works well when the dress is detailed because the manicure adds definition without introducing another strong motif.
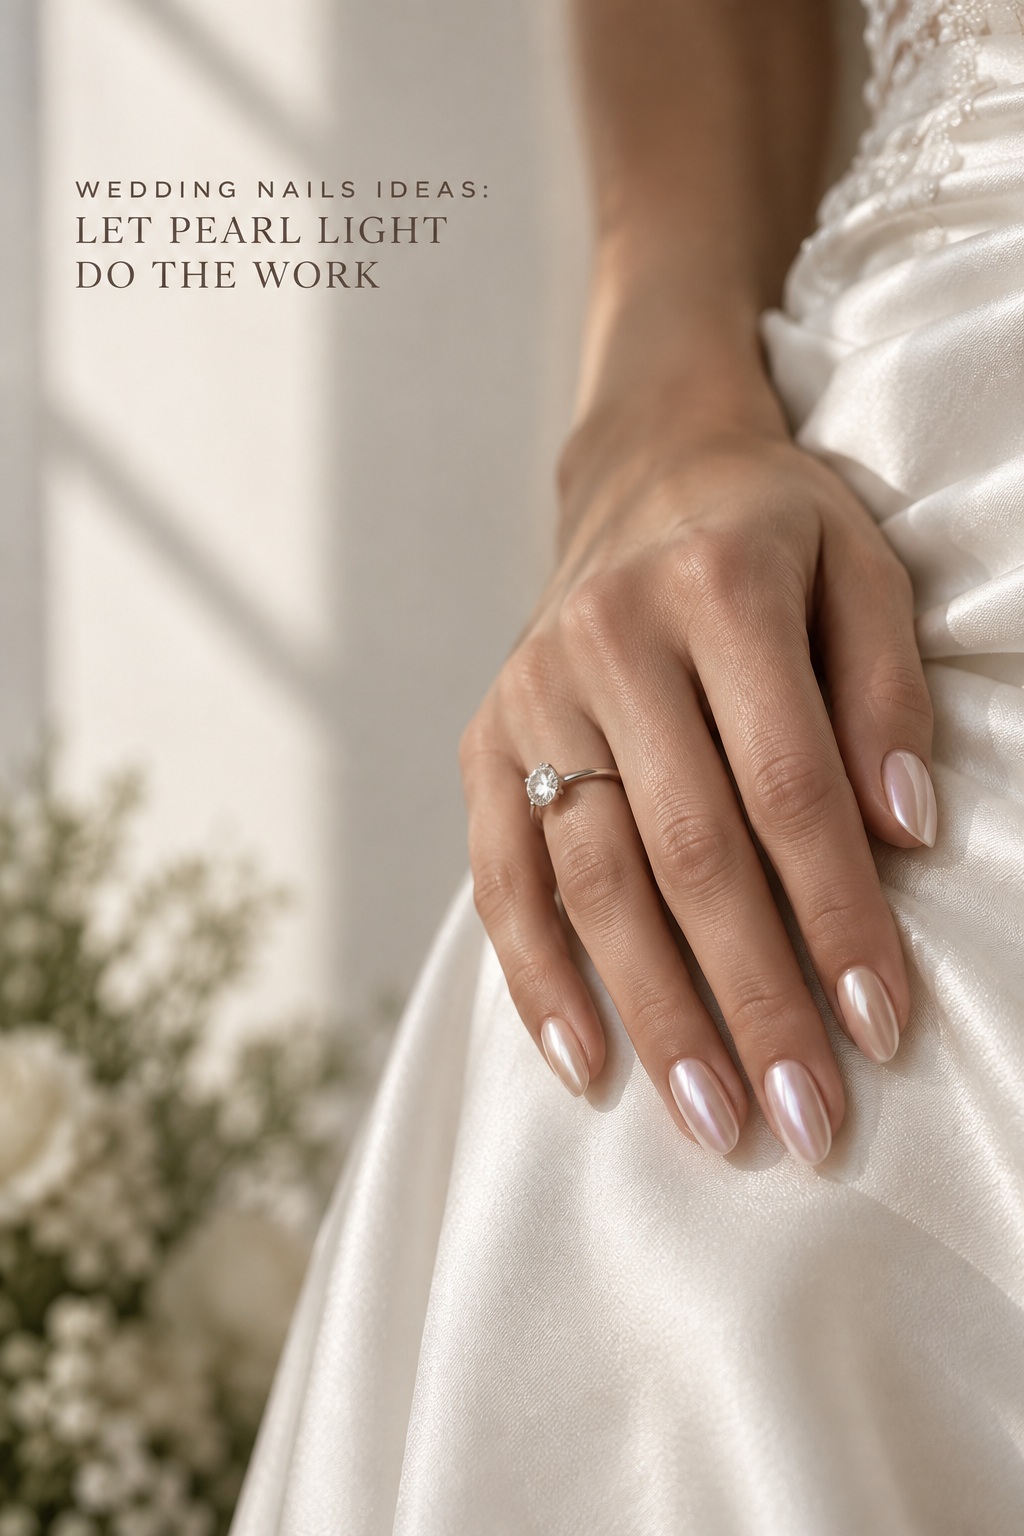
Blush pink plus pearl chrome
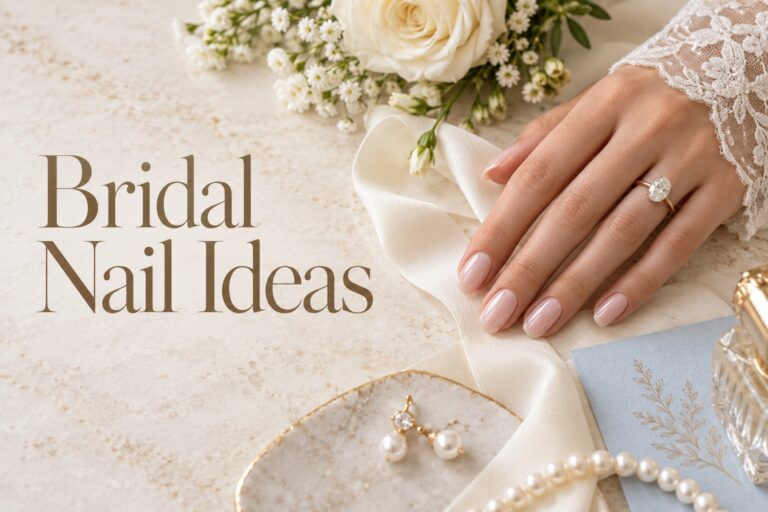
A sheer blush base with a pearly reflective finish gives you light without the mirror effect of a bright metallic. It pairs naturally with pearl jewelry, satin, beading, or a soft romantic bouquet. Ask for a sample on one nail before committing because chrome powders can change dramatically over different base colors. Keep the shape simple if the finish is highly reflective.
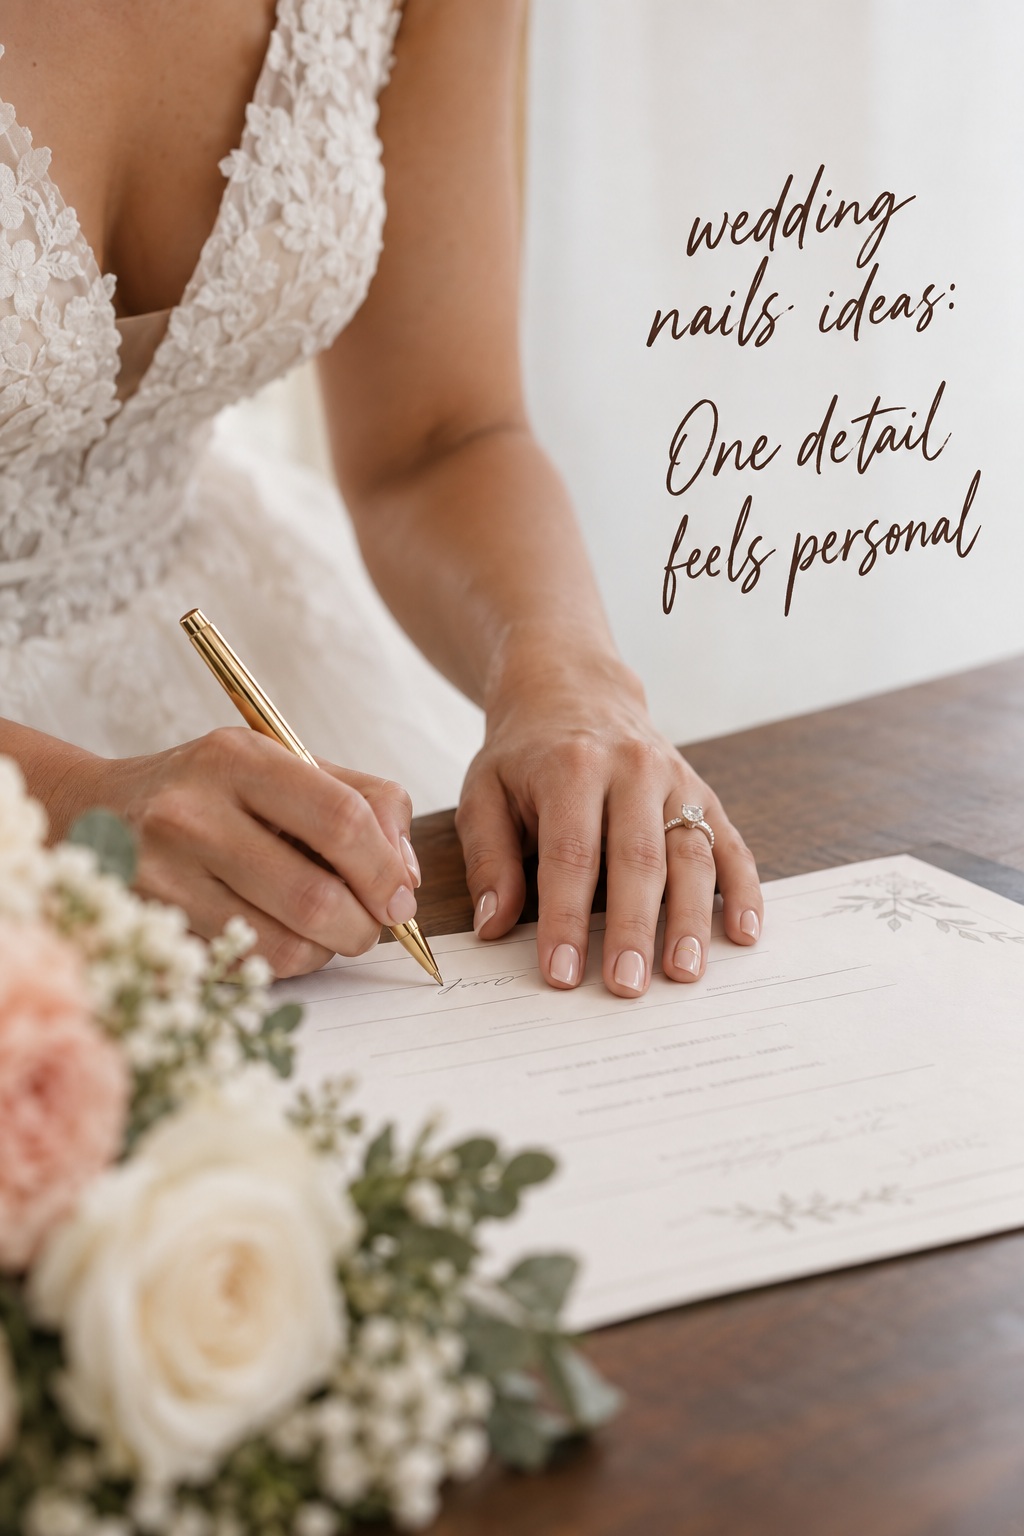
Clear or nude base plus one ring-finger detail
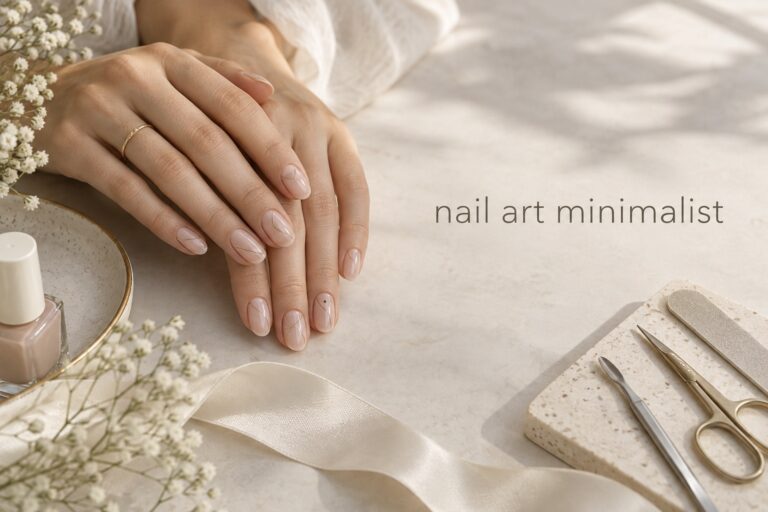
This is a useful formula when you want an understated set with a small moment of personality. Use a clear, pink, or beige base on every nail, then add a pearl, tiny stone, fine gold line, miniature flower, or initial-inspired mark to one or two fingers. Place the detail where it will not catch on the veil, gloves, or clothing. The accent should be visible in a hand photograph but not so large that it becomes the only thing people see.
Soft color plus tonal tip
For a personal alternative to white French tips, use a sheer pink base with a slightly deeper pink tip, a beige base with a cream tip, or a pale blue base with a misty blue edge. Tonal contrast keeps the design bridal while allowing color to enter quietly. This formula is especially useful when your bouquet, shoes, or stationery already includes a soft color that you want to echo without matching exactly.
One-color gloss plus a shaped silhouette
A single glossy shade can be the right answer when your gown has lace, sequins, sculptural sleeves, or a dramatic neckline. The visual interest comes from the silhouette and surface quality. Try milky white on a short squoval, sheer rose on an oval, champagne beige on an almond, or a clean deep berry if your wedding look is intentionally less traditional. Ask for a smooth finish and tidy cuticle work because a simple manicure has nowhere to hide uneven edges.
Match the Manicure to Your Dress, Ring, and Photos
The most successful wedding nails ideas belong to the whole visual story. That does not mean matching every detail. It means deciding whether your manicure should be a quiet frame, a repeated texture, or a deliberate contrast. Look at the dress, ring, bouquet, and the way you expect to hold your hands in photographs before choosing the final formula.
Use the dress texture as your intensity guide
A smooth satin or crepe dress can support a little more shine on the nails, such as pearl chrome, a fine shimmer, or a precise metallic line. Lace and heavy beading already create visual texture, so a milky base, soft pink, or quiet French edge may give the outfit room to breathe. A minimalist column gown can handle a graphic tip or unusual shape, while a romantic tulle skirt may suit a softer oval and translucent finish.
Think in terms of one main texture and one supporting texture. If the dress is matte, a glossy nail can bring light to the hands. If the dress sparkles, a high-shine chrome may be too competitive unless it is very sheer. The best contrast is intentional and limited. You want the manicure to look connected when the hands appear next to the bouquet, not as if it came from a different event.
Let the ring set the metal direction, not every detail
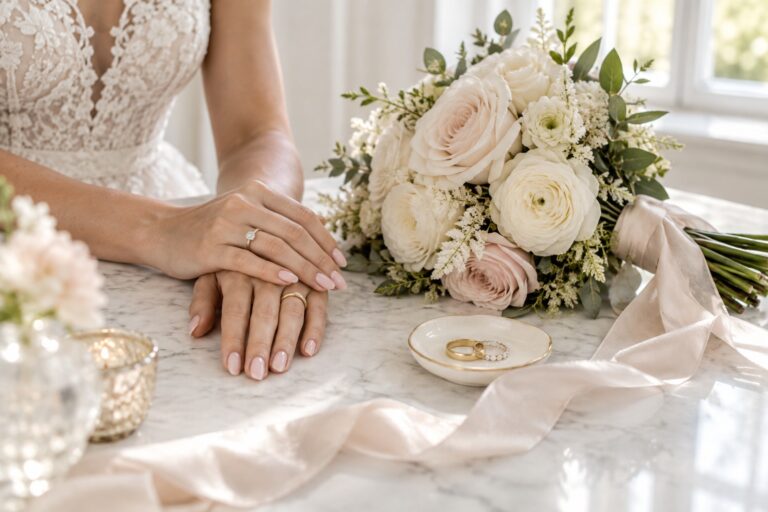
White gold, platinum, yellow gold, and rose gold can each guide a small accent. A fine line or tiny detail in the ring metal can make a close-up feel considered. It is not necessary to reproduce the ring on every nail. If the ring is ornate, a clean base may show it better. If the ring is simple, one delicate metallic accent can add dimension without turning the manicure into jewelry art.
Check the manicure in the photographs that matter
Wedding hands appear in more than the ring exchange. They hold the bouquet, button a cuff, lift a veil, sign a certificate, touch a cheek, and rest on fabric. Ask whether your design will still look balanced when the hands are relaxed rather than posed with fingers spread. A large stone can disappear when the hand closes, while a bright white tip can draw more attention than expected.
Take a phone photograph in indirect daylight after your trial. Include the ring, a piece of the dress or a similar fabric, and the bouquet colors if possible. Review the image at normal size, not only zoomed in. The manicure should read as a clean shape and finish first. Details can be appreciated second. If the set looks busy at a normal viewing distance, remove one element before adding another.
Plan the Appointment, Trial, and Wedding-Week Backup
A beautiful reference image is only the beginning. Your manicure also needs a schedule, a trial, and a backup plan. The exact timing depends on the service and your nail growth, so confirm the final appointment with your nail artist. For a general planning framework, many bridal guides recommend completing the final manicure close to the wedding rather than so early that growth or wear becomes obvious. See the practical timing guidance in Glamour’s wedding nail guide and adapt it to your service.
Use the trial to test behavior, not just color
Schedule a trial early enough to change direction. Wear the shape for a normal day and notice whether it catches, feels too long, or makes routine tasks awkward. Check whether the finish suits your skin tone in daylight and whether the accent detail stays attached. If you are considering extensions, ask how removal will work and what aftercare your natural nails will need.
Bring the information your nail artist actually needs: a photo of the dress, the jewelry metal, your preferred length, the wedding date, and a reference for the finish. Say what you do not want as clearly as what you do want. For example, you might request a short squoval, translucent blush base, very fine cream tips, no large stones, and a glossy top coat. A concise brief is easier to follow than ten saved photos with conflicting details.
Prepare a simple repair and comfort kit
Keep a small kit with the products your nail artist approves. It can include a file, a small amount of matching polish if you use regular lacquer, adhesive tabs for a press-on emergency, cotton swabs, and hand cream. Avoid experimenting with glue or removing gel in a rush. Tell the person helping you if a nail lifts, cracks, or becomes painful so the issue can be handled safely.
Coordinate attendants without making everyone identical
Bridesmaids can look coordinated through one shared rule rather than one identical set. Ask everyone to stay within a palette, use the same finish, or choose from two shapes that photograph well together. A bride in pearl chrome might let attendants wear sheer pink or cream gloss. If the wedding party has different jobs, budgets, or comfort preferences, consistency should be visual and flexible rather than compulsory.
Common Wedding Nail Mistakes and Better Fixes
The first mistake is choosing a shape that belongs to the reference hand rather than your own. A long almond may be beautiful in a photograph but uncomfortable if you never wear extensions. The fix is to copy the design language, not the exact length. A micro French, pearl detail, or tonal tip can be translated to short squoval or round nails.
The second mistake is adding every bridal symbol at once: white tips, pearls, glitter, rhinestones, lace, and a metallic line. The fix is to choose one hero element and one supporting element. If pearl chrome is the hero, use a clean silhouette. If the silhouette is dramatic, keep the finish simple. Restraint makes the detail more visible.
The third mistake is testing only under salon lighting. Take a daylight photograph, look at your hands beside the ring, and move through ordinary gestures. The fourth is booking a service without confirming the formula, timing, and removal plan. Save a written brief in your phone and ask the salon to confirm the appointment length. The fifth is forgetting that hands can swell, dry out, or become sensitive during a busy wedding week. Keep the routine gentle and do not introduce a new product immediately before the event.
Finally, do not treat a trend as a requirement. Current bridal coverage includes barely-there French, glassy finishes, chrome, and jewelry-like details, but a trend is useful only when it supports your outfit and personality. The Knot’s trend guide is a helpful source for vocabulary, while your final choice should be based on your actual hands, schedule, and comfort.
FAQ
What are the easiest wedding nails ideas for short natural nails?
Try sheer pink or milky polish, a very fine French edge, soft chrome, a glossy single color, or one tiny pearl accent. Keep the detail small and let neat shaping do most of the work.
Should bridal nails match the wedding colors?
They do not have to match exactly. Echo one soft color or metal from the wedding through a thin tip or small accent, then keep the base neutral enough to work with the dress and ring.
Are chrome nails too bold for a wedding?
Not necessarily. Sheer pearl or glazed chrome is softer than an opaque mirror finish. Test the powder over your chosen base and reduce extra decoration if the surface is already highly reflective.
When should I have my final wedding manicure?
Book it close enough to the ceremony that growth and wear are minimal, while leaving enough time to handle an unexpected repair. Confirm the exact timing with your nail artist based on the service, your nail growth, and your wedding schedule.
What should I tell my nail artist at the appointment?
Share your preferred length and shape, the base color, finish, accent limits, wedding date, dress texture, jewelry metal, and any daily activities that affect comfort. A written formula is more useful than a large folder of unrelated images.
Can bridesmaids wear different wedding nail designs?
Yes. Coordinate them with a shared color family, finish, or level of decoration. Flexible rules allow different nail lengths and budgets while keeping the group visually connected in photographs.