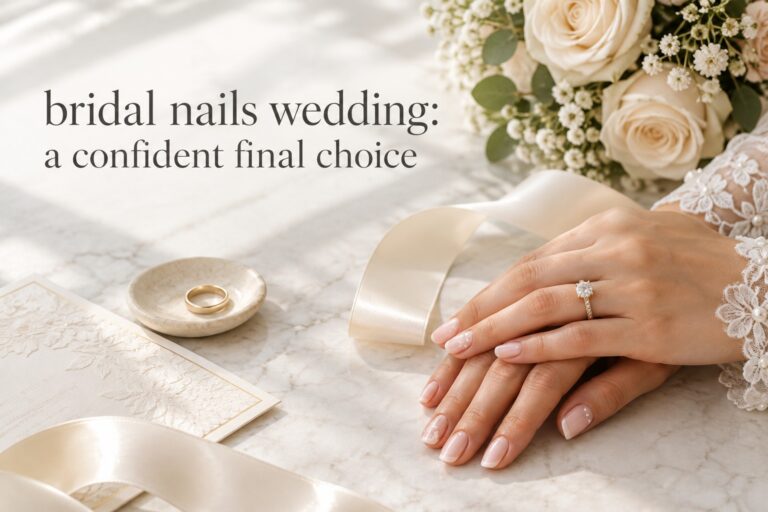
Wedding Nails: A Practical Plan for Your Bridal Manicure
Wedding nails are a small part of the bridal look, but they appear in some of the most repeated photographs of the day. Your hands may hold the bouquet, show the ring, lift a champagne glass, smooth a veil, cut the cake, or reach for your partner’s hand. That visibility makes a manicure worth planning, not because it needs to be elaborate, but because the right set should feel intentional, comfortable, and unmistakably yours.
This practical guide helps you move from a folder of saved inspiration to a clear wedding nail decision. You will find a simple way to choose shape, base, finish, and detail; a timeline for testing and booking; adaptable ideas for different aesthetics; and a short brief you can bring to a nail technician. The goal is not to copy one perfect design. It is to build a manicure that works with your hands, your outfit, your photographs, and your actual wedding schedule.
Why a Planned Wedding Manicure Works
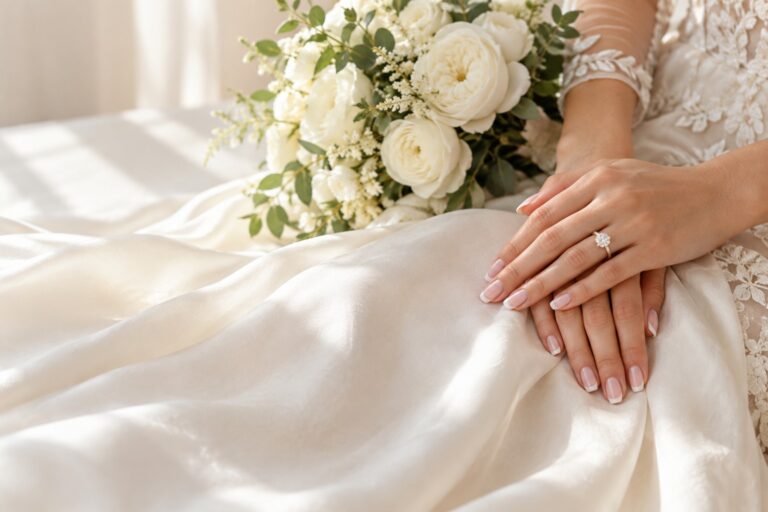
A wedding manicure succeeds when it supports the whole look instead of competing with it. A softly sheer base can echo a satin dress. A fine metallic line can pick up jewelry. A tiny floral detail can repeat a motif from the veil or bouquet. Even a bold color can look elegant when its scale and finish are deliberate. The connection does not have to be literal. Often, a shared undertone or one repeated texture is enough.
Planning also protects you from making a decision under pressure. A saved image often shows a particular nail length, hand pose, lighting setup, and camera angle. Your version may need a shorter length, a different shape, or a less reflective finish. When you decide those variables before the appointment, you give your technician something useful to interpret. You also have time to notice what feels comfortable when you type, button a dress, hold flowers, or move through a long day.
Turn wedding inspiration into a plan you can actually follow.
Zarellea brings your guest list, budget, vendors, and day-of details into one shared space — so no beautiful idea gets lost in the shuffle.
- Photos: choose a base and finish that read cleanly in close-up images, without relying on heavy decoration to create interest.
- Outfit: look for a relationship with the dress fabric, jewelry metal, bouquet palette, or overall level of formality.
- Comfort: decide how much length and texture you can wear confidently for several hours.
- Personality: keep one detail that feels like you, whether that is a warm nude, a graphic tip, a pearl, a color accent, or a nearly bare finish.
- Timing: leave room for a trial and a small adjustment rather than treating the final appointment as an experiment.
The most useful mindset is to think of wedding nails as a design brief. You are deciding what should be visible, what should stay quiet, and what must remain practical. That brief is more valuable than a long collection of unrelated screenshots.
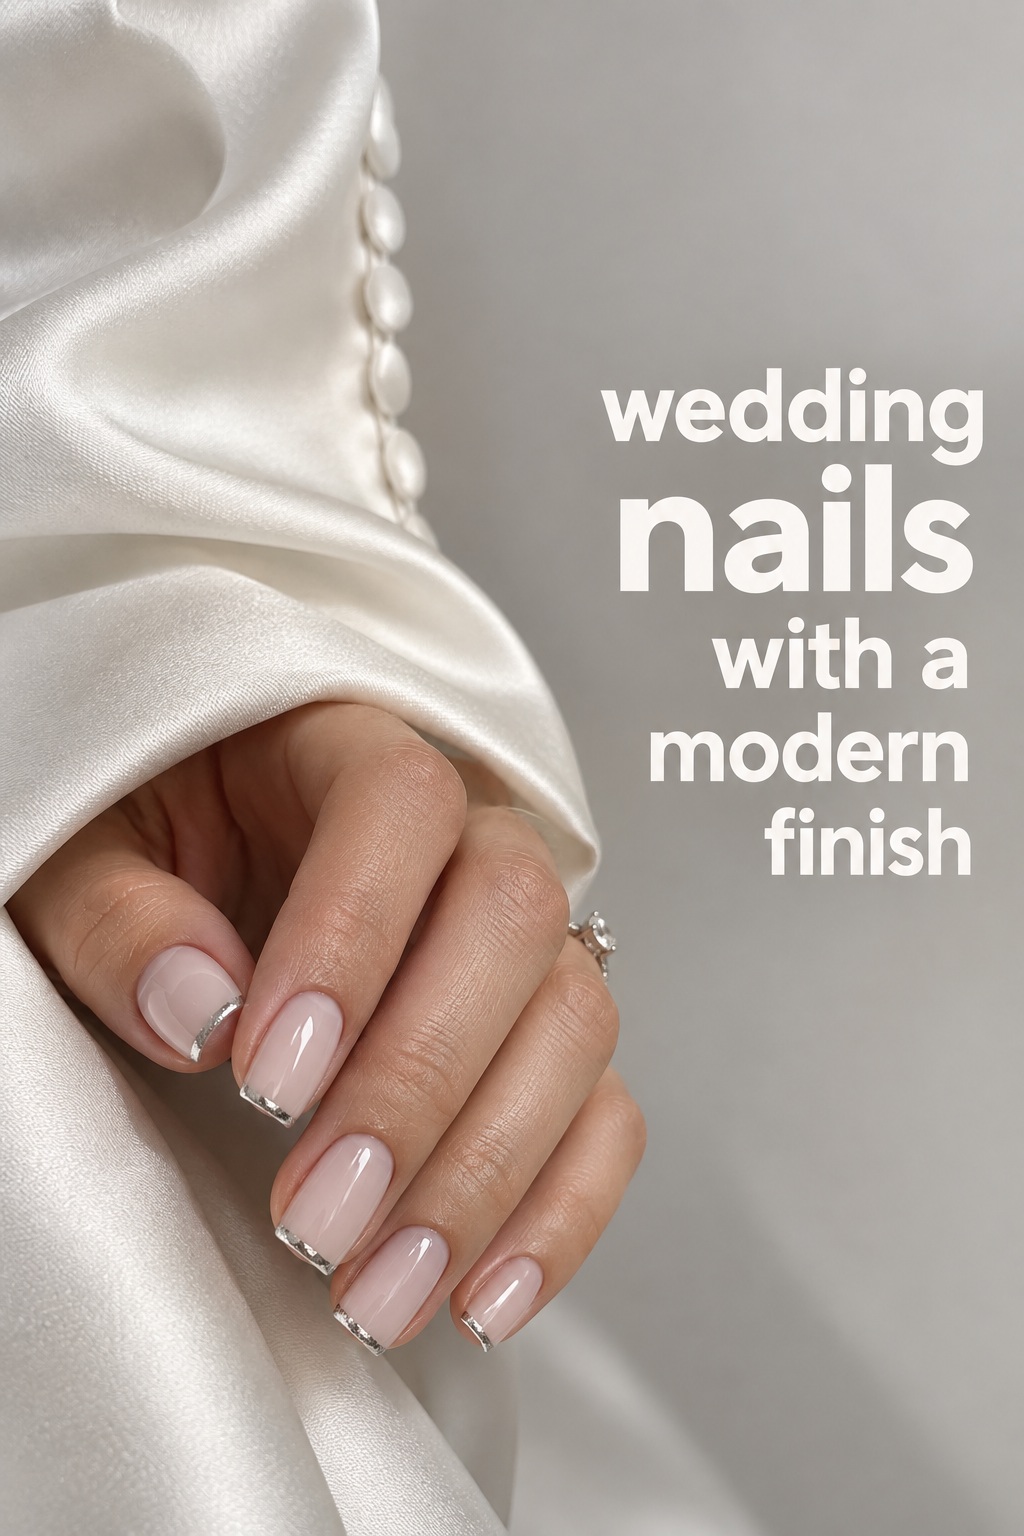
The Core Principles of Wedding Nails
Before choosing a specific idea, settle five connected decisions. They do not need to be complicated. In fact, simple answers make it easier to explain what you want and easier for your technician to adapt the design to your natural nails.
1. Choose the shape for your hands and your day
Almond shapes create a lengthened, softly tapered effect and work naturally with romantic or polished styling. Oval shapes offer a similar visual line with a little less taper. Squared or squoval nails feel crisp and modern, especially with a micro-French or a single opaque shade. Short rounded nails can look exceptionally clean with sheer pink, milky white, or a glossy neutral. The best shape is the one you can maintain without constantly checking your fingertips.
Use your saved reference as a direction, not a measurement. If the model has long almond extensions and you normally wear short natural nails, ask for the same mood at a length you can use. A good technician can translate the visual idea into a different silhouette.
2. Pick a base that makes the details believable
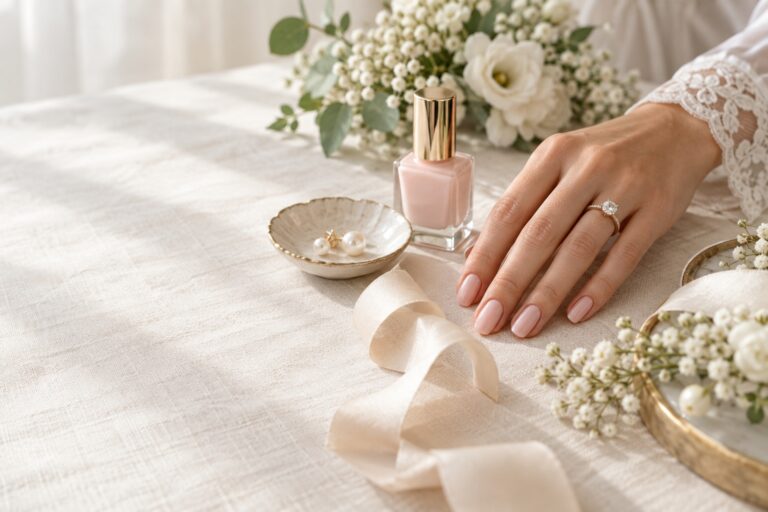
The base color sets the emotional volume of the manicure. Sheer nude, blush, and milky white create an airy background for pearls, fine lines, shimmer, or small flowers. A warmer beige or latte tone can make gold details feel softer. A clear or barely tinted base gives graphic details more contrast. A deeper berry, terracotta, or classic red turns the manicure into a visible accessory, so it works best when the rest of the look can support that decision.
Ask to see the base shade on a nail tip or one nail before committing. Polish can look different against your skin, under salon lighting, and next to the dress. The shade should make your hands look rested and balanced, not simply match a screenshot.
3. Decide whether the finish should be quiet or reflective
Gloss is the most versatile finish for wedding nails because it catches light and looks fresh in photographs. Pearl, chrome, glazed, and fine shimmer finishes add reflection without necessarily adding raised decoration. Velvet or magnetic effects create a stronger visual movement and can feel modern, but they deserve a trial if you have never worn them. Matte finishes are elegant when the outfit already has shine, although they may need more care to stay even.
Think about the lighting at your wedding. A finish that looks subtle in daylight may sparkle under reception lights. This is not a reason to avoid shine. It is a reason to decide whether you want a soft glow, a jewelry-like glint, or a statement effect.
4. Keep the detail scale intentional
A single pearl, a narrow gold line, two tiny stars, or a small flower can create a memorable accent. Detail becomes harder to wear when every nail has a different focal point, especially if the base, shape, and finish are also dramatic. Try a simple rule: choose one main detail and one supporting detail. For example, a pearl cuff can be paired with a glossy nude, while a blue accent can be paired with a clean base and no additional embellishment.
Place detail where it will be visible but not constantly catch on fabric. Raised charms, stones, and textured art may need extra consideration if you are wearing delicate lace, gloves, or a heavily embellished sleeve. A flat painted detail can give a similar impression with less practical friction.
5. Match the manicure to your maintenance tolerance
Wedding nails should survive your schedule, not only the first five minutes after the appointment. Ask how the chosen service behaves as it grows out, how much length it adds, and what happens if one nail breaks. Gel, extensions, natural nails, and press-ons can all be appropriate choices, but the practical preparation is different. Choose the option you can test and manage with confidence.
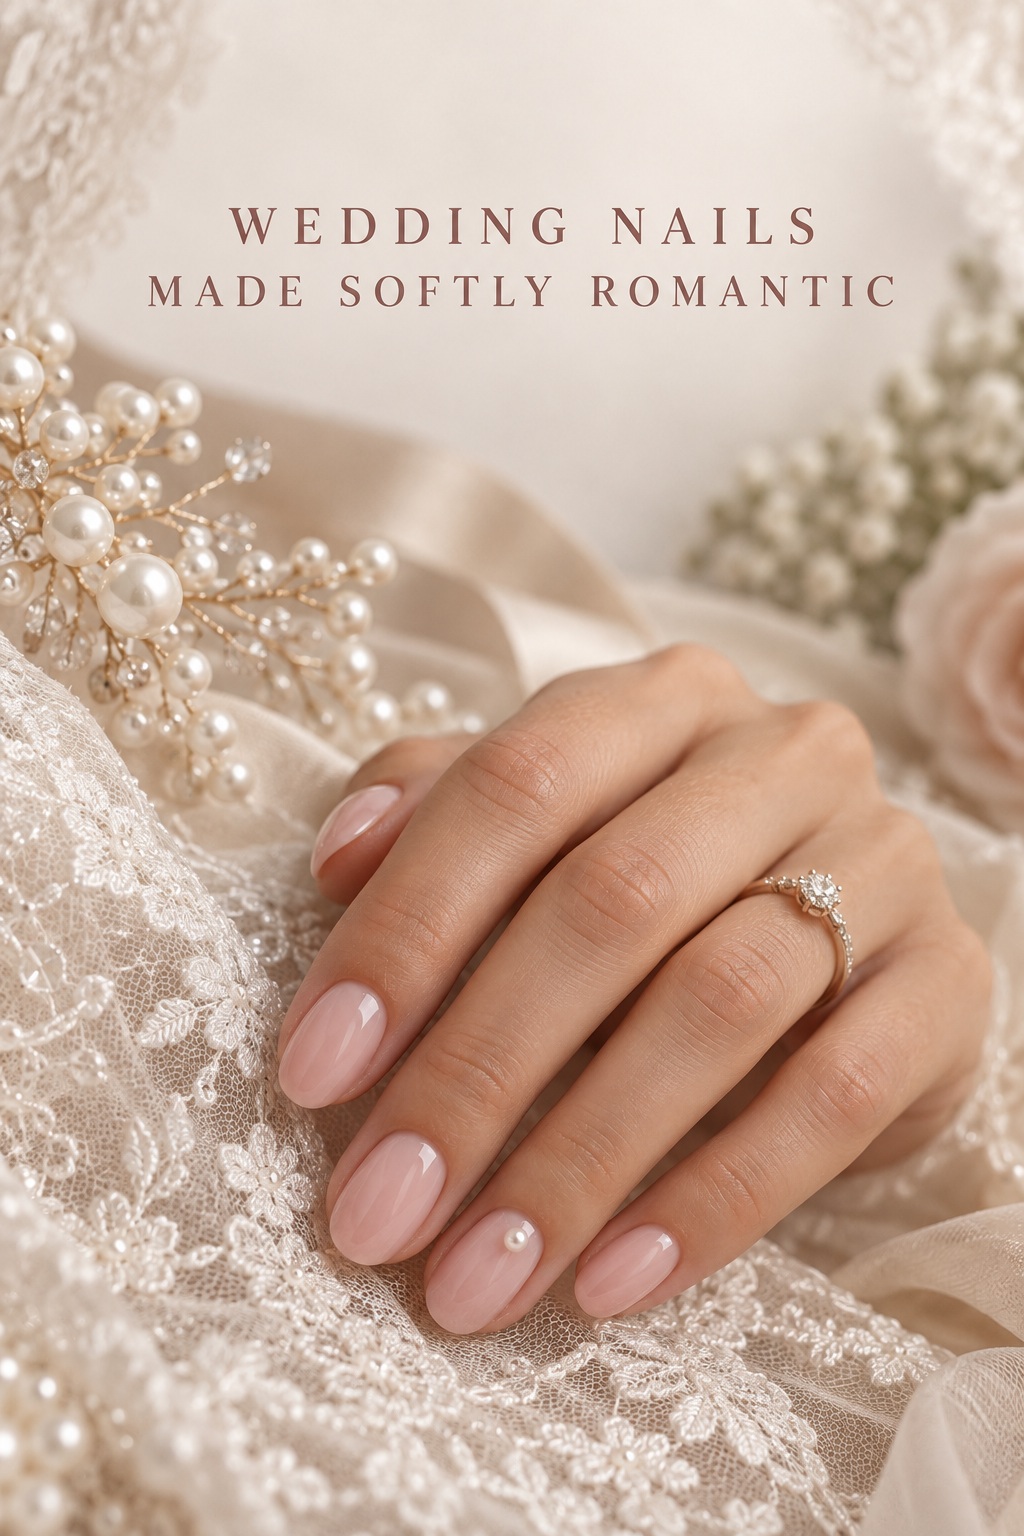
A Step-by-Step Wedding Nails Plan
Use this sequence as a flexible countdown. The exact dates depend on your nail history, service, and wedding weekend, but the order helps prevent rushed choices.
Step 1: Build a focused reference folder
Start with ten to fifteen images, then reduce them to three that share a recognizable direction. Save close-up views that show the nail shape and surface, not only a hand holding a bouquet. Write one sentence beside each reference: “I like the soft base,” “I like the narrow silver detail,” or “I like the short rounded shape.” This separates the feature you want from the exact hand, length, or filter in the photograph.
Step 2: Write your technician brief
Your brief can fit in a phone note. Include your preferred length, shape, base color family, finish, detail, metal preference, service type, and what you do not want. Add the dress fabric or jewelry tone if those details affect the manicure. A clear brief might say: “Short squoval wedding nails, translucent pink base, high gloss, very thin ivory French tip, one tiny pearl on each ring finger, no bulky charms.”
Step 3: Schedule a trial that can teach you something
A useful trial is not only a preview. It tests comfort, proportion, color, wear, and communication. Wear the shape for long enough to notice whether it changes how you use your hands. Take photos in daylight and indoor light. Hold a glass, touch a fabric similar to your outfit, and check whether the detail feels elegant or distracting when your hands are relaxed.
If you are deciding between two ideas, test the variable that matters most. One hand could have a sheer base and the other a more opaque base. You could compare a pearl accent with a painted accent. This gives you a real preference instead of asking your memory to compare two screenshots.
Step 4: Confirm the final service and timing
Once the trial is settled, confirm what is included in the final appointment. Ask whether the service covers shaping, removal, repair, extension length, art, and top coat. Share the final reference again rather than assuming the original image is still attached to the booking. If you have a rehearsal dinner, travel, or several wedding events, explain the whole schedule so the service can be planned around it.
Step 5: Protect the finished set
After the final manicure, keep a small care kit with hand cream, nail oil, a file, and any repair item your technician recommends. Avoid using your nails as tools. If you are traveling, pack products securely and keep a photo of the final shape or color note in your phone. The aim is simple: make a small problem easy to handle rather than allowing it to become a wedding-day emergency.
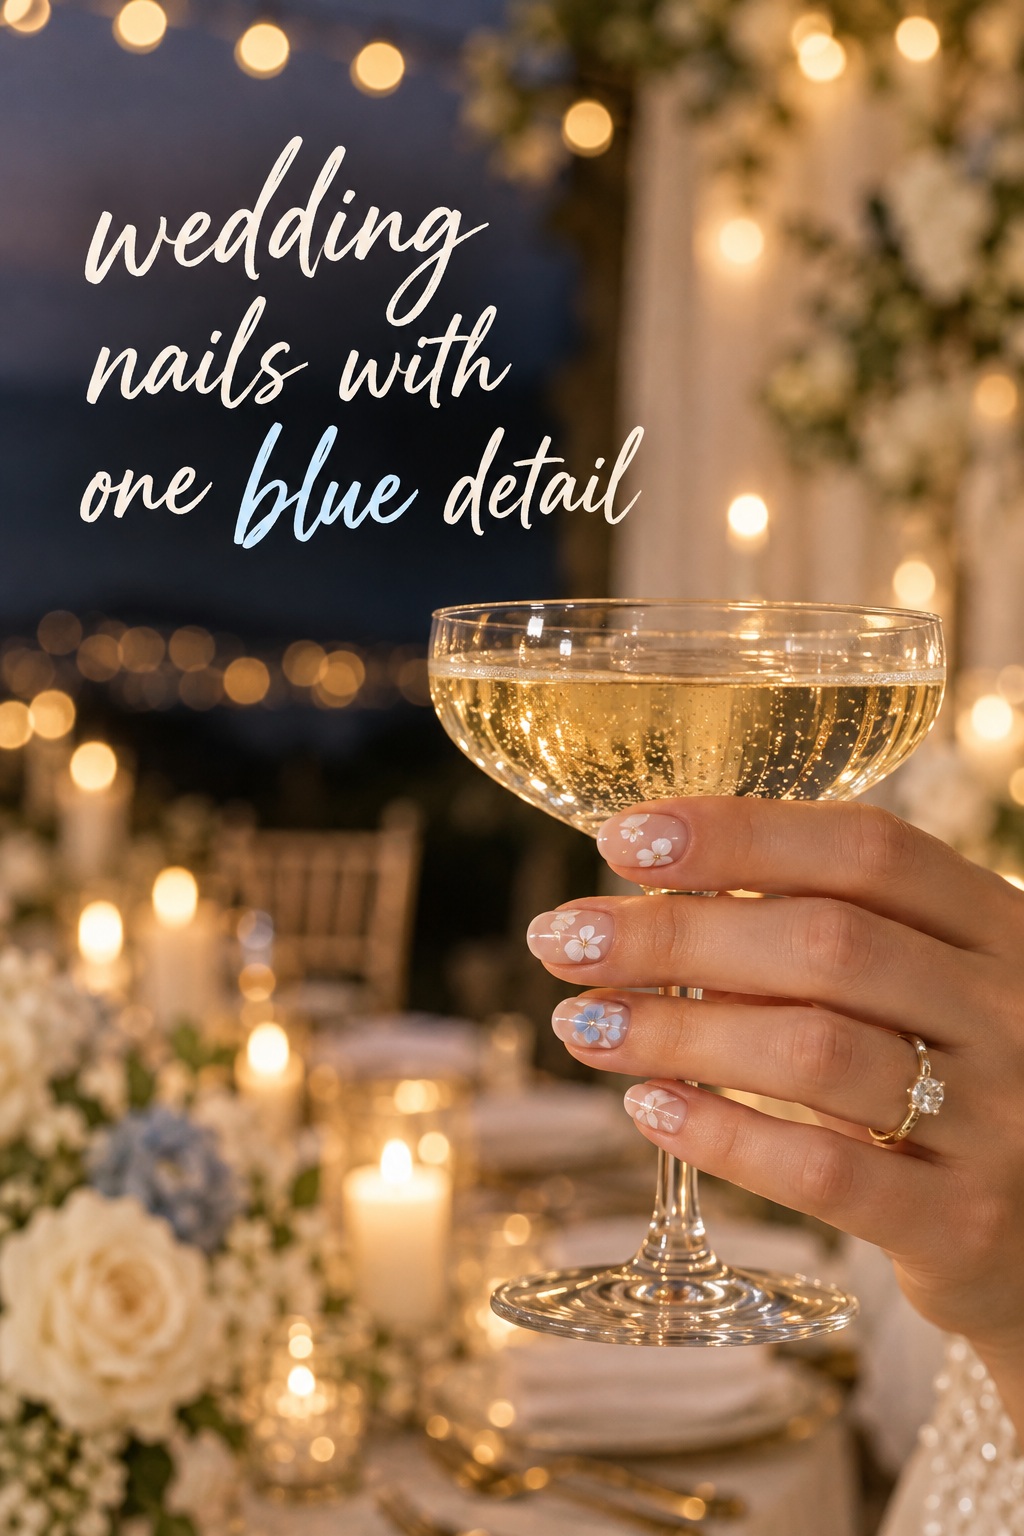
Wedding Nail Ideas by Look and Situation
These formulas are starting points. Bring the one that matches your priorities, then adjust the shape, color, and detail scale to your hands.
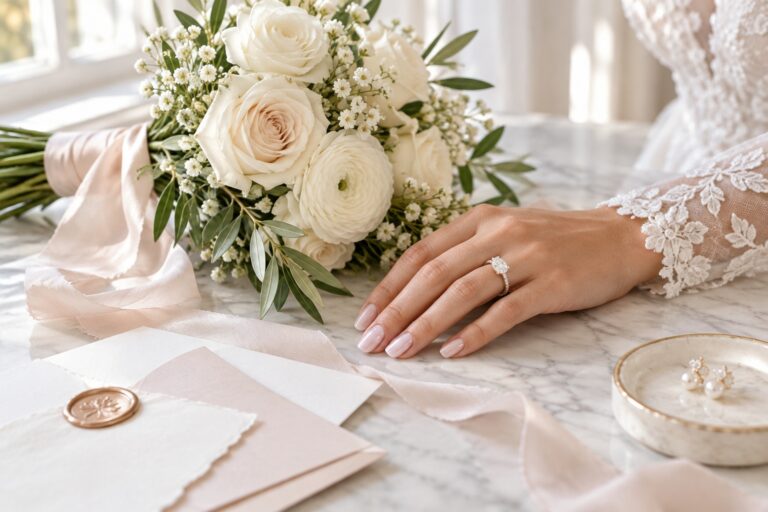
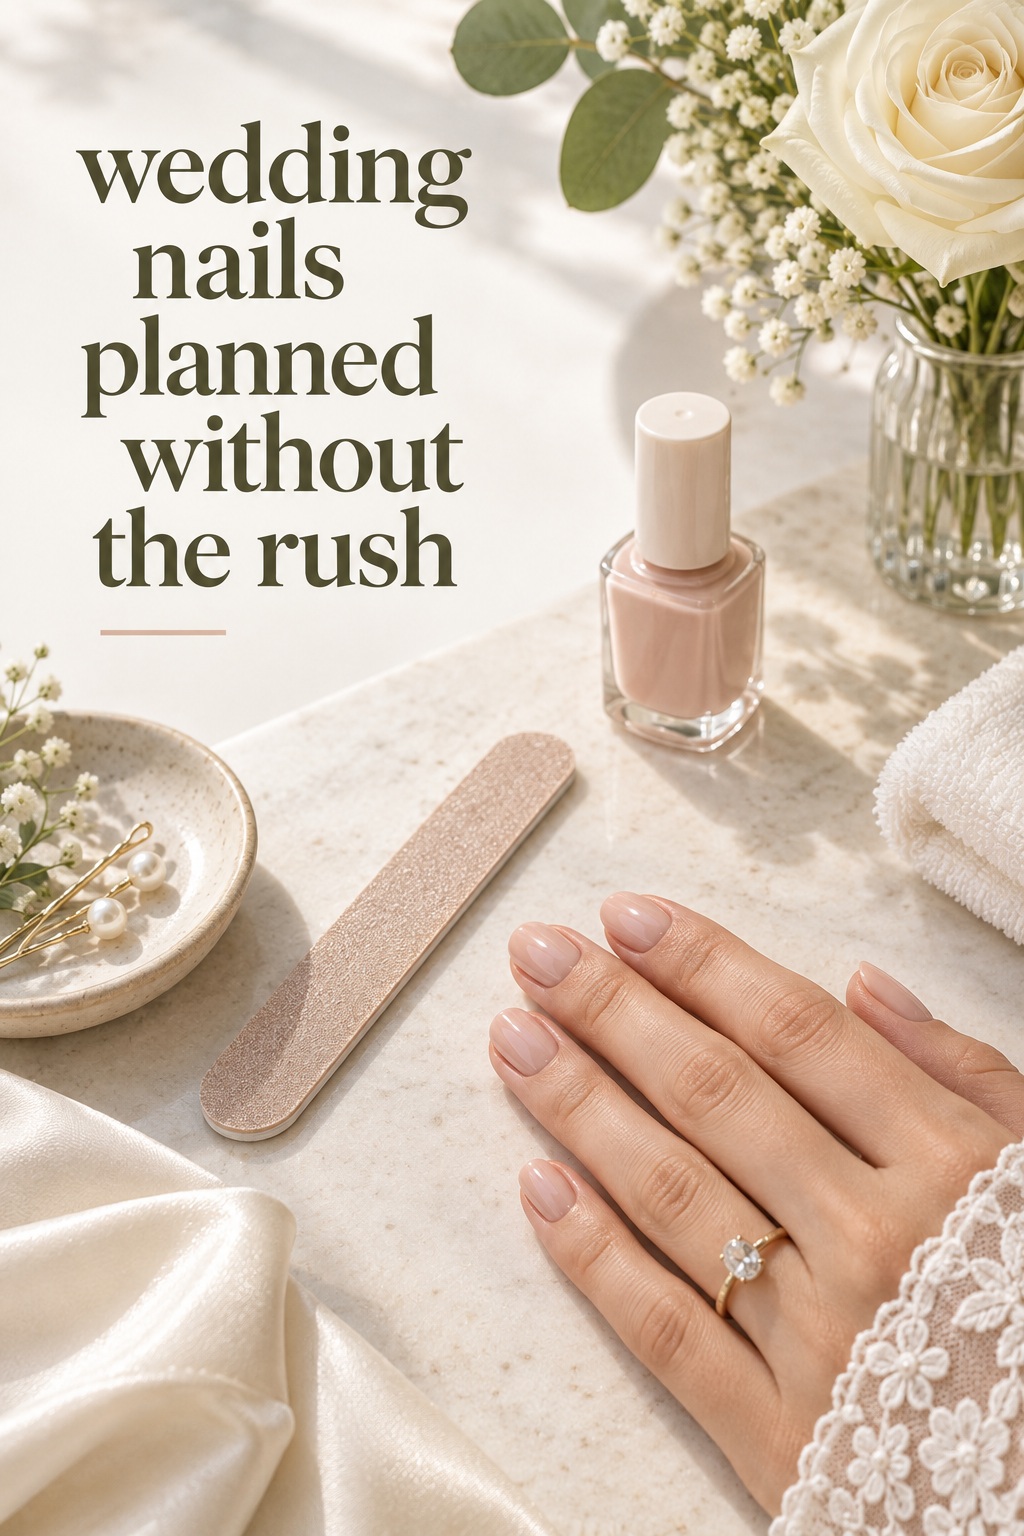
- Quiet classic: short or medium oval nails, a translucent blush or nude base, and a glassy top coat. Add a barely visible shimmer if you want the hands to catch light without looking decorated.
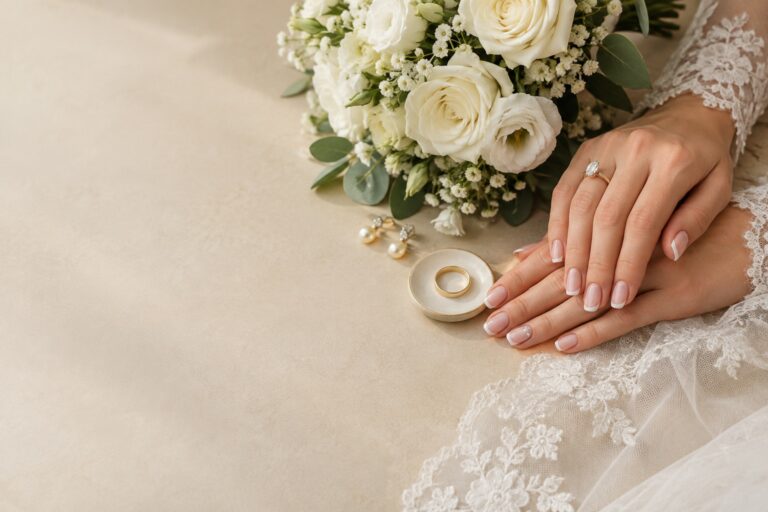
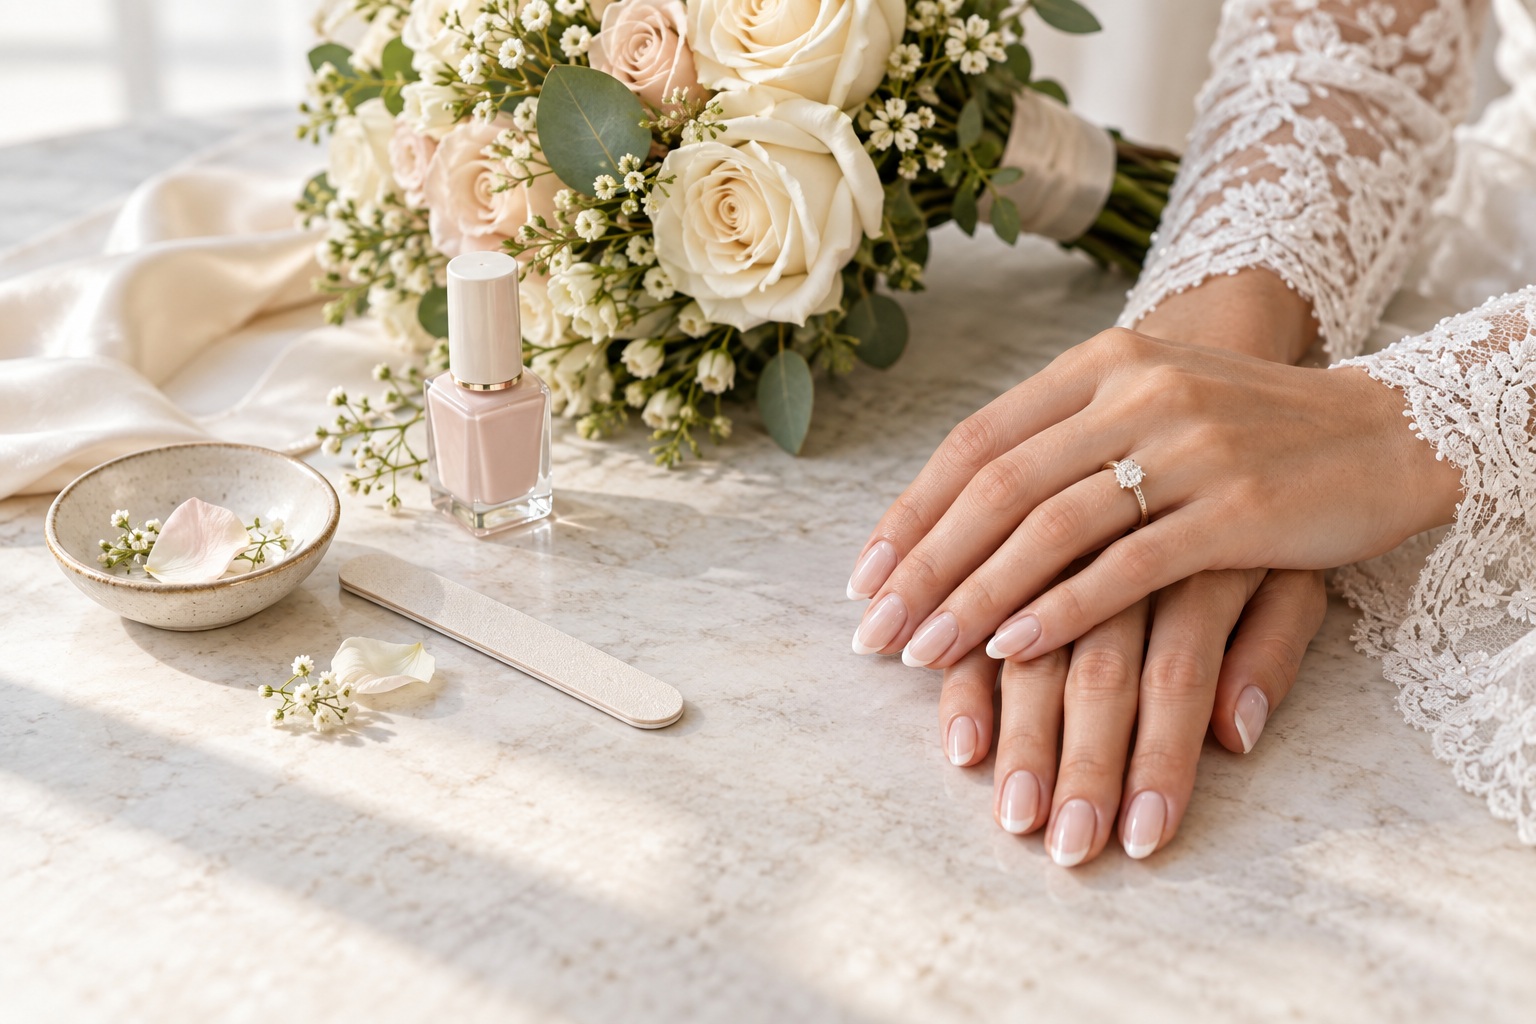
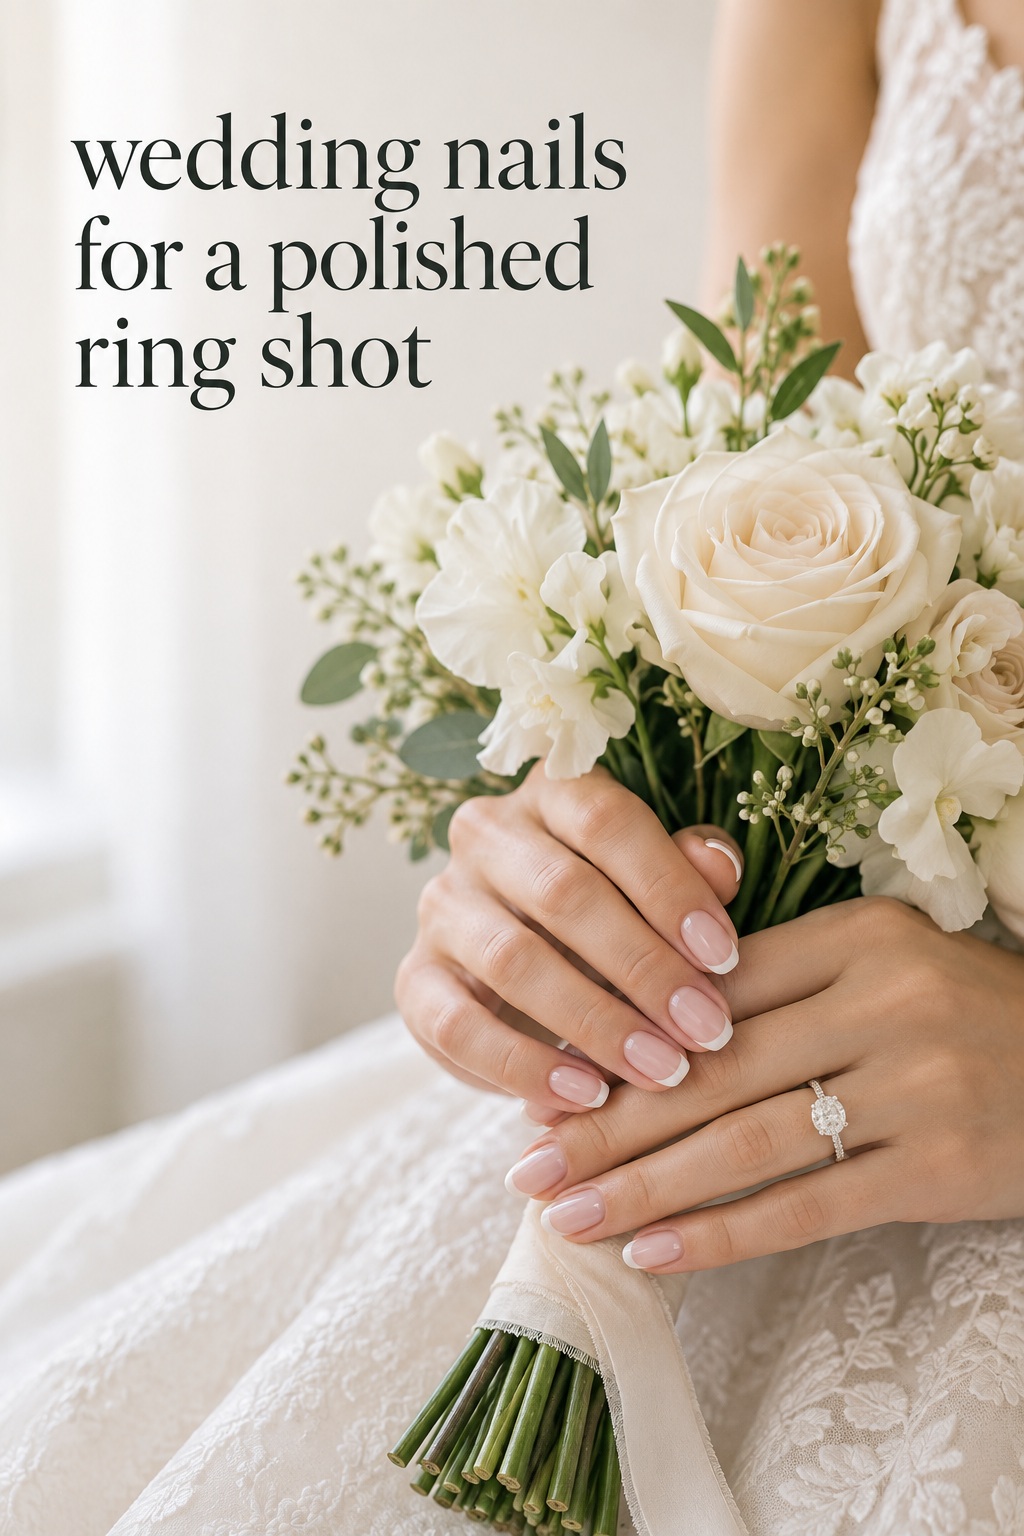
- Soft French: a milky or sheer pink base with a thin cream, white, or metallic tip. Ask for the line to follow your nail shape rather than forcing a very wide tip onto a short nail.
- Modern pearl: a clean nude or clear base with one pearl detail, a pearl cuff, or a few flat pearl accents. Keep the rest of the manicure calm so the texture reads as jewelry.
- Romantic floral: use a petal pink, milky, or clear base with tiny painted flowers on one or two nails. Repeat a flower shape from the bouquet only if it remains legible at a small scale.
- Metallic minimal: choose one metal that relates to your rings or other accessories. Fine gold, silver, or rose-gold lines can outline a tip, create a reverse French, or mark one corner of the nail.
- Something blue: place a soft blue accent in a micro-French, a sheer wash, a tiny star, or one small painted detail. This keeps the color meaningful without making it the only thing visible.
- Short and polished: use a single creamy nude, warm pink, red, or deep berry shade on short rounded or squoval nails. The strong color and tidy shape provide enough structure without art.
- Statement bride: select one dramatic element, such as a chrome finish, sculpted bow, saturated red, or graphic tip, then simplify the base and keep the shape comfortable.
- DIY or press-on plan: choose a design with a forgiving base, order or create a test set, and practice application before the wedding week. Keep a spare nail or backup set only if you have tested how it wears.
Do not feel obligated to make every nail identical. A controlled mix can look personal when it follows a system. Keep the same base and vary only the tip. Keep the same finish and place the detail on two nails. Or alternate two close neutrals rather than combining several unrelated colors. Repetition is what makes a mixed manicure feel cohesive.
Mistakes to Avoid Before the Big Day
- Choosing from a single edited photo: ask what the color, length, and finish look like in ordinary light.
- Changing everything at the final appointment: use the final visit to refine a tested direction, not to discover whether you enjoy extensions or heavy texture.
- Ignoring your usual habits: if you type, work with children, play an instrument, or travel with your hands, choose a length you can actually use.
- Sending too many conflicting references: three related images and a short written brief are more helpful than a full mood board with five different aesthetics.
- Matching the dress too literally: a manicure can coordinate through undertone, metal, or finish without copying lace, embroidery, or every flower.
- Forgetting the removal plan: ask how the service should be removed and schedule that care instead of picking or peeling the product.
- Skipping the photo check: look at the hands from the distance a photographer will use. A detail that feels large in a salon close-up may look perfectly balanced in a ring photograph.
One more mistake is believing that timeless means invisible. A timeless wedding manicure can still have character. The test is whether the main idea feels connected to you and the day, rather than whether it follows a rule about neutral polish. If a red nail, blue detail, pearl, or chrome tip makes you feel more like yourself, the planning principles still apply. Keep the proportions considered, test the service, and make the choice on purpose.
Sources and Methodology
This guide was built from a US English search review for “wedding nails,” including ten organic results and page-level notes. The design categories reflect recurring ideas across professional and editorial roundups, while the planning sequence and styling recommendations are practical synthesis rather than claims of personal testing. For professional perspectives on understated, personal bridal manicures and photo-ready wedding nail ideas, see Vogue and Allure.
FAQ
How far in advance should I plan my wedding nails?
Start collecting references when you are planning the rest of your beauty look, then schedule a trial early enough to test shape, length, and service. The final appointment should be a confirmed version of the trial, with enough time in your schedule for a small repair or adjustment if needed.
What nail shape is best for wedding photos?
There is no single best shape. Almond and oval shapes create a tapered, romantic line, while squoval and short rounded shapes look crisp and polished. Choose the silhouette that suits your natural nails and that you can wear comfortably for the entire wedding day.
Are French wedding nails still a good choice?
Yes. French wedding nails are adaptable because the base, tip width, color, and finish can all change. Try a milky base with a fine cream tip for a soft result, a metallic tip for a modern look, or a colored micro-French when you want a small personal accent.
Should I choose gel, extensions, natural nails, or press-ons?
Choose the service you can test and maintain confidently. Natural nails are ideal when you like your current length. Gel or extensions can create a specific shape or added durability, while press-ons can be useful when you prefer a portable option. A trial matters more than the label because it shows how the choice feels on your hands.
How can I make wedding nails coordinate with my dress?
Coordinate through one shared element instead of copying the dress. Match a warm or cool undertone, repeat the metal in your jewelry, echo a soft shimmer, or use a tiny floral or blue detail. Keeping the relationship subtle usually makes the full look feel more polished.
What should I bring to a wedding nail appointment?
Bring three related references, your written choices for length and shape, and a note about your dress fabric, jewelry metal, and schedule. Also bring a clear list of what you do not want. This gives your technician both a visual direction and practical boundaries.
Can wedding nails be colorful and still look bridal?
Absolutely. A saturated red, soft blue, berry, or warm terracotta can look bridal when it supports your personal style and the scale of the full look. Keep the shape tidy, test the shade in the wedding lighting, and decide whether the color is the main feature or an accent.
What should I do if one nail breaks before the wedding?
Contact your nail technician instead of repairing it aggressively at home. Keep the broken area clean, avoid picking or peeling product, and use the small file or repair item recommended for your service. A calm repair plan is one reason to schedule the final manicure with a little room around it.