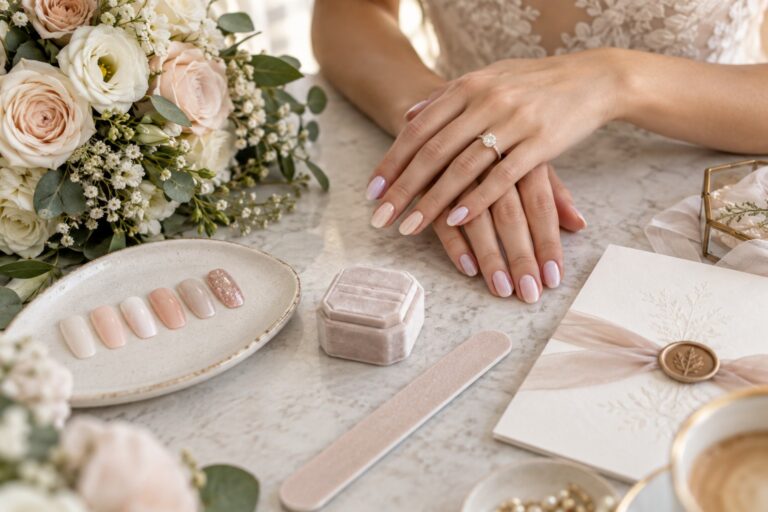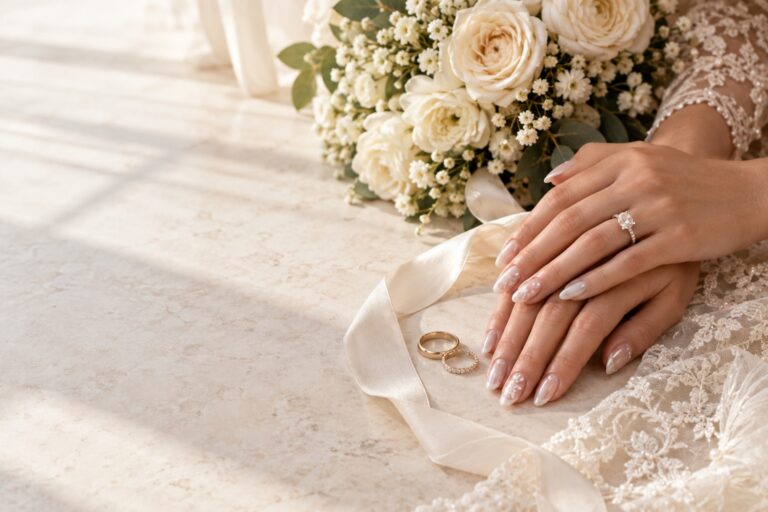
Short Wedding Nails: A Bride’s Complete Checklist
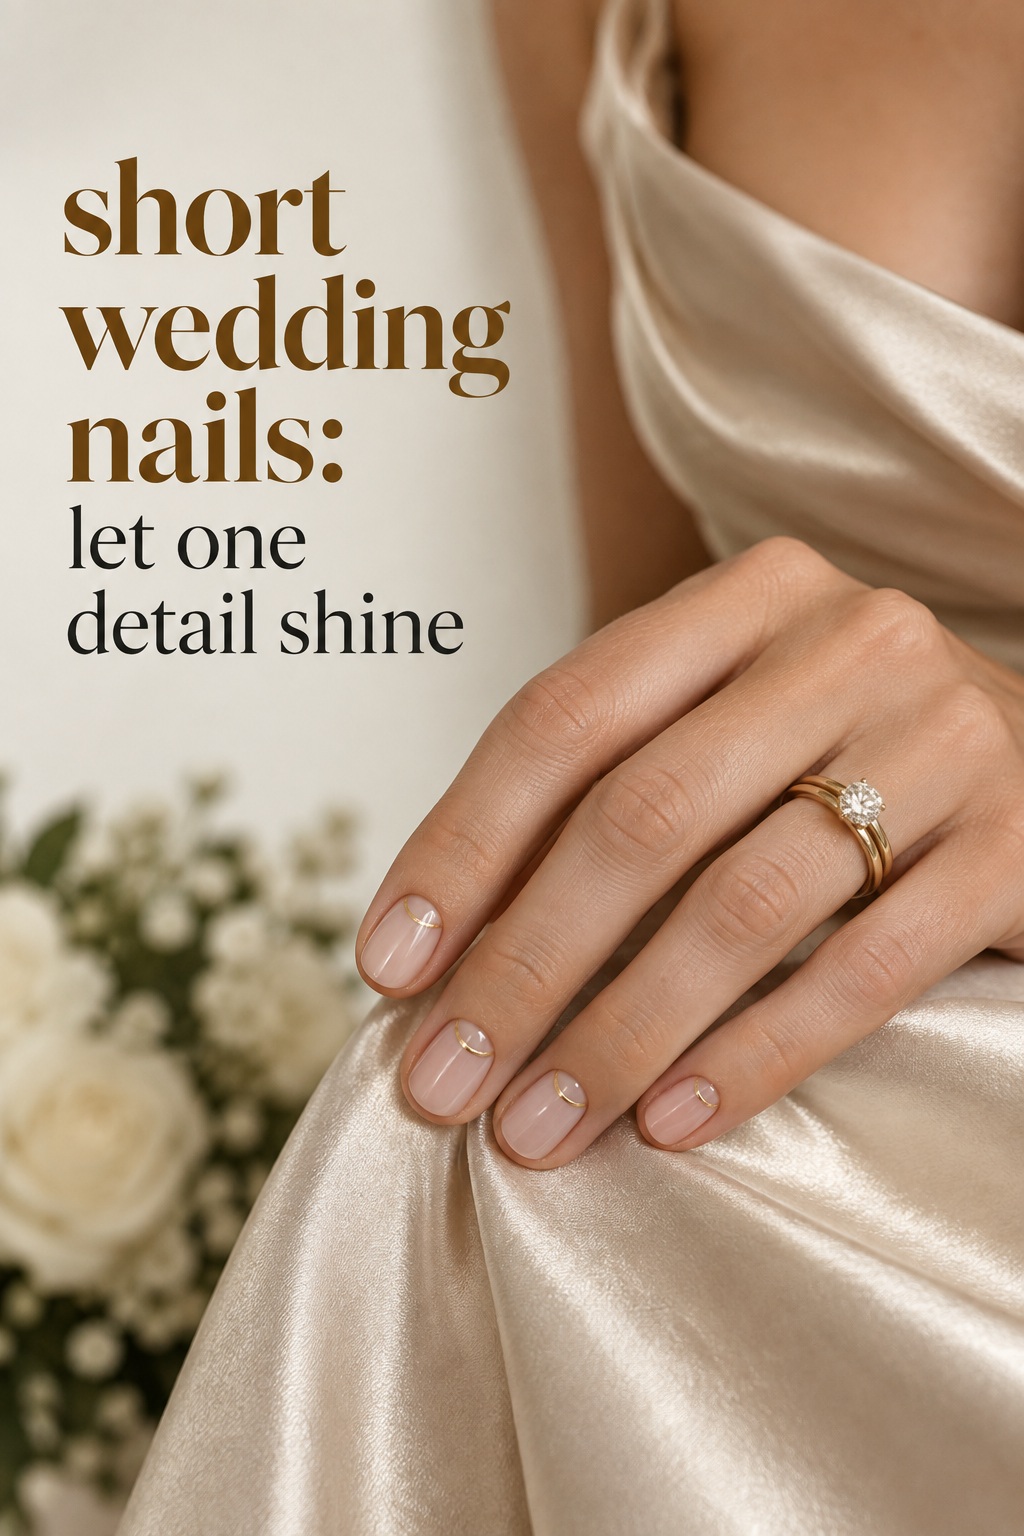
Short wedding nails can look every bit as bridal as a long extension set, but they reward a more intentional plan. When there is less length to work with, the shape, base color, finish, and small details all need to cooperate. That is good news for a bride who wants a manicure that feels polished in ring photos, comfortable during the ceremony, and realistic for everyday life after the wedding.
This checklist is designed to help you make the decision in the right order. Start with what your natural nails can comfortably support, then match the manicure to your dress, jewelry, flowers, and photography. You will also find practical formulas for different bridal styles, a salon-ready brief, a trial timeline, and a small repair kit that can prevent one tiny chip from becoming a wedding-day crisis.
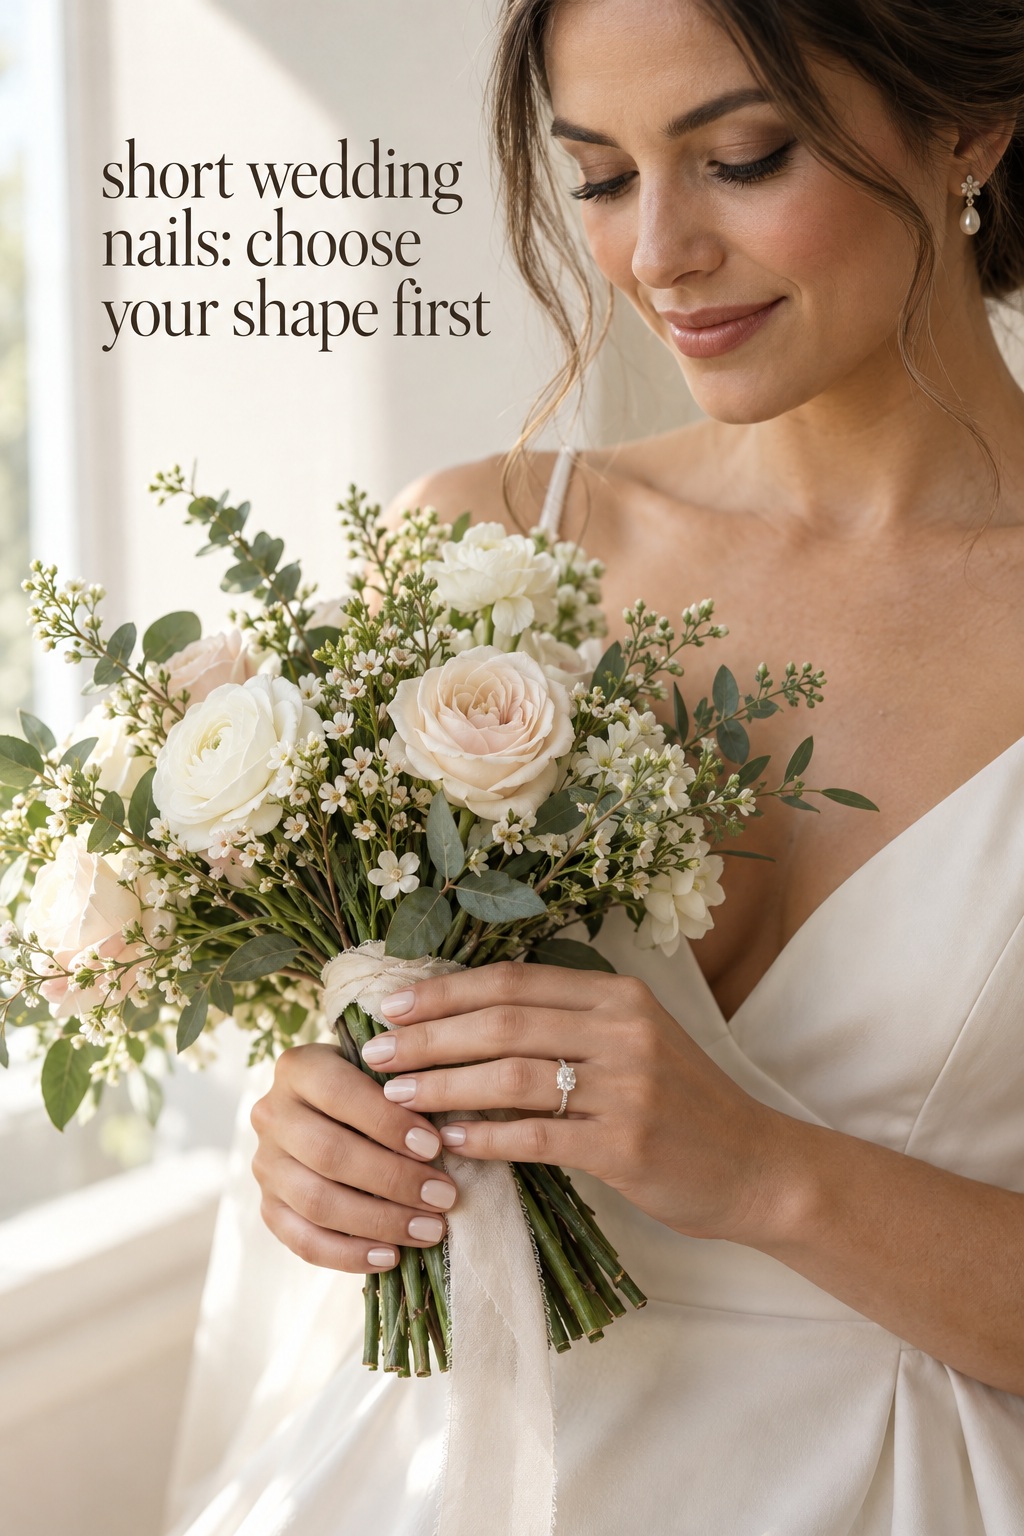
The goal is not to copy the most elaborate photo in your inspiration folder. It is to leave your appointment with short wedding nails that still feel like you, only more considered and camera-ready.
Turn wedding inspiration into a plan you can actually follow.
Zarellea brings your guest list, budget, vendors, and day-of details into one shared space — so no beautiful idea gets lost in the shuffle.
Preparation: Define the outcome before choosing a design
Before you compare colors or save another French tip, write down the practical conditions your manicure has to meet. Short nails are often chosen because they feel natural, work with a busy schedule, or reduce snagging and breakage. Those advantages disappear if the design requires constant repairs or feels unfamiliar the moment you pick up your bouquet.
Check your starting length and strength
Look at your nails in natural light about six to eight weeks before the wedding. Note whether they split at the corners, peel in layers, grow unevenly, or feel tender after trimming. A good manicure can improve the appearance of the nail, but it cannot turn damaged nails into a different starting point overnight. If one or two nails are much shorter, ask whether a tiny repair or a short overlay would create a more even result without adding noticeable length.
Take a simple photo of both hands from above and another with your fingers gently curled. This shows the length that will appear in ring, invitation, bouquet, and champagne photos. It also gives your nail artist a useful reference before the appointment.
List the moments your hands will be part of
Wedding nails are visible in more situations than many brides expect. Your hands may hold the bouquet, carry a glass, button a cuff, exchange rings, sign paperwork, cut the cake, adjust a veil, and rest on your partner’s jacket. Use those moments as a design test. If you want every detail to read clearly, a simple base with one deliberate accent is usually easier to photograph than a crowded pattern on every nail.
- Save one close-up ring photo and one full bridal portrait as references.
- Check whether your ring metal is yellow gold, white gold, rose gold, or mixed.
- Notice whether your dress has lace, pearls, sequins, satin sheen, or clean tailoring.
- Decide whether you want the manicure to blend quietly or act as a small accessory.
- Write down anything you need to do with your hands that could affect durability.
These notes turn a vague search for short wedding nails into a clear brief. They also keep you from choosing a style only because it looked beautiful in a dramatically lit close-up.
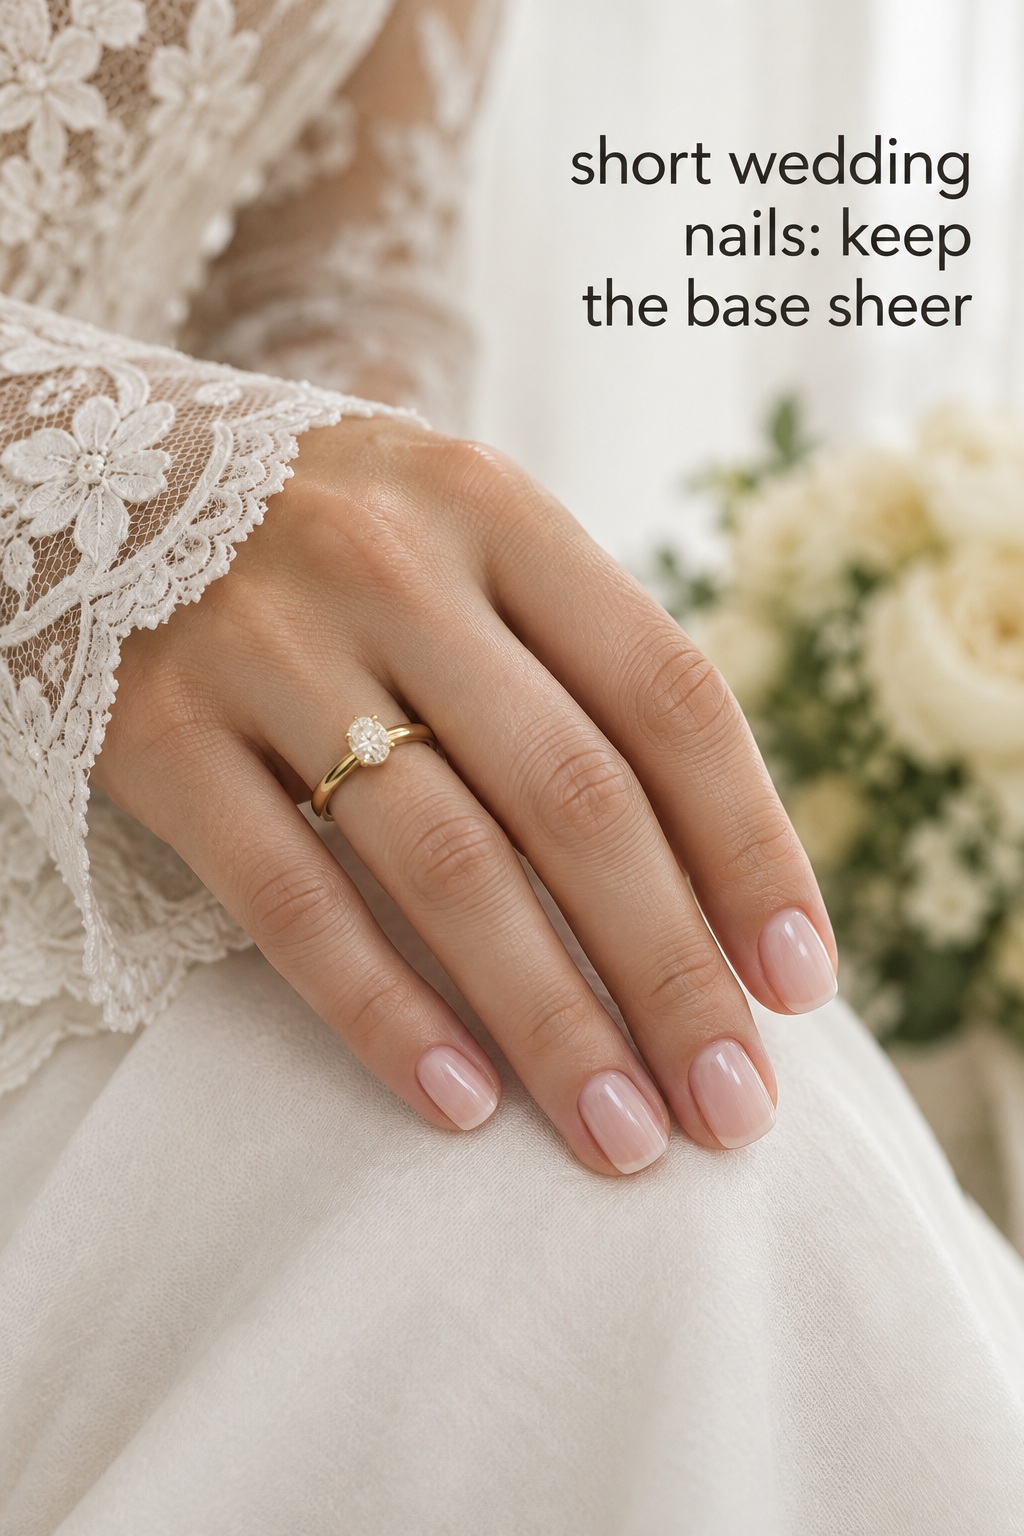
Decision checklist: Shape, base, finish, detail, and durability
Make the choices in this sequence rather than deciding everything at once. Shape affects the visual length of the nail. Base color affects how clean and soft the hands look. Finish controls the amount of light. Details create personality, while the wear system determines how confidently the manicure can survive the day.
1. Choose a shape that respects the nail you have
A short squoval, which combines a softly rounded edge with a gentle square, is a dependable choice when you want a neat, balanced outline. It works especially well when the natural nail bed is wider or when you want the tips to feel practical. A short round shape can look soft and low-maintenance, particularly with a sheer polish. A short oval or almond can create a more elongated impression, but it needs enough sidewall length to avoid looking pinched.
Ask your nail artist to show you the shape from the side as well as from above. A short nail can look elegant in a flat image but feel too steep, thick, or narrow in profile. The best shape follows your natural growth rather than forcing every finger into the same silhouette.
2. Select the base color by undertone and dress color
Sheer pink, milky white, soft beige, and translucent peach are popular because they keep the hand looking fresh without competing with the rest of the bridal look. The right neutral should make your skin look rested rather than gray, chalky, or overly yellow. Compare a few swatches beside your fingertip and near your ring, not only against the dress.
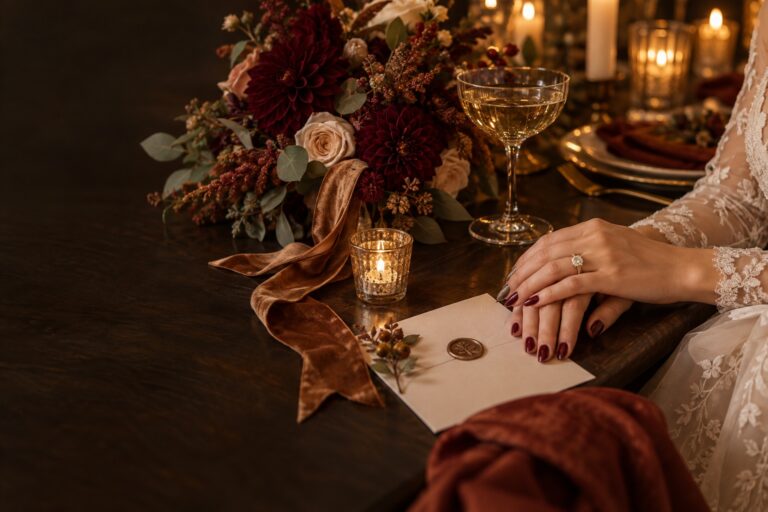
If your dress is bright white, a milky or pink-leaning base can create softer contrast than a stark white polish. If the dress is ivory, cream, champagne, or warm satin, a neutral with a little beige or peach may connect the manicure to the fabric. A muted blue, rose, berry, or red can work beautifully when it repeats a bouquet color, lipstick, shoes, or stationery detail. The point is not strict matching. It is visual conversation.
3. Use the finish to control the mood
High gloss makes short nails look freshly polished and catches light in ring photographs. A soft satin or velvet finish feels quieter and can complement matte stationery, lace, or a minimalist dress. Pearl or chrome effects add a reflective layer, but they are most successful when the base remains calm. If the manicure already has a strong shape, bold color, and detailed art, a simple gloss may be the better final decision.
4. Add one clear detail instead of many competing ones
Short nails have a smaller canvas, so details need room to breathe. A micro French tip, a reverse French line, a single pearl, tiny gold or silver dots, a narrow chrome edge, or a softly diffused ombre can provide enough interest. You can also place the detail on two accent nails and keep the other nails clean. This creates rhythm in photographs without making every finger demand attention.
When you share inspiration with your nail artist, identify the part you love. It may be the base color, the shape, the thinness of the tip, the placement of a pearl, or the contrast between matte and gloss. Saying what should be preserved is more useful than sending a collage of unrelated designs.
5. Choose the wear system with the wedding schedule in mind
Regular polish can be a good fit if you prefer a simple removal process and have time for a close-to-the-day appointment. Gel polish or another professional long-wear option may be useful when you want a glossy finish with less worry about drying time. Extensions or a structured overlay can even out length, but they should be tested well before the wedding if they are new to you. The safest system is the one you have worn comfortably before, not the one that looks most impressive in a single image.
Ask how the chosen system will be removed, how it behaves on your natural nails, and what to do if an edge lifts. Do not make the wedding week the first time you test a new product family, aggressive shape, or unusually detailed embellishment.
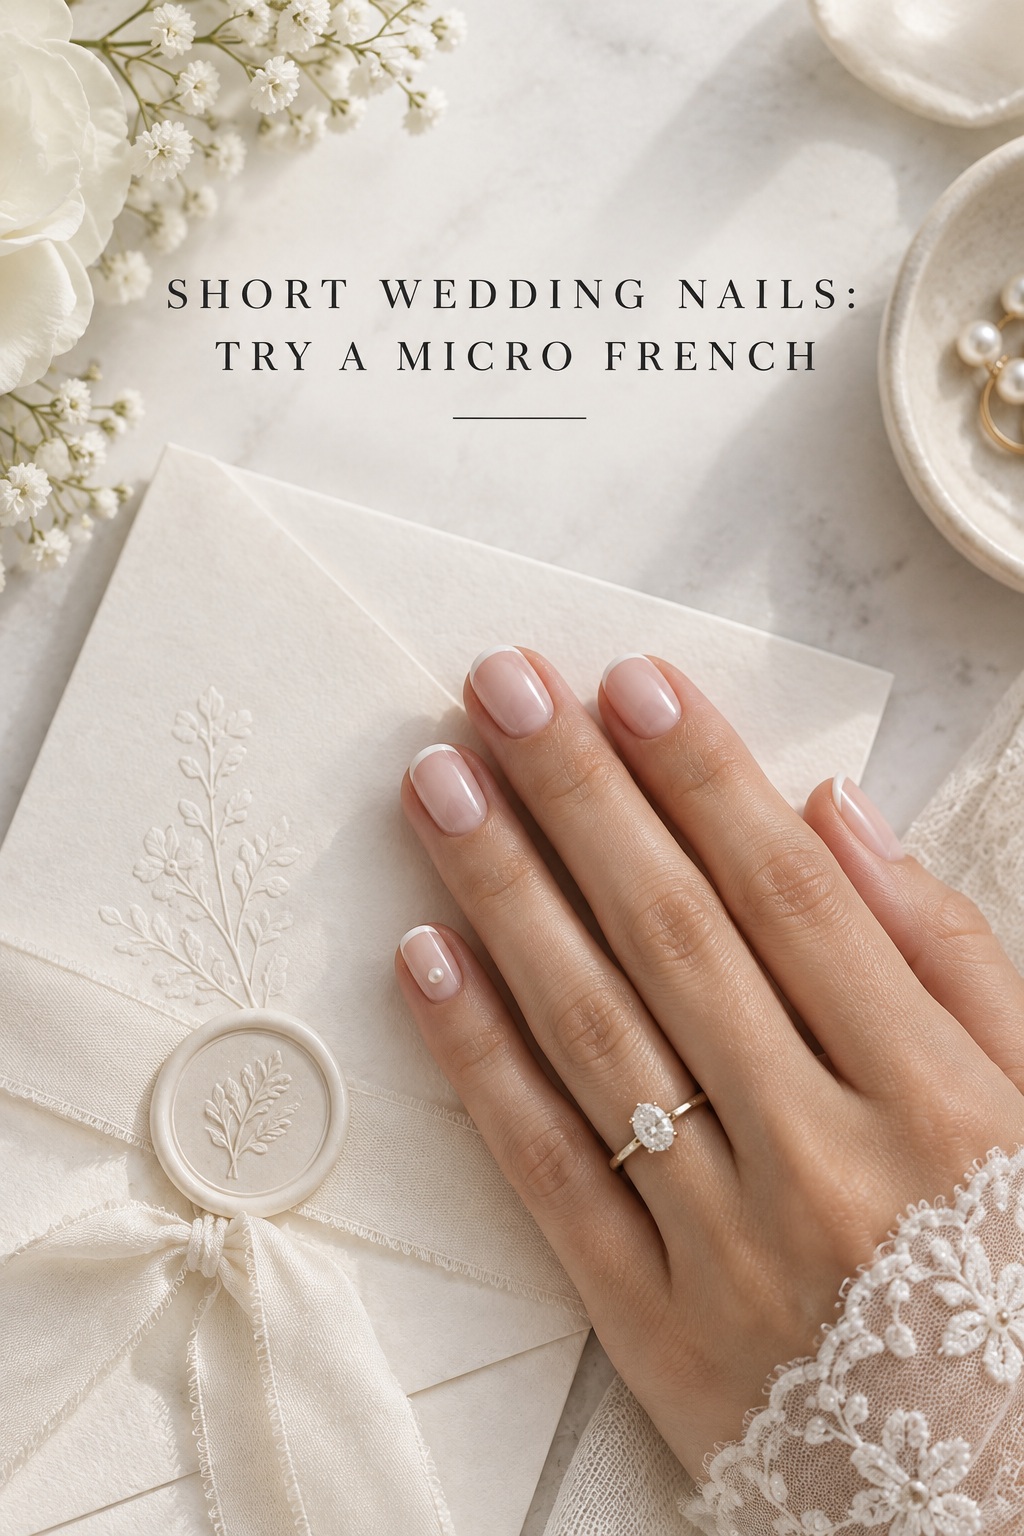
Worked formulas for different bridal situations
Use these formulas as starting points, then adjust the color and detail to your own hands. Each one keeps short nails at the center rather than treating them as a compromise.
For the bride who wants timeless and almost invisible
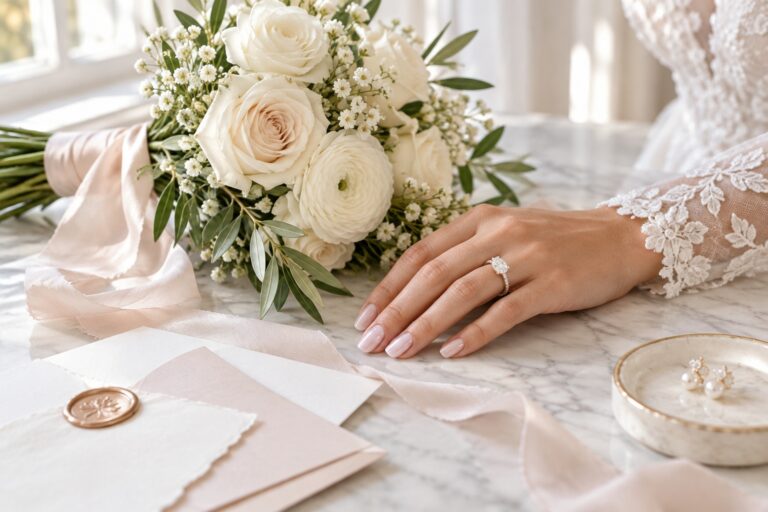
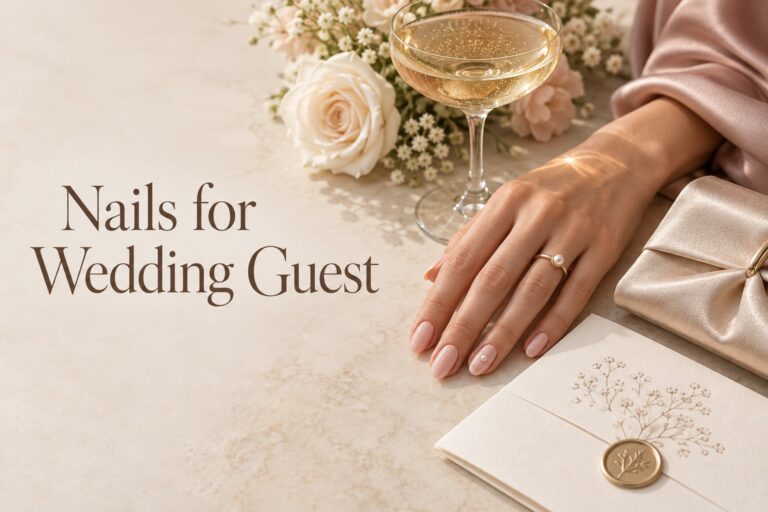
Choose a short squoval or soft round shape, a sheer pink or beige base, and a high-gloss finish. If you want one small detail, add a barely visible pearl or a thin line at the cuticle on the ring fingers. This formula is easy to coordinate with lace, satin, pearls, and almost any bouquet. It also keeps the focus on the ring and allows your hands to look polished without announcing the manicure before the rest of the outfit.
For the bride who wants a classic manicure with definition
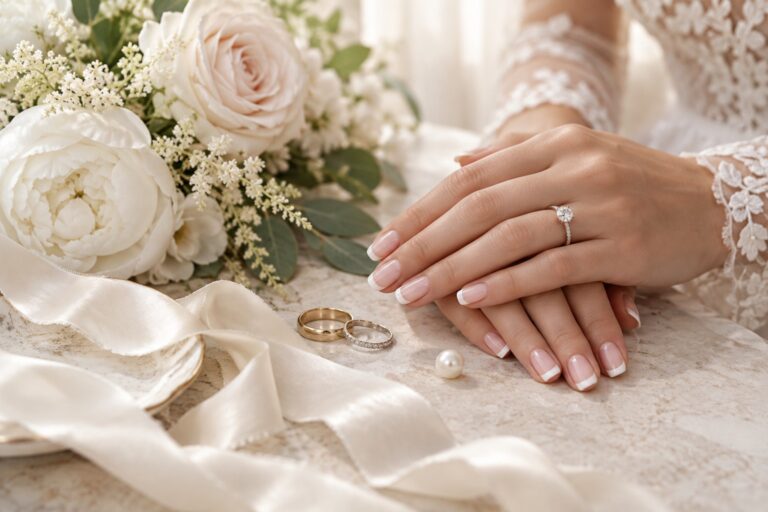
Start with a neutral base that disappears into your skin, then request a micro French tip or a slightly deeper French tip depending on your nail length. On very short nails, a thin edge often looks more balanced than a wide one. If pure white feels harsh, ask for soft white, ivory, or a translucent pearl. Keep the tip consistent across every nail and test it with your ring before adding glitter or chrome.
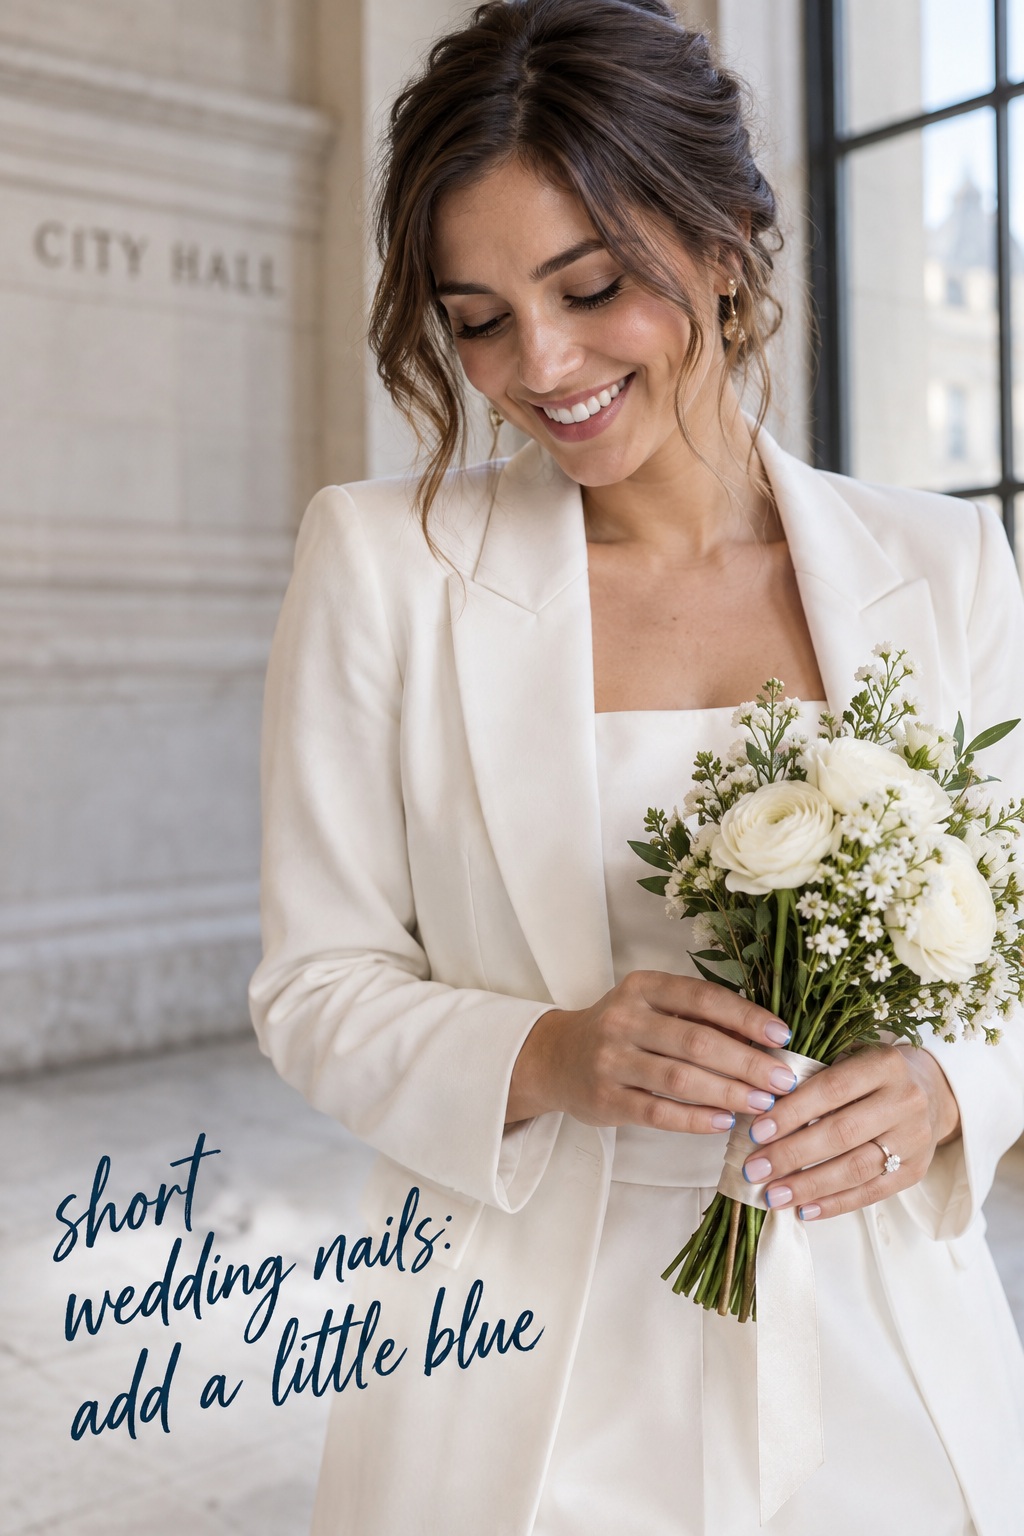
For the bride who wants something blue without a full blue manicure
Use a sheer blush or milky base and add a small blue detail: a blue micro tip, one blue accent nail, a tiny blue dot near the cuticle, or a cool-toned chrome edge. This gives the tradition a personal interpretation while keeping the overall manicure bridal. Choose a blue that appears somewhere else in the wedding design if you want the connection to feel intentional in photographs.
For the bride with a modern dress or graphic venue
Try a short oval or squoval with a translucent base and one clean graphic idea, such as a reverse French, an asymmetrical metallic line, a negative-space curve, or two-tone tips. Keep the palette narrow. One base, one line color, and one finish are usually enough to make the manicure feel architectural rather than busy. This works well with tailored suiting, city hall ceremonies, contemporary florals, or a minimalist reception design.
Final review: Turn your idea into a salon-ready plan
Once you have chosen the direction, create a short brief that your nail artist can read in under a minute. Include the target length, shape, base color family, finish, accent placement, and what must remain subtle. Add a photo of your dress or fabric, a ring photo, and one example of the detail you want. If you are bringing several references, mark one as the main reference and explain which parts of the others are optional.
Schedule a trial and test the manicure in real life
Book a trial early enough to change course without pressure. Wear the shape and finish for ordinary tasks, take a few phone photos in daylight, and look at your hands beside the ring. Notice whether the tips catch on clothing, whether the color photographs too white or too gray, and whether any embellishment feels uncomfortable when you fasten a button or hold a glass.
During the trial, ask the artist to photograph the manicure from the angle your photographer is likely to use. A design that looks beautiful straight on may lose its detail when your fingers are curled around the bouquet. Use the trial to simplify. Removing one accent can make the entire set more coherent.
Use a simple wedding-week timeline
- Six to eight weeks out: decide whether you are keeping natural nails, testing a short overlay, or changing shape.
- Three to four weeks out: complete the trial, photograph it, and confirm the products and removal plan.
- One to two weeks out: focus on gentle hand care and avoid experimenting with harsh treatments or unfamiliar enhancements.
- The final appointment: use the tested shape, color, and finish, then check every edge before leaving.
- The wedding morning: apply the recommended cuticle oil and hand cream only if they are compatible with the finished manicure and photographer’s timing.
Your exact appointment day depends on the product and your artist’s recommendation. The useful rule is simple: repeat a successful test rather than introducing a surprise during the final week.
Pack a tiny repair kit
Ask your salon for the exact polish shade or a small touch-up amount if possible. Add a mini file, a small piece of nail glue only if your artist recommends it for your system, a clean cotton swab, and hand cream. Keep the kit with a trusted person rather than buried at the bottom of a getting-ready bag. The aim is not to repair everything yourself. It is to have the right tools available for a calm, quick fix.
Avoid filing aggressively on the wedding day or pulling off a lifted enhancement. If a nail breaks or an embellishment comes loose, ask your nail artist, planner, or designated helper to follow the repair instructions you received. Short wedding nails are at their best when the plan includes both the beautiful version and the realistic backup.
Sources and methodology
This checklist was developed from a US English search review of bridal nail galleries and professional nail-artist guidance, including The Knot’s short wedding nail round-up and Allure’s wedding manicure advice. Those sources helped identify recurring choices such as short squoval shapes, sheer bases, French variations, subtle metallic details, cuticle care, and advance testing. The selection framework, salon brief, photo test, and repair-kit sequence are editorial recommendations for organizing those choices around a bride’s real constraints.
Read the reference galleries for visual examples, then use your own ring, dress, schedule, and nail history as the final filter: The Knot short wedding nails and Allure wedding nail ideas.
FAQ
Can short wedding nails still look elegant?
Yes. A clean shape, carefully chosen neutral, glossy finish, and tidy cuticles can look extremely polished at a short length. Elegance comes from proportion and finish, not from adding extra length.
What is the best short nail shape for a bride?
Short squoval is a versatile starting point because it follows a practical outline while softening the corners. Short round, oval, or almond can also work when they suit your natural nail bed and daily comfort.
Are French tips flattering on short wedding nails?
They can be very flattering when the tip is scaled to the available length. A micro French or soft, narrow tip usually keeps the nail looking balanced. Ask your artist to test the width on one nail before committing to the full set.
When should I get short wedding nails done?
Use your trial to learn how long your chosen system stays fresh, then schedule the final appointment according to that result and your nail artist’s advice. Regular polish is often timed closer to the event, while a tested long-wear system may be done earlier.
Should my short wedding nails match my wedding dress?
They do not need to match exactly. They should sit comfortably beside the dress, ring, flowers, and other accessories. Use a soft neutral to blend, a metallic to echo jewelry, or a small color accent to connect with the broader wedding palette.
How do I keep short wedding nails from looking too plain?
Choose one intentional detail rather than adding several unrelated ones. A thin French line, one pearl, a subtle chrome edge, a reverse French, or two accent nails can give a short manicure personality while preserving a clean bridal finish.
What should I tell my nail artist?
Share the target length, shape, base color family, finish, accent placement, dress or ring references, and any comfort limits. Explain what you love in your reference image and what should stay subtle. That brief gives the artist a clear goal without asking them to guess.