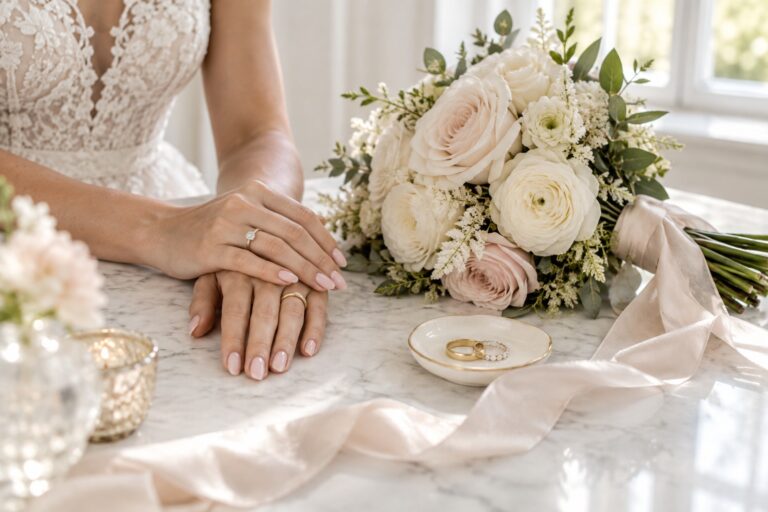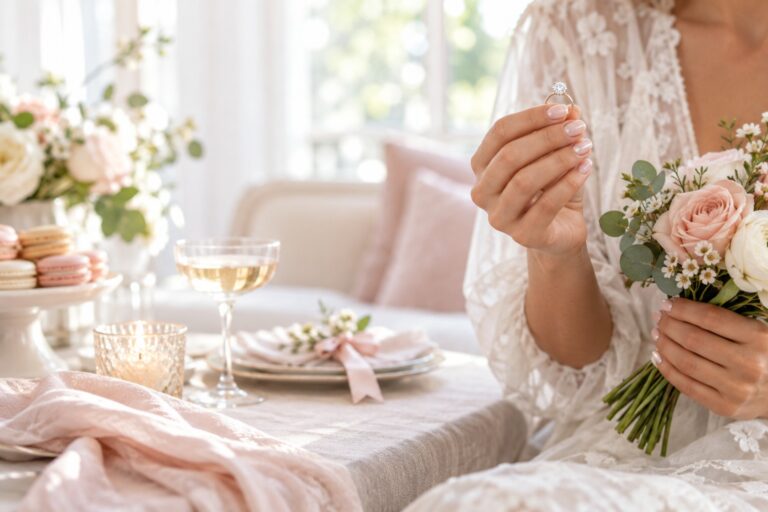
Wedding Nails Design: How to Choose Your Bridal Mani
The right wedding nails design should do more than look pretty in a saved photo. It should feel like you, sit comfortably on your hands, make sense beside your dress and ring, and stay polished through the moments when your hands are constantly photographed. That is why choosing a bridal manicure is less about finding one perfect trend and more about translating your whole look into a few clear decisions.
Start with the method below instead of scrolling until every option looks tempting. You will decide on the canvas first, then the color, finish, and detail. After that, you can test the idea in ordinary light and give your nail technician a useful brief. The result can be minimal, colorful, artistic, or classic. The important part is that every choice has a reason.
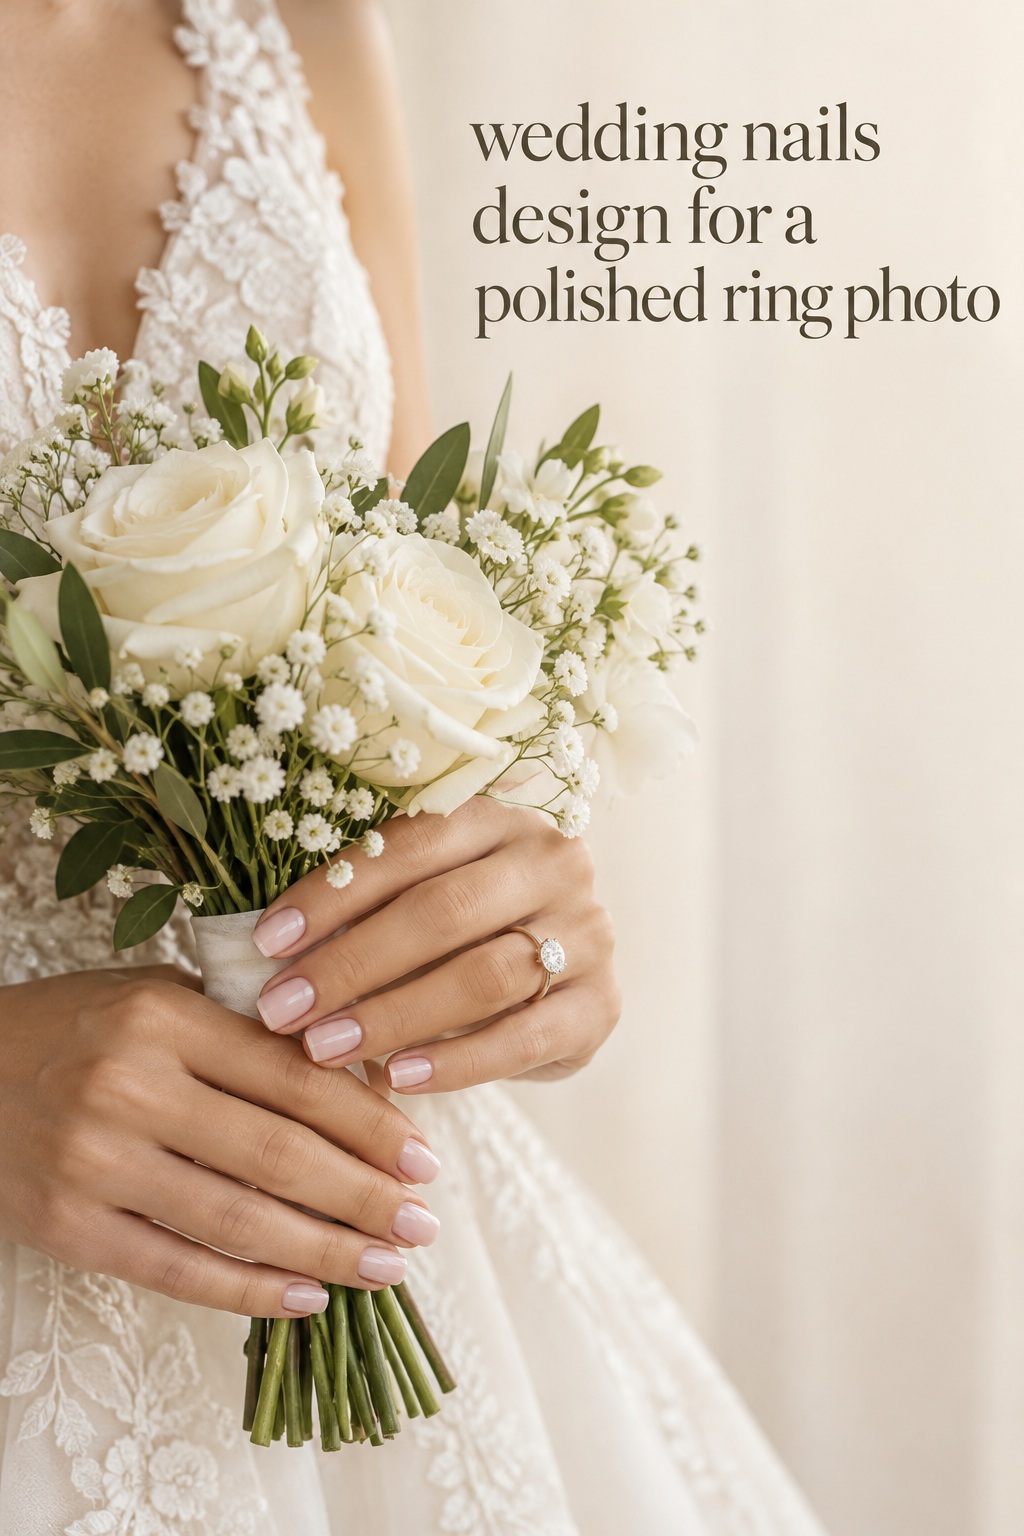
Why your wedding nails design needs four simple tests
A manicure can be beautiful and still feel wrong on the wedding day. A reference image may show a length you never wear, a white base that changes under flash, or a raised decoration that catches on lace and jewelry. Before you choose a color or save another inspiration photo, run every possible wedding nails design through four tests. This short filter will make your options clearer.
Does it feel personal enough?
Your manicure does not need to look traditional to look bridal. If you usually wear clean neutrals, a glossy sheer pink or a soft nude may feel special because it is an elevated version of your everyday taste. If you love color, a berry tip, blue accent, or warm red can be more authentic than a French manicure chosen only because you think a bride is supposed to wear one.
Turn wedding inspiration into a plan you can actually follow.
Zarellea brings your guest list, budget, vendors, and day-of details into one shared space — so no beautiful idea gets lost in the shuffle.
Ask yourself what you will be happy to see in a close-up ring photograph years from now. The answer is not necessarily the quietest shade. It is the detail that feels connected to your style and the meaning of the day. A tiny painted flower, a favorite color, or a finish that reminds you of your jewelry can make a restrained set feel personal.
Will the design read clearly in photographs?
Hands appear in ring portraits, bouquet photographs, getting-ready images, vow-book details, cake cutting, toasts, and the way you hold your partner’s hand. A design that looks intricate from two inches away may disappear at normal hand distance. On the other hand, a thick white line or large embellishment may become the first thing the camera notices.
Look for clean edges, readable contrast, and a finish that catches light without creating a bright reflection across the entire nail. Take a quick phone photograph of your trial beside a window. If you cannot tell what the detail is in that image, simplify it or enlarge it slightly. A wedding nails design should survive both a close-up and a wider photograph.
Can you wear it comfortably?
Think through the ordinary tasks you will do with your hands. You may fasten earrings, hold flowers, lift a glass, adjust a dress, open a compact, hug guests, and travel the next morning. A long extension or sharp point can be beautiful, but it should not make familiar movements feel unfamiliar. If you normally wear short nails, test a small increase in length before deciding that a dramatic shape is right.
Raised gems, bows, pearls, and three-dimensional flowers also deserve a comfort test. Move your hands through a piece of lace or knitwear. If the decoration catches, ask for a flatter version or reserve the feature for one accent nail. Comfort is not a boring compromise. It allows you to focus on the ceremony and people instead of monitoring your fingertips.
Does it belong with the complete bridal look?
Consider the dress texture, jewelry metal, bouquet, shoes, and setting as one visual conversation. Pearl details can echo buttons or earrings. A warm champagne tip may sit more naturally beside ivory satin than a stark white tip. Fine floral marks can reference the bouquet without repeating every flower. You do not need the manicure to match every object. One or two deliberate connections are enough.
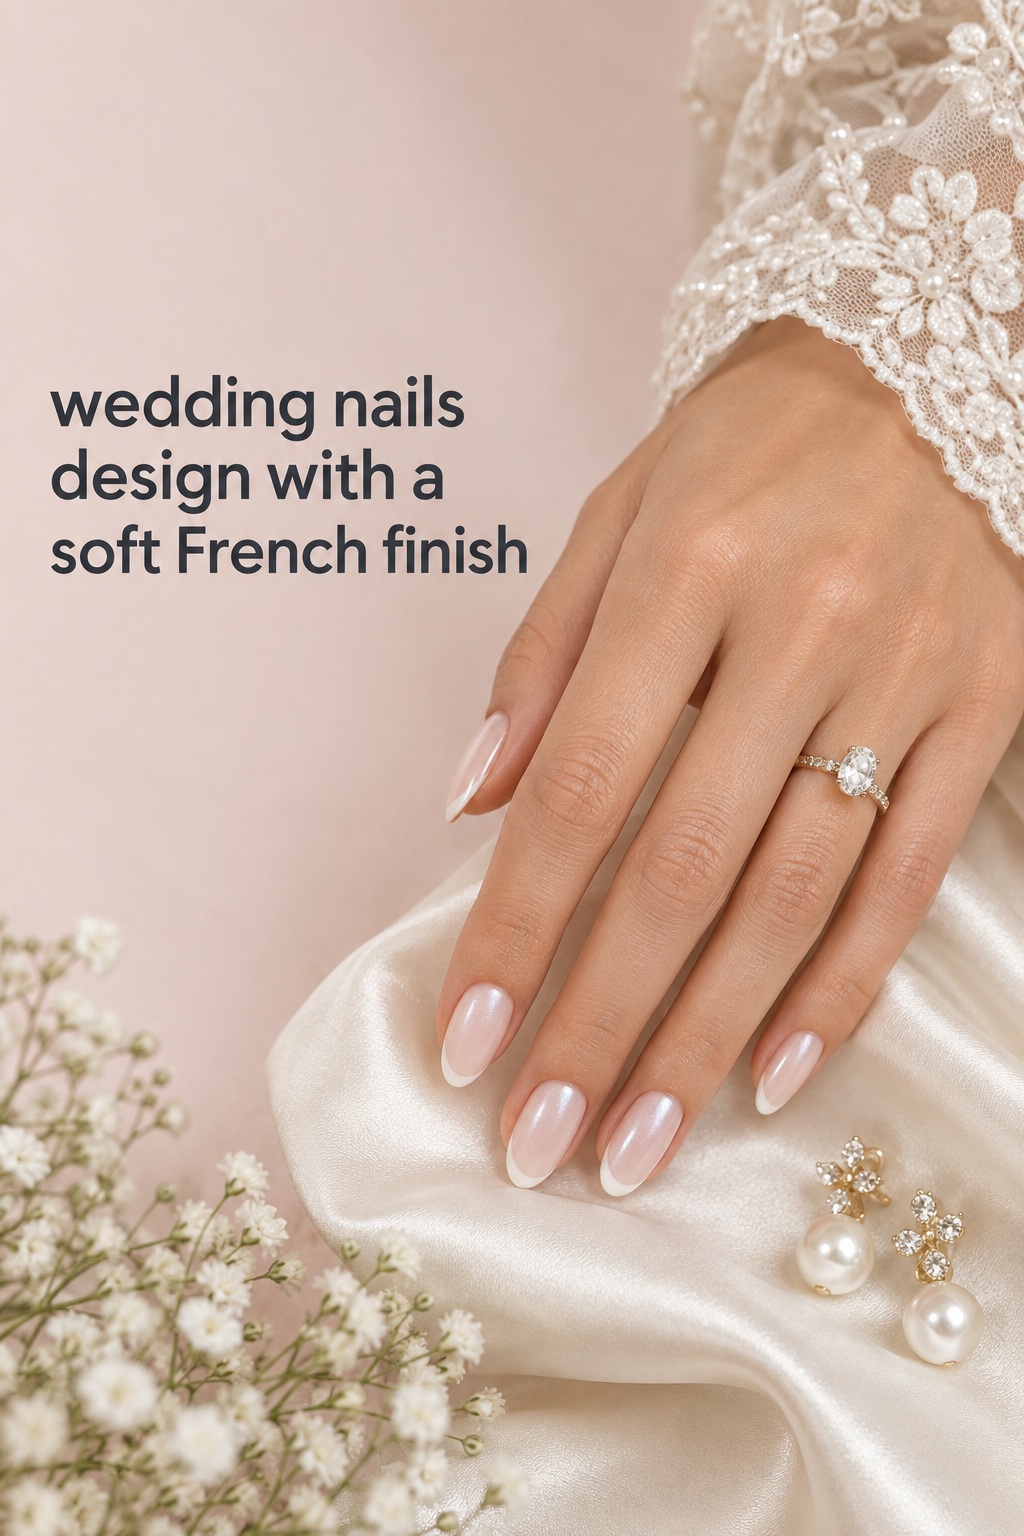
Choose the canvas before you choose the decoration
Most manicure indecision happens because brides try to choose length, shape, color, finish, and nail art all at once. Make the process calmer by choosing in layers. The first layer is the canvas: the length and shape you can realistically wear. The second is the base color. Only then should you decide how much shine or decoration belongs on top.
Set a realistic length
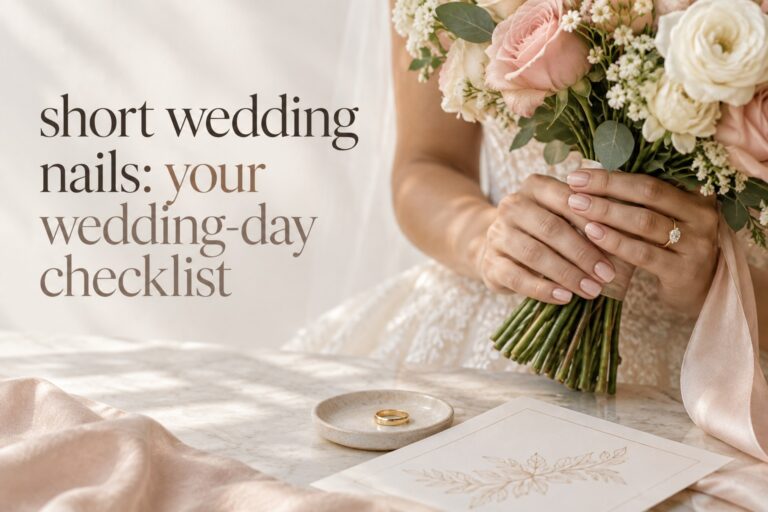
Natural nails work well when you already like their length and want a barely-there finish. Short nails can carry sheer color, a micro tip, a tiny pearl, a fine metallic line, or a glossy solid shade. Medium nails give you more room for an ombre, French smile line, or small floral detail. Extensions create the most space, but they also change your daily routine and should be tested before the final appointment.
Do not choose length only because it looks elegant on someone else. Ask what your hands will be doing during the week before the wedding. If you are packing, traveling, caring for a child, working with fabric, or doing last-minute tasks, a secure medium or short set may serve you better than an unfamiliar extra-long shape.
Choose a shape that follows your hands
Oval softens the edge and works well for a natural impression. Squoval keeps a little structure while making the corners gentle. Almond tapers toward the tip and can make a French line feel elegant, but it needs enough length to show the taper. Square and coffin shapes make art feel graphic and intentional. None is automatically the most bridal choice.
Look at your nail beds, finger length, and usual hand movements. Your technician can help you refine the shape, but bring an honest description of what feels comfortable. If you are between two options, test the shorter one first. A polished shape with a clean edge will usually photograph better than a more dramatic shape that you keep touching or adjusting.
Pick the base color before the art
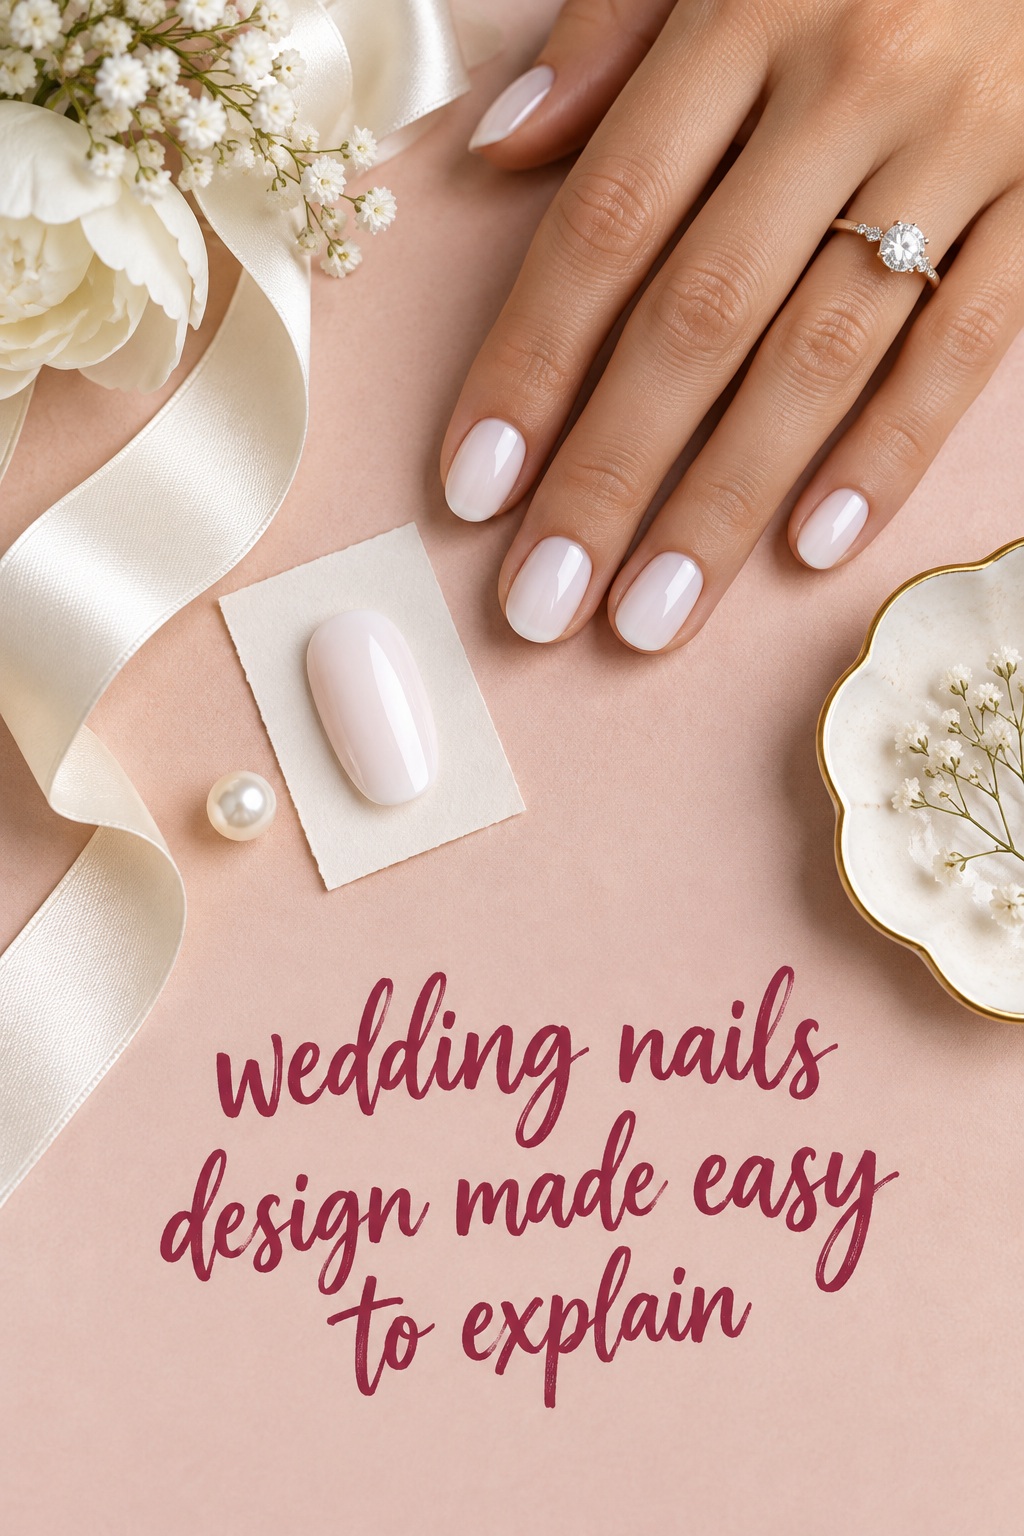
A base color sets the emotional temperature of the manicure. Sheer pink feels fresh and familiar. Milky white feels luminous and veil-like. Beige, rosy nude, or latte can make a French tip feel softer and less stark. Peach adds warmth. A translucent berry or red creates a more personal statement while remaining polished when the shape is clean.
If you are unsure, ask your technician to place two or three thin swatches against your hand and beside a dress photo taken in daylight. A shade that looks perfect in a salon may look gray, yellow, or too white in the light where most of your photos will be taken. The palest possible color is not automatically the most flattering or the most timeless.
Choose one finish and one main detail
High gloss makes a sheer shade look crisp. Pearl or chrome adds a soft reflection that works especially well in ring photographs. Matte makes a French line or tiny dot feel modern and controlled. Fine shimmer creates movement without the visual weight of chunky glitter. When you choose a reflective finish, keep the art smaller. When you choose matte, one metallic detail can create a useful point of light.
Give the design one main idea. It may be a pearl, a bow, a lace line, a tiny flower, a colored tip, or a single crystal. Repetition is not the same as coherence. Ten decorations can look less refined than one accent nail supported by a consistent base and finish. If you love several references, identify what they share and keep that common quality instead of combining every element.
Wedding nails design formulas by the result you want
Instead of choosing by trend name, start with the result you want your hands to communicate. The formulas below are not rules. They are clear starting points that help you describe a direction at the salon. Change the length, base, or accent until the formula belongs to your own wedding look.
For quiet polish: sheer pink, clean nude, or milky white
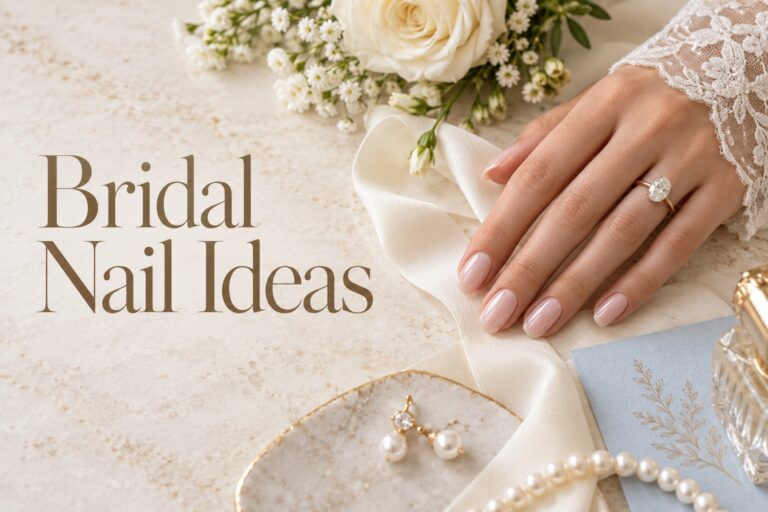
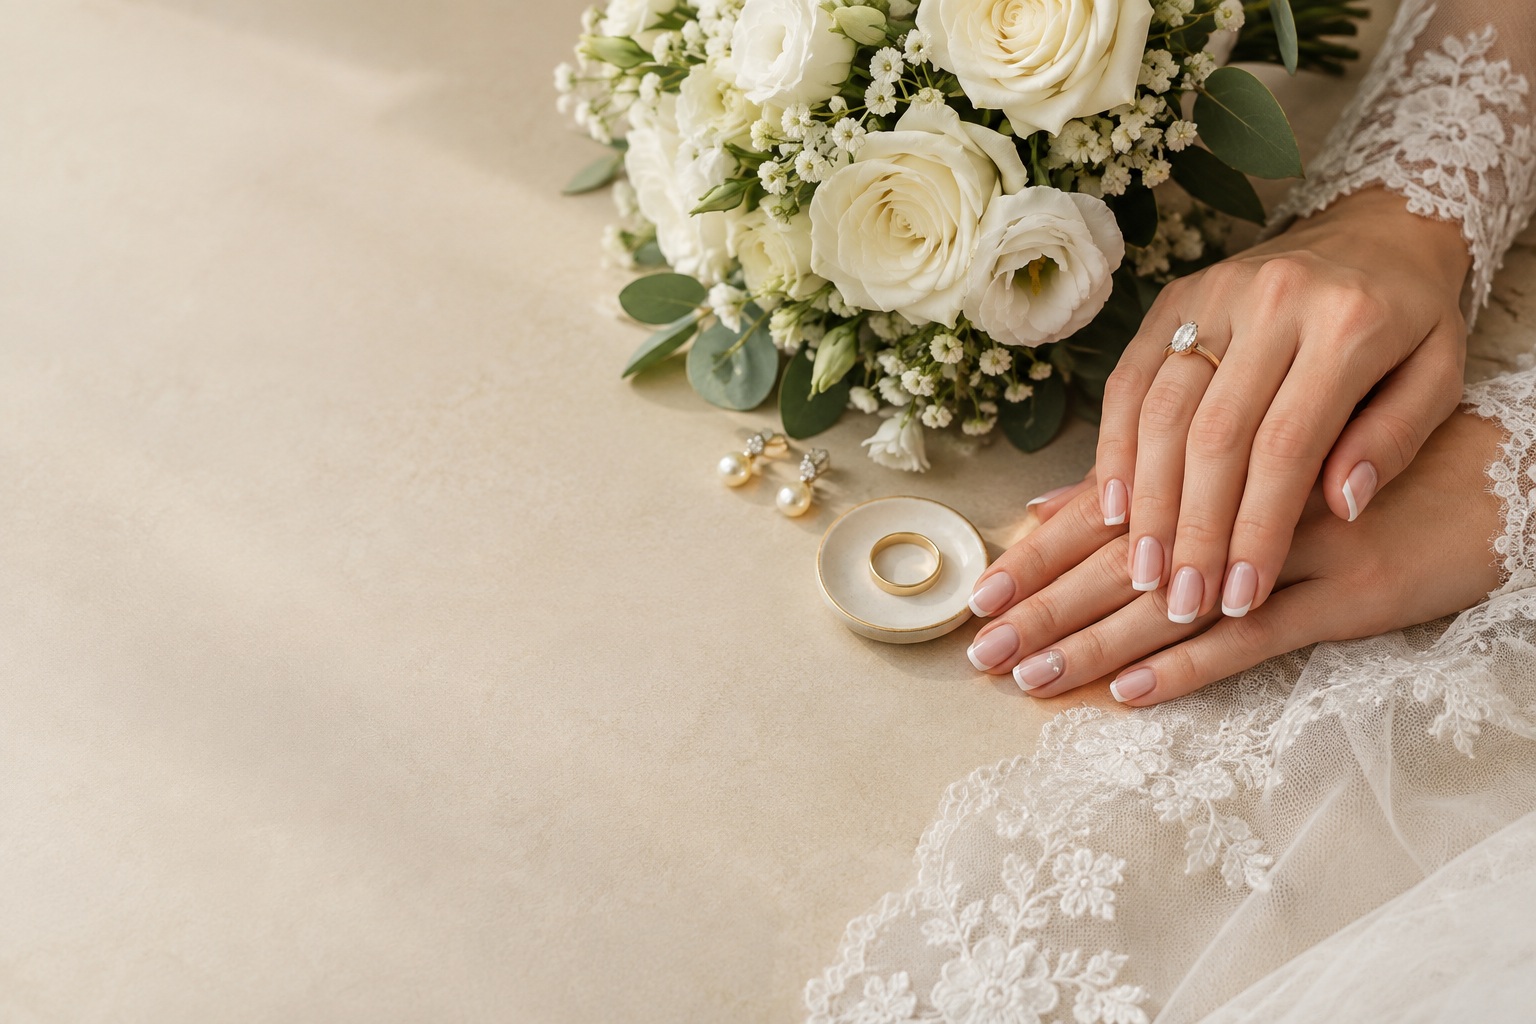
Choose this route when your dress, veil, bouquet, or jewelry already carries detail. A sheer pink wash keeps the hand looking finished without adding a second focal point. A clean nude gives a similar effect with more definition. Milky white offers more brightness and can connect beautifully with a white bouquet or veil. Keep the shape soft and the application thin enough that the nail still looks dimensional.
For a classic with a lighter touch: micro French or baby boomer
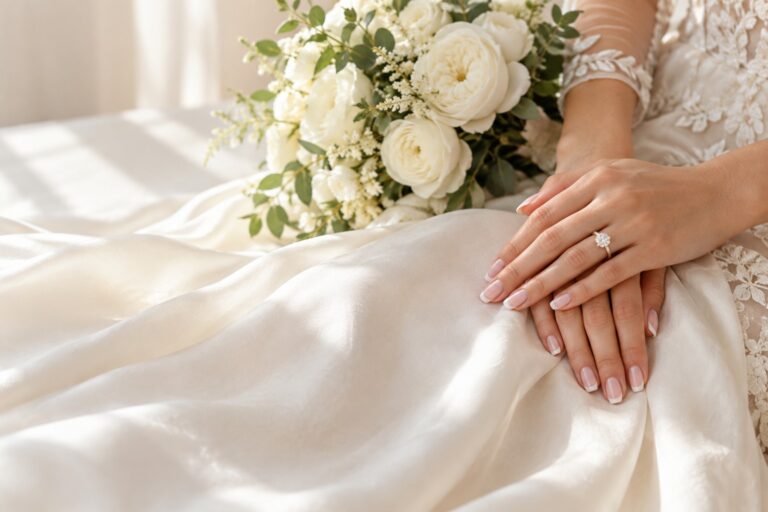
A micro French uses a narrow tip, so more of the base remains visible. It looks neat on short or medium nails and gives the classic format a modern proportion. A baby boomer blends pink into white without a hard smile line, creating a soft transition. Choose one when you want the feeling of a French manicure but prefer less graphic contrast.
Ask whether the tip should be cream, bright white, champagne, or a tone close to your dress. The difference can be subtle in person and obvious in photographs. A pearl sheen over the finished set can add light, but avoid adding several reflective layers if you already have sparkle in your jewelry.
For controlled shine: pearl, glazed, or champagne detail
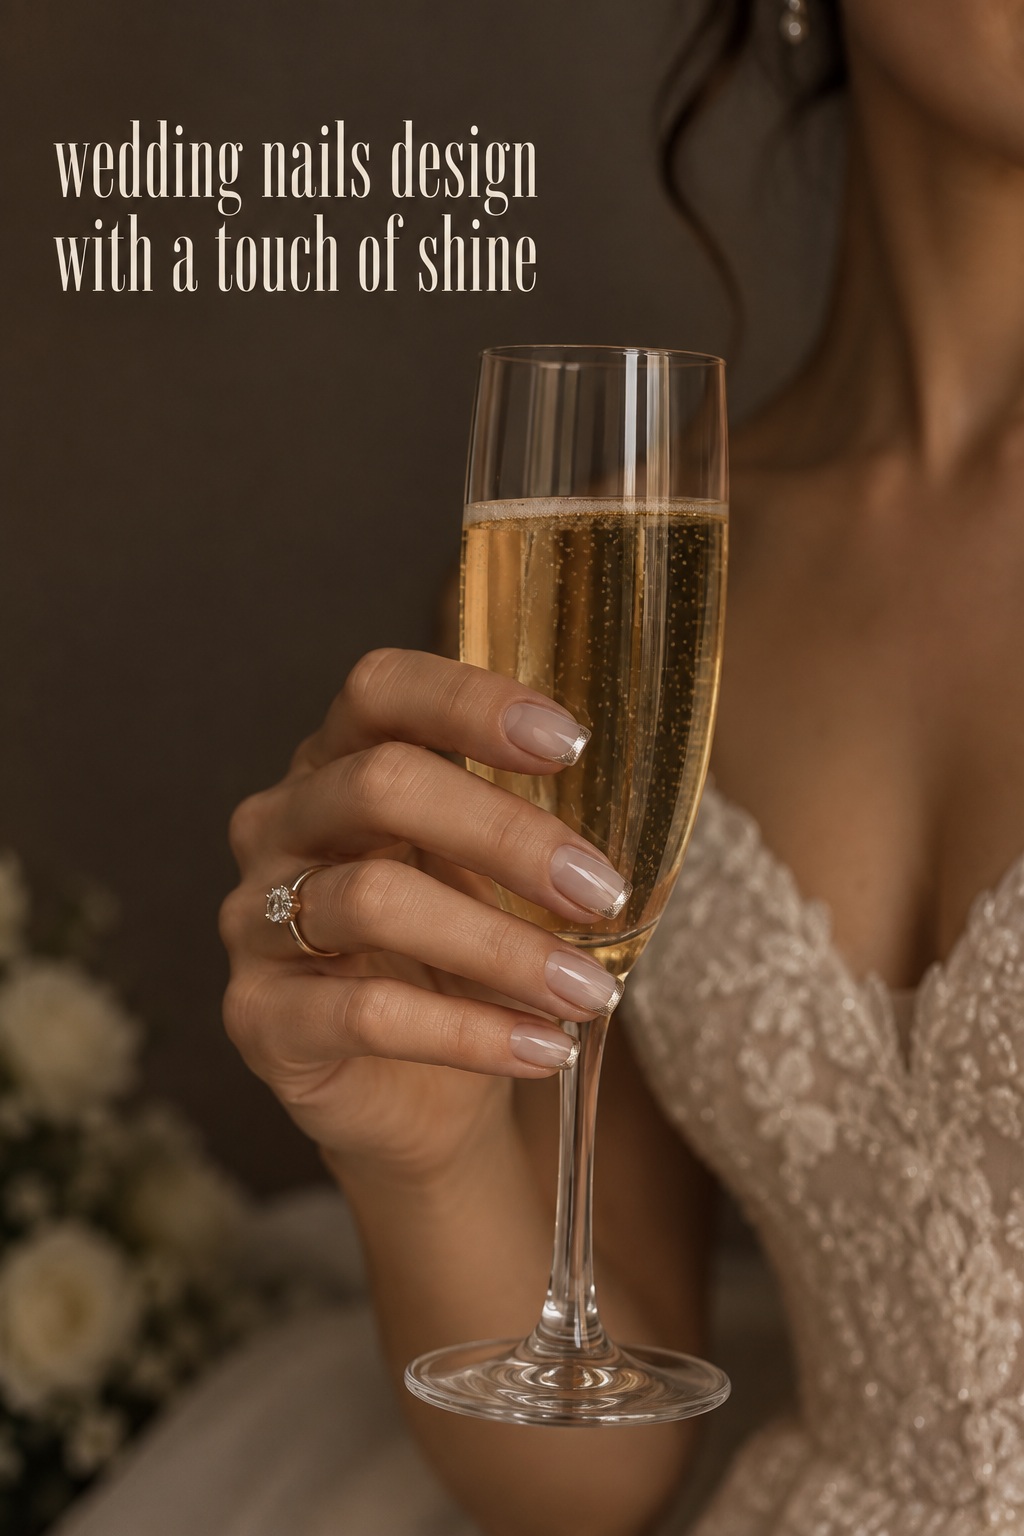
Start with a sheer or milky base, then add a pearl or glazed finish across the nail. This works when you want the manicure to glow in motion but look calm in a still image. For a more defined idea, keep the base neutral and use champagne or soft gold only along the tip, cuticle, or a single line.
Show your technician whether you want a whisper of reflection or a visibly metallic result. Words such as glazed and chrome can mean different things in different salons. Bring one close reference and explain whether you like the color, the shine, or both. That small clarification can prevent a finish that feels much stronger than expected.
For romantic detail: one pearl, petal, bow, or crystal
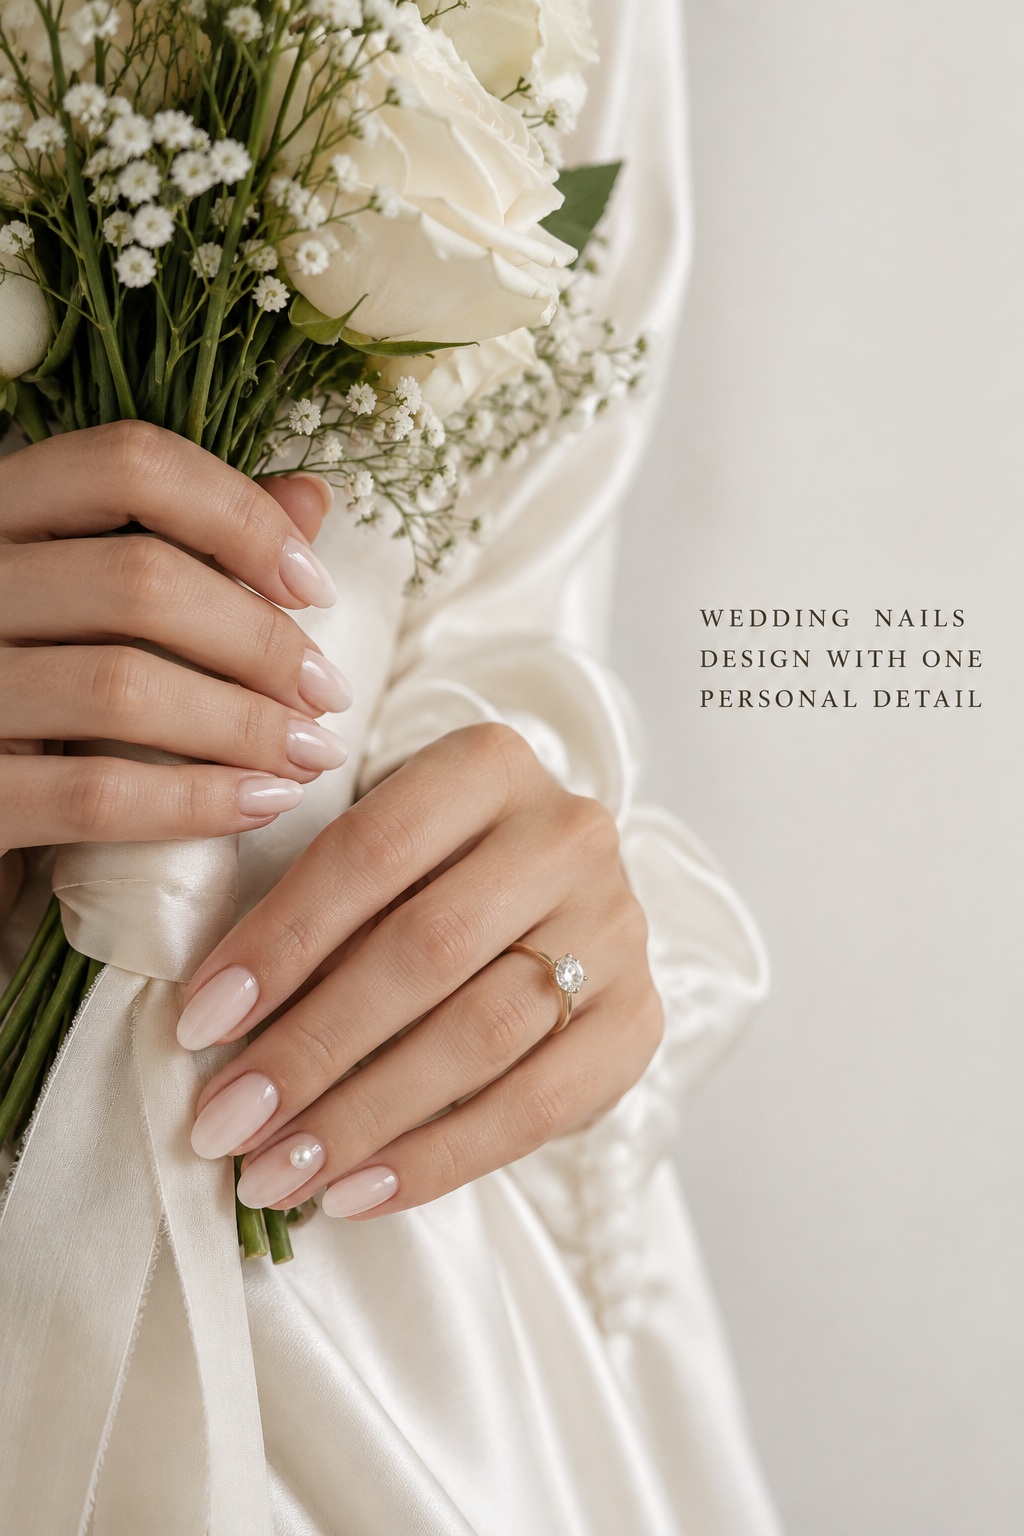
Small details feel most intentional when they have breathing room. Try one pearl at the cuticle of the ring finger, a tiny painted flower on two nails, a fine bow, or one crystal placed where it can catch the light. Keep the rest of the manicure quiet so the accent reads as a choice rather than visual noise.
If you love three-dimensional work, test whether the feature catches on clothing or feels heavy. A flat painted bow can give the same romantic message as a raised one with much less risk. You can also reserve the most delicate accent for the hand that will appear in the ring photograph, while keeping the other hand simpler for comfort.
For a personal color note: blue, red, green, or a tonal tip
Color can look bridal when the shape and finish remain considered. A pastel-blue tip can carry something blue without taking over the hand. Glossy red can feel romantic and confident, particularly with simple jewelry. Soft sage can reference a garden setting. Champagne, buttercream, or dusty rose may connect more naturally to an ivory or blush dress than bright white.
If you want a stronger color, use it on every nail with a clean shape, or reserve it for a controlled accent rather than mixing several unrelated shades. A single clear color story will photograph more confidently than a collection of colors that each came from a different saved image.
For an artistic bride: lace lines, clouds, florals, or asymmetry
Art does not have to mean a busy set. A cloud French softens the tip with an airy edge. A lace line can echo the gown when it remains thin and selective. A few petals can bring the bouquet into the hand without recreating it. An asymmetrical French can feel fashion-forward while staying mostly neutral.
Give your technician one main visual instruction, such as soft white cloud tips on a medium almond, rather than combining every keyword from your inspiration board. If the dress has a distinctive embroidery or lace motif, ask for one simplified element. The goal is a relationship between the details, not a literal copy of the garment on every nail.
Turn your idea into a trial and wedding-week plan
A trial is not only for deciding whether you like the color. It tells you whether the complete manicure fits your schedule, hands, photographs, and patience. Book it early enough to change the shape, service, or design if necessary. The final appointment should be close enough to the wedding that the finish is fresh, but the exact timing depends on your nail growth, travel, and the service you choose.
Bring a short, complete salon brief
Write your request in this order: service, length, shape, base, finish, tip or art, and accent. For example: “I want a short rounded-square wedding nails design with a sheer rosy nude base, high gloss, a very fine champagne French line, and one tiny pearl on the ring finger.” Add one photo of the dress, one jewelry detail, and the bouquet colors if they are known.
Label what you like in each reference. You may love the shape in one image, the finish in another, and the spacing of the art in a third. Saying that clearly is more useful than asking the technician to copy a collage. A good brief gives a professional context while leaving room for them to adapt the design to your actual nails.
Test the set in daylight and movement
Take photos beside a window, under warm indoor light, and with your ring or a similar piece of jewelry. Hold a bouquet, a glass, and your phone. Check whether the tip is visible, whether the shine is too reflective, and whether any raised detail catches on fabric. If the color looks right only under salon lights, adjust it before the wedding week.
Also pay attention to how you use your hands. Can you fasten a necklace, open a small clasp, and pick up a pin without thinking about the nails? If not, shorten the length or soften the shape. A trial is successful when it answers practical questions, not just when it produces a pretty photograph.
Keep the last few days simple
Once the final set is complete, protect it from chores that can dull or lift the finish. Follow the aftercare for the service you chose, avoid using the nails as tools, and keep hand cream or cuticle oil available. If you are traveling, pack a small file and the product recommended for a minor repair. If you are using press-ons, test the fit and application before the wedding, then bring spare adhesive or tabs.
Do not introduce a completely new length or service on the final appointment if you can avoid it. Familiarity is useful. Your wedding nails design should feel secure enough that you can hold the bouquet, touch your ring, and greet guests without worrying about a sudden lift or snag.
Mistakes that make a good wedding nails design fail
Most disappointing manicures are not caused by a lack of beautiful ideas. They happen when the reference, timing, service, or amount of detail does not fit the person wearing it. Use this final review before confirming your design.
- Choosing from a cropped photo: A close-up may hide the length, shape, or service type. Save one full-hand image and one detail image when possible.
- Changing every variable at once: If you change shape, color, length, finish, and art during the final appointment, you have no clear way to know what caused discomfort.
- Using a shade without testing it against the dress: White, ivory, pink, and nude can shift dramatically beside different fabrics and in different light.
- Copying a trend without translating it: Keep the quality you love, but adapt the scale, color, and shape to your hands.
- Overloading the design: A wedding nails design often becomes more elegant when one accent is allowed to breathe.
- Leaving the salon brief until the last minute: A technician needs time to source colors, book the right service, and plan detailed art.
- Ignoring the next day: If you travel or have another event immediately after the wedding, choose a service and length that can handle the transition.
The best correction is usually a small one. Change a stark white tip to cream, reduce the length, flatten a raised detail, or keep the art on two nails instead of ten. These adjustments preserve the idea while making it more wearable and more connected to the complete bridal look.
FAQ
What is the most timeless wedding nails design?
A soft oval or rounded-square shape with a sheer pink, milky nude, or gentle French finish is a reliable timeless direction. It can still feel personal through a pearl sheen, champagne line, or one small accent. The most timeless choice is also the one that fits your usual style, because comfort and authenticity age better than a trend you never normally wear.
Should I choose gel, acrylic, builder gel, or press-ons?
Choose the service based on the length, strength, flexibility, and wear time you need, then ask a qualified technician to explain the options available to you. A trial is important if you are new to a service. Press-ons can work well when fit and application are tested in advance, while extensions may offer more length and structure. Do not make the final appointment your first experiment.
How far in advance should I test my wedding nails design?
Test the design early enough that you can change the shape, length, color, or service without pressure. The final manicure usually belongs close to the wedding so it looks fresh, but your technician can recommend timing based on your nail growth and appointment type. Leave room for a backup plan if the trial reveals a comfort or durability issue.
Can wedding nails design include a strong color?
Yes. Red, blue, green, berry, and deeper neutral tones can look bridal when the color connects to the outfit or personal style and the shape remains polished. Use one clear color story rather than several unrelated shades. A colored tip or one accent nail is an easy way to add personality when you want the rest of the hand to stay quiet.
How can I make a bridal manicure photograph well?
Choose clean edges, a shape you can hold naturally, and a finish that reflects light without producing a large glare. Test the set in daylight, warm indoor light, and beside your ring. Details should remain readable at normal hand distance. If an accent disappears or dominates every photo, adjust its scale, contrast, or placement.
What should I tell my nail technician?
Share the service you want, realistic length, shape, base color, finish, tip or art direction, and accent detail. Explain what you like in each reference instead of sending a collage without notes. Bring a dress or jewelry photo and mention the wedding setting if it affects the mood. This gives the technician enough information to create a design that suits your hands rather than copying a design from someone else.