Wedding Makeup Ideas: Find Your Bridal Look
The most useful wedding makeup ideas help you look like yourself in a way that feels special, comfortable and considered. You do not need to choose between a bare face and full glam. Start with the makeup you already enjoy, decide what you want to notice in the mirror and photos, then add definition in a few places. A clear plan makes it easier to work with a makeup artist or recreate the look yourself.
This guide breaks a bridal look into complexion, eyes, cheeks and lips, then shows how to turn inspiration into a makeup trial and a simple wedding morning kit. Treat every example as a starting point. Your skin, features, dress, venue light and comfort matter more than a trend name or a product list.
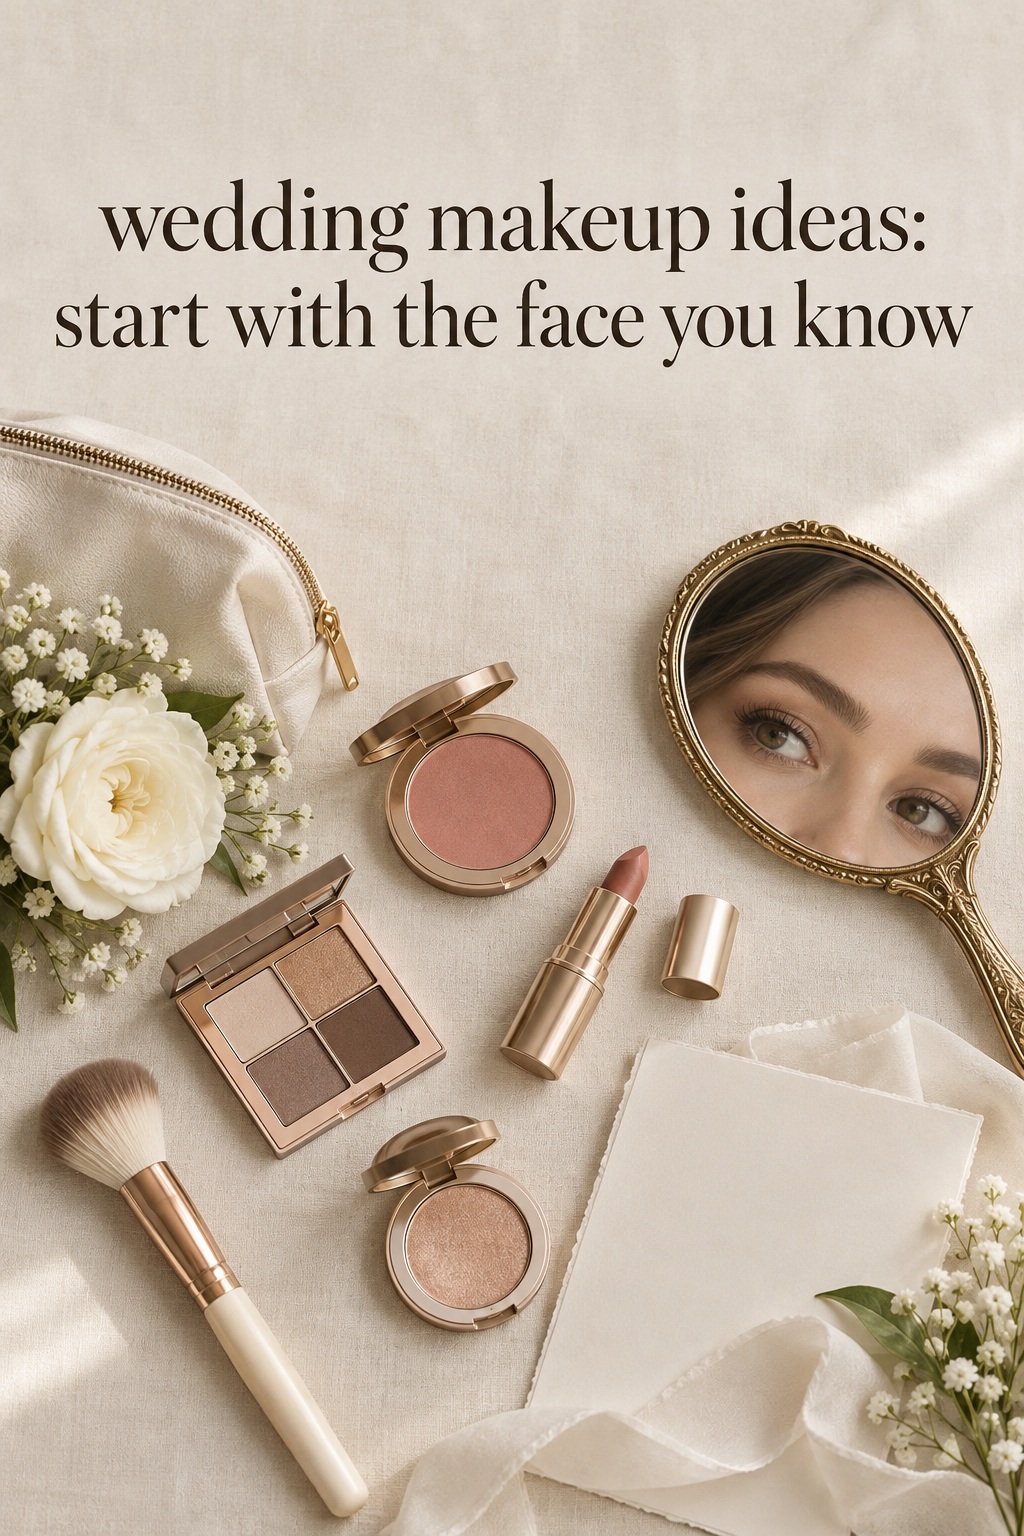
Start with the version of yourself you want to recognize
A wedding look works when you feel at ease wearing it for a long, photographed day. That does not mean your makeup must match your everyday routine exactly. It can be more polished, more defined or a little brighter. The useful question is how far you want to move from your familiar face and which details will make that change feel intentional.
Think about how you normally wear makeup. Maybe you reach for mascara and a lip tint, prefer a clean base and groomed brows, or enjoy a smoky eye and a defined lip on weekends. Keep those preferences in the conversation. If you rarely wear foundation, full coverage may feel distracting even if it looks beautiful in an inspiration photo. If you always wear eyeliner, a barely defined eye may feel unfinished to you.
Turn wedding inspiration into a plan you can actually follow.
Zarellea brings your guest list, budget, vendors, and day-of details into one shared space — so no beautiful idea gets lost in the shuffle.
Then choose one feeling for the look: fresh, romantic, polished, dramatic or relaxed. Add one or two visual priorities, such as even-looking complexion, softly defined eyes, a warm cheek or a lip color you can reapply without a mirror. This simple filter helps you sort a large inspiration board. Save photos that share a detail you love, not only photos that look like a complete copy of the same bride.
Lighting changes how color and finish read. A sunlit garden, a dim ceremony space, a hotel suite and a flash photograph do not show makeup in exactly the same way. Ask to see your trial in daylight and indoor light, and take a few photos from a comfortable distance. These are useful observations, not a test you can pass or fail. The goal is to notice whether the result still feels like you and whether the features you care about remain visible.
Use a few core principles to shape the look
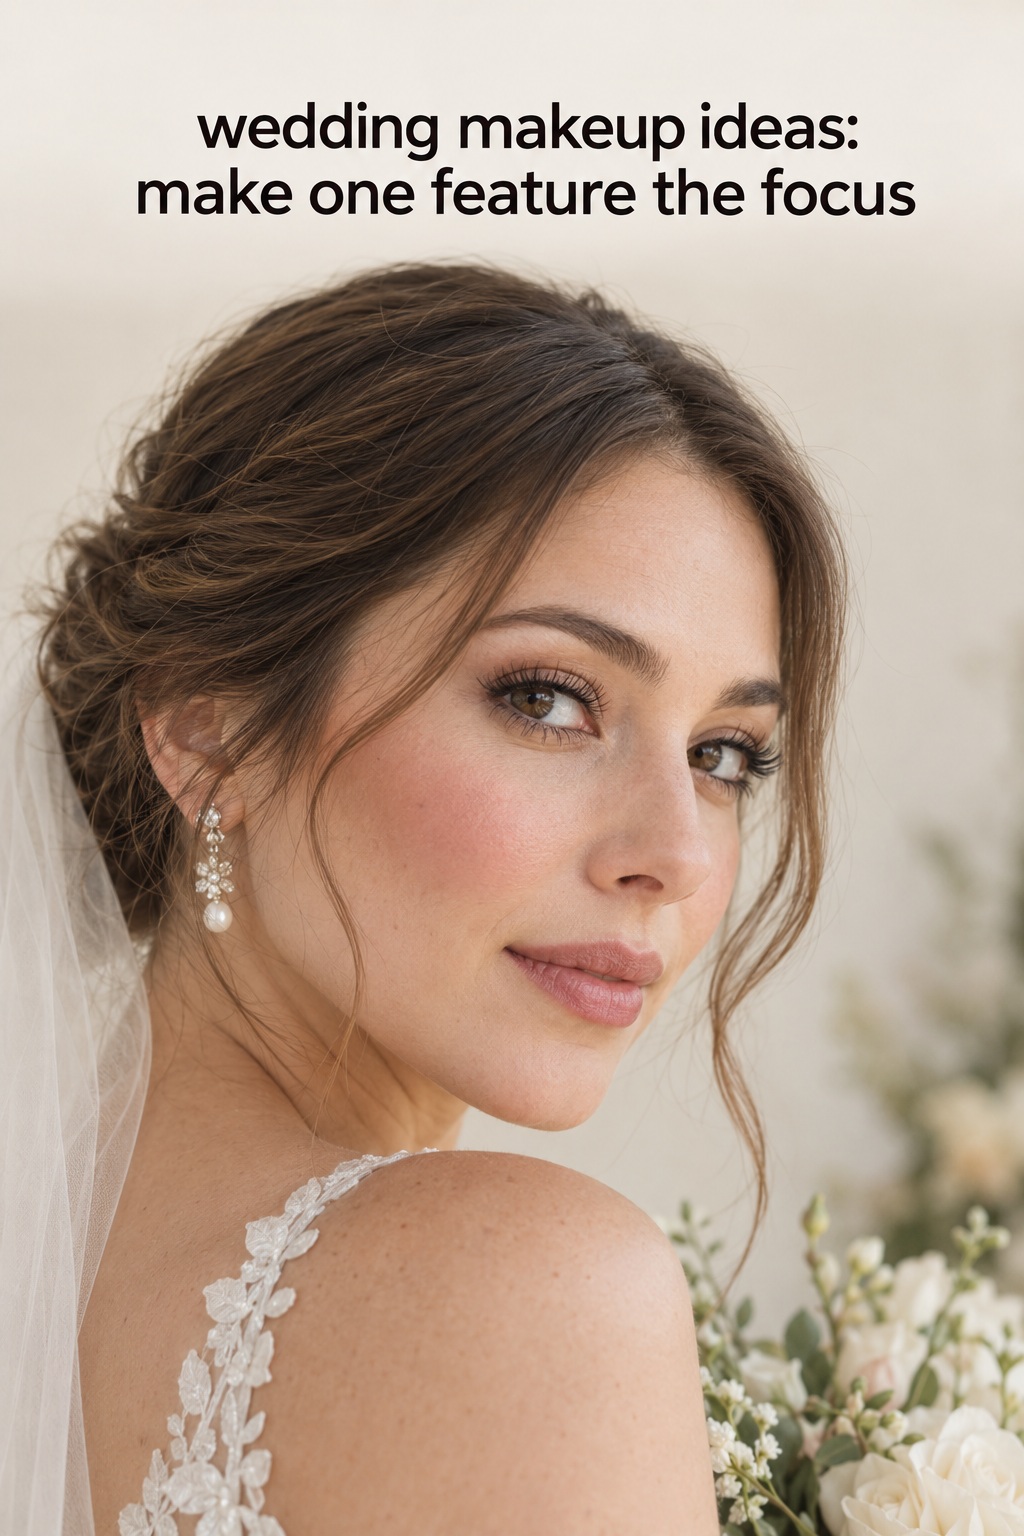
Before choosing a particular style, decide how the main areas of your face should work together. You can ask for more emphasis in one area while keeping the rest soft. This gives you a result with a clear point of view without requiring a heavy layer of every product.
Choose a complexion finish you enjoy seeing up close
Complexion can look fresh and luminous, softly satin, natural and skin-like, or more matte and even. Consider what you already like, where you tend to notice shine or dryness, and how much coverage feels comfortable. A makeup artist can adjust coverage by area rather than treating the whole face as a single surface. If you do your own makeup, apply the thinnest layer that gives you the finish you want, then add coverage only where you prefer it.
Think of foundation, concealer and powder as choices, not a mandatory three-step uniform. Some brides prefer a sheer base with a little concealer. Others like a more even base and a small amount of powder through the center of the face. Ask how a product looks in daylight and in a photo taken from several feet away. The closest mirror view is only one way to judge the result.
Set the eye intensity before selecting individual details
Decide whether you want the eyes to be softly defined, more sculpted or the main feature. Soft definition might use a neutral shadow close to the lash line, groomed brows and mascara. A more polished look can add a diffused liner, a little depth at the outer corner or a lash style you have already tried. A stronger eye might include a smoky blend, a graphic wing or a wash of color inspired by your wedding palette.
If you wear glasses, have watery eyes or rarely use false lashes, tell the artist before the trial. Ask to try the specific lash or liner approach you are considering. There is no need to keep a detail that feels uncomfortable just because it appears in a saved photo. The finished look should work when you blink, smile, hug people and look down at your vows.
Choose a cheek and lip combination that works together
Blush can add a soft flush, a more visible pop of color or a sun-warmed effect. Choose the intensity you like on your own face and check how it relates to the lip. A rosy cheek with a similar rosy lip feels coordinated. A peach cheek and a nude lip can look warm and quiet. You can also keep the cheek neutral when you want a stronger lipstick to carry the look.
Lip color is the detail you will see while speaking and smiling, so comfort matters. A balm-like tint or satin lipstick can feel familiar. A deeper rose, berry or classic red can add more definition. Try the color while talking, drinking water and smiling. Notice whether you like its texture and whether you can refresh it easily. If you do not want to monitor your lipstick, ask for a softer color that fades in a way you find comfortable.
Build a bridal makeup look from simple formulas
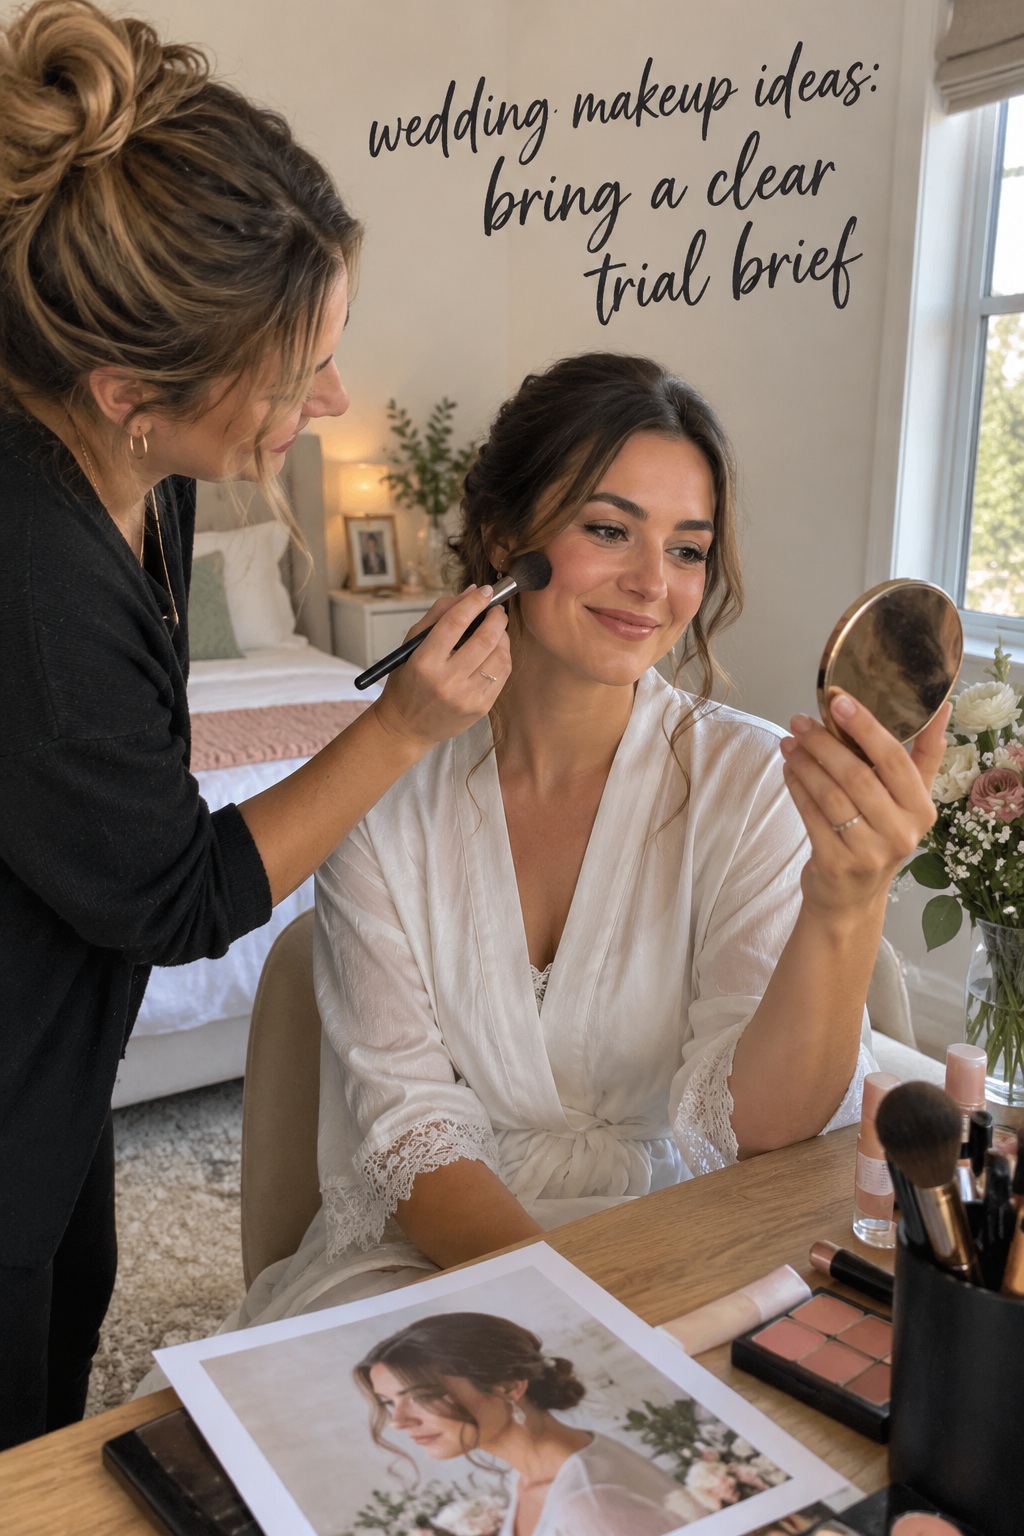
These wedding makeup ideas are formulas you can adapt to your features, skin tone, comfort and outfit. They are not strict product recipes. Change the color family, coverage or definition while keeping the overall balance that attracted you to the look.
Fresh and familiar
Begin with a light or selective base, natural-looking brow definition, mascara or a soft lash enhancement, a gentle flush and a lip close to your own lip color. This is a good starting point if you want your face to feel recognizable and do not usually wear much makeup. To make it read a little more dressed up, choose one small refinement: slightly more cheek color, a softly shaded lash line or a lip with a clearer edge.
Fresh makeup does not have to mean shiny skin or an almost invisible eye. You can prefer a satin finish, a defined brow or visible blush and still keep the overall effect light. Tell your artist which features you want to remain easy to see and which you would rather leave understated.
Soft glam with gentle definition
Soft glam adds shape while keeping edges blended. Pair a skin-like or satin complexion with a softly sculpted eye, a little lash definition, a warm or rosy cheek and a lip that balances the eye. This formula works well if your everyday makeup is polished but you want a little more presence for the ceremony and photos.
Keep the look from becoming too busy by choosing where the contrast lives. A deeper lash line can work with a quiet lip. A stronger cheek can work with a softer eye. If you like glow, ask for controlled highlights rather than reflective product over every area. Small adjustments are easier to review than adding several new features at once.
Classic definition with a clear focal point
A classic look might pair even-looking skin, a softly defined brow, neutral shadow, a clean lash line and a rose or red lip. If you choose a statement lip, keep the eye simple enough that the two features do not compete. If a defined eye is your focus, select a lip color that feels easy to wear and refresh. The balance makes the look feel deliberate rather than copied from a decade or trend board.
For a more modern version, soften the outline. A diffused liner, a blurred lip or a satin finish can feel less formal while retaining definition. Bring one reference that shows the general mood and another that shows the specific feature you like. This helps an artist separate the makeup detail from the model, dress or lighting in the original image.
Romantic color or a playful statement
Soft pinks, peaches, mauves and berries can create a romantic look when the cheek and lip share a related undertone. You might keep the eye simple, then repeat a color lightly on the cheek and lips. If you prefer a more expressive look, consider one statement detail such as a colored liner, a brighter lip or a reflective shadow. Keep the rest of the face calmer so the chosen accent stays clear.
Color can be personal without matching your flowers exactly. A shade from the bouquet may not be the most comfortable color on your face, and it does not need to be. Use the wedding palette as inspiration, then choose a version that complements your complexion and feels good when you wear it. Test the color in your planned lighting before committing.
Turn inspiration into a makeup trial plan
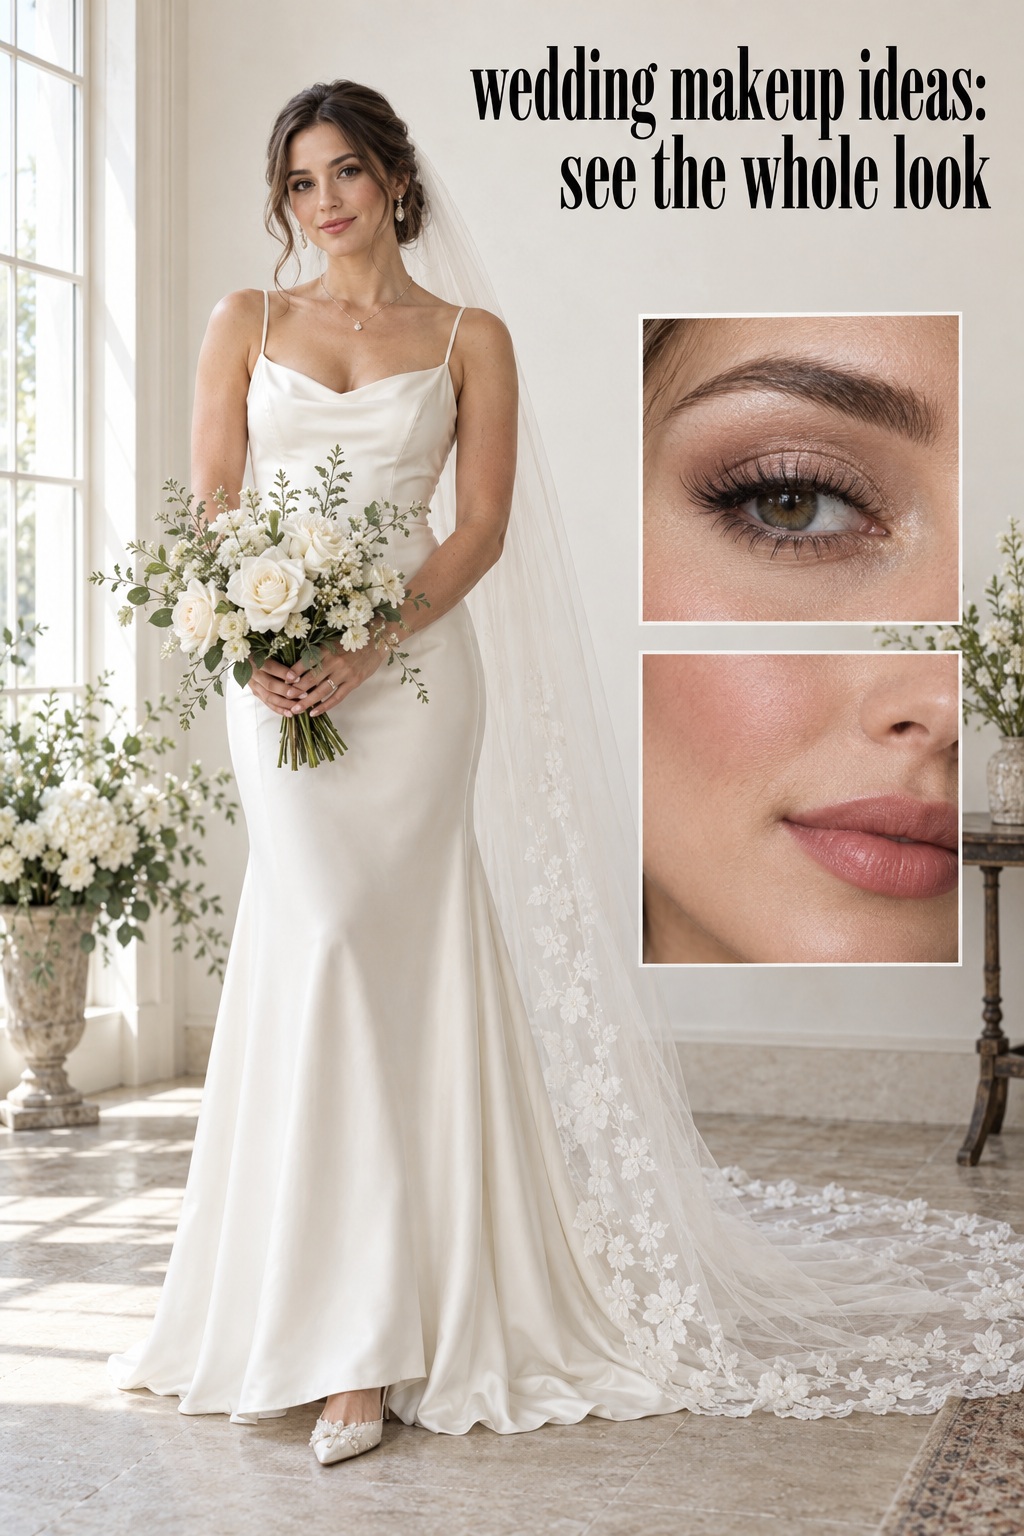
A makeup trial works best when you arrive with a direction and room to adjust. You do not need dozens of pictures or a detailed cosmetics vocabulary. Two or three clear references are enough if you can say what you like in each one. A bridal makeup inspiration guide can help you identify specific finishes and details before you meet your artist.
- Save one image for complexion finish, such as skin-like, satin or luminous.
- Save one image for the eye detail you like, such as soft liner, neutral shimmer or a diffused smoky shape.
- Save one image for a cheek or lip color if that feature is important to you.
- Choose references with a similar skin tone, feature shape or makeup comfort level when possible.
- Note what you do not want, such as a heavy lash, a matte lip or a strong contour.
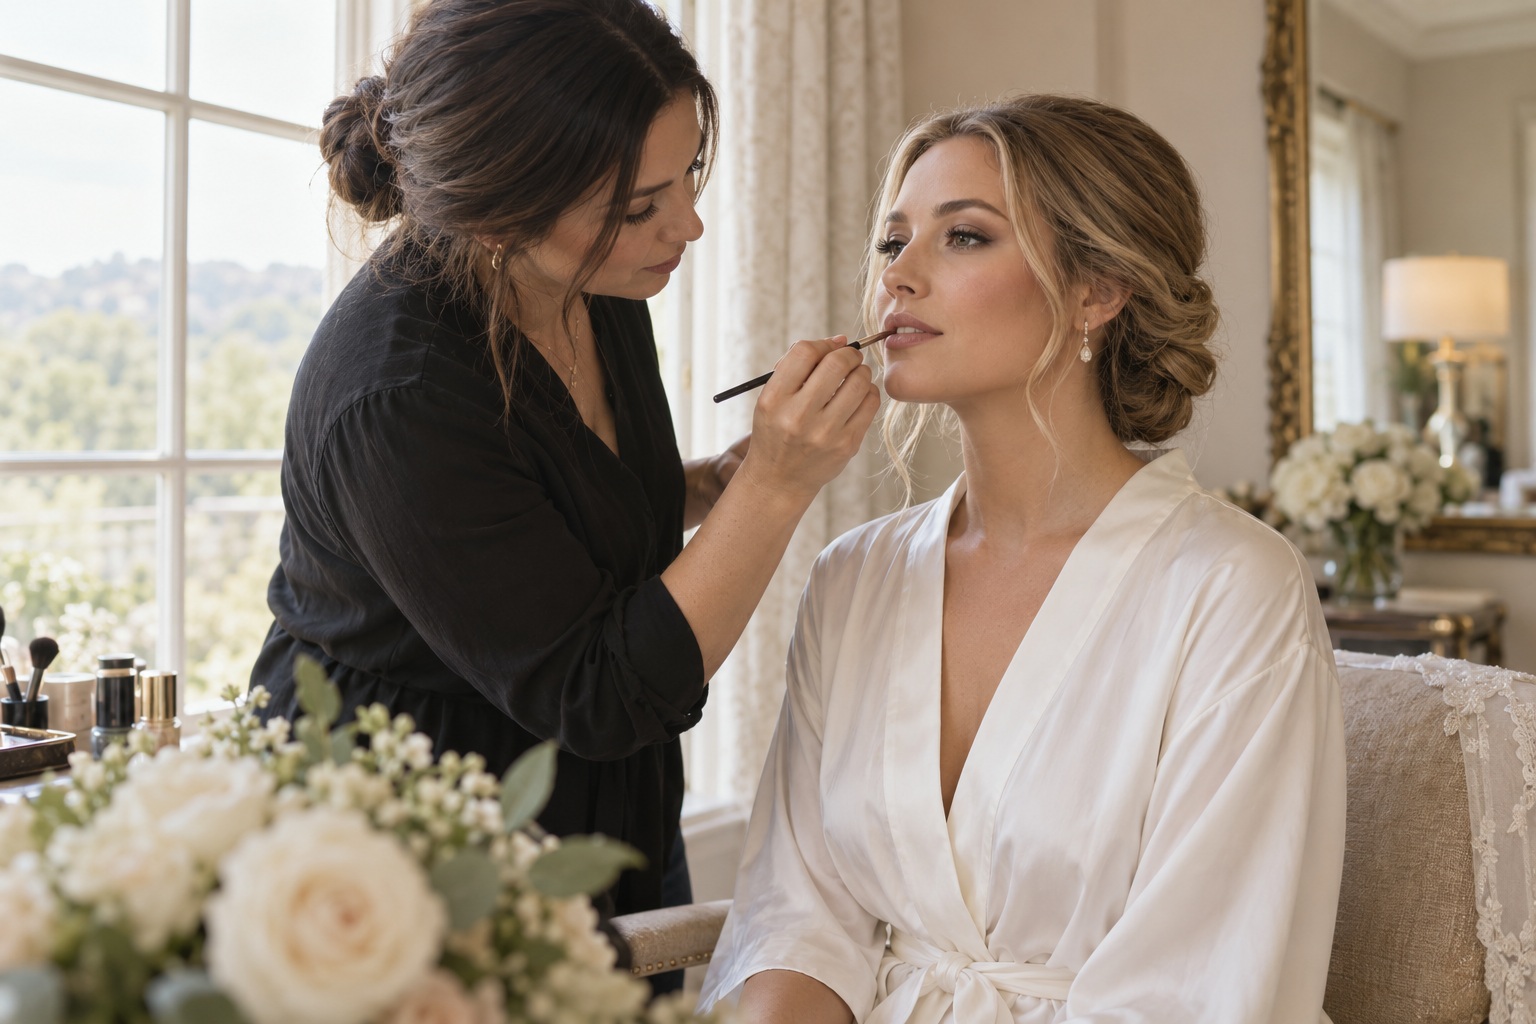
At the appointment, explain the event, your outfit neckline and color, the ceremony and reception lighting, and how you normally wear makeup. Show the references and describe each specific detail you want to borrow. For example: “I like the skin finish in this photo, the softly shaded lash line in this one and the muted rose lip here. I want my freckles to remain visible.” This is more useful than asking for a look by a trend name alone.
Ask the artist to explain any technique or product choice that will affect comfort or the finish. If you have known sensitivities or a skin condition, share what you already know and ask whether you should bring your own products. You can consult a qualified health professional about skin or eye concerns. This article is a planning guide, not medical advice.
Before you leave, review the full face in daylight if possible. Take a few photos from farther away and in the type of light you expect at the ceremony. Check the complexion, brow balance, eye definition, blush and lip separately. Make notes while the details are fresh: what felt good, what you want softened, what you want more visible and what product or shade should be recorded for the wedding day.
If the first trial is close but not right, give specific feedback before scheduling another. “The eye feels a little dark at the outer corner” is easier to act on than “I do not like it.” You can change one detail at a time and see how the overall balance shifts. Confirm the artist’s policy, availability and fee for any additional trial before booking.
After the trial, wear the look for a while during ordinary activity if you can. Notice how the products feel and whether you want to touch your face. This is a comfort check rather than a promise that every product will behave identically in every temperature or schedule. Ask the artist which small adjustments are straightforward on the wedding morning and which ones would change the whole look.
Prepare for wedding morning and touch-ups
Decide whether you want professional makeup or a DIY routine based on confidence, time, budget and the amount of support you want. An artist can bring tools, experience and a calmer appointment structure. A DIY look can be personal, familiar and budget-conscious. Neither route is automatically better. If you choose an artist, confirm what is included, travel or setup needs, the number of people being served and the planned start time.
If you are doing your own makeup, practice the complete look before the wedding rather than learning each step that morning. Write down the order, shades and tools you plan to use. Check that the products belong to you or have been applied with clean, unused applicators. Put the items you need together after a practice run and leave space in the schedule for a slower step or a small correction.
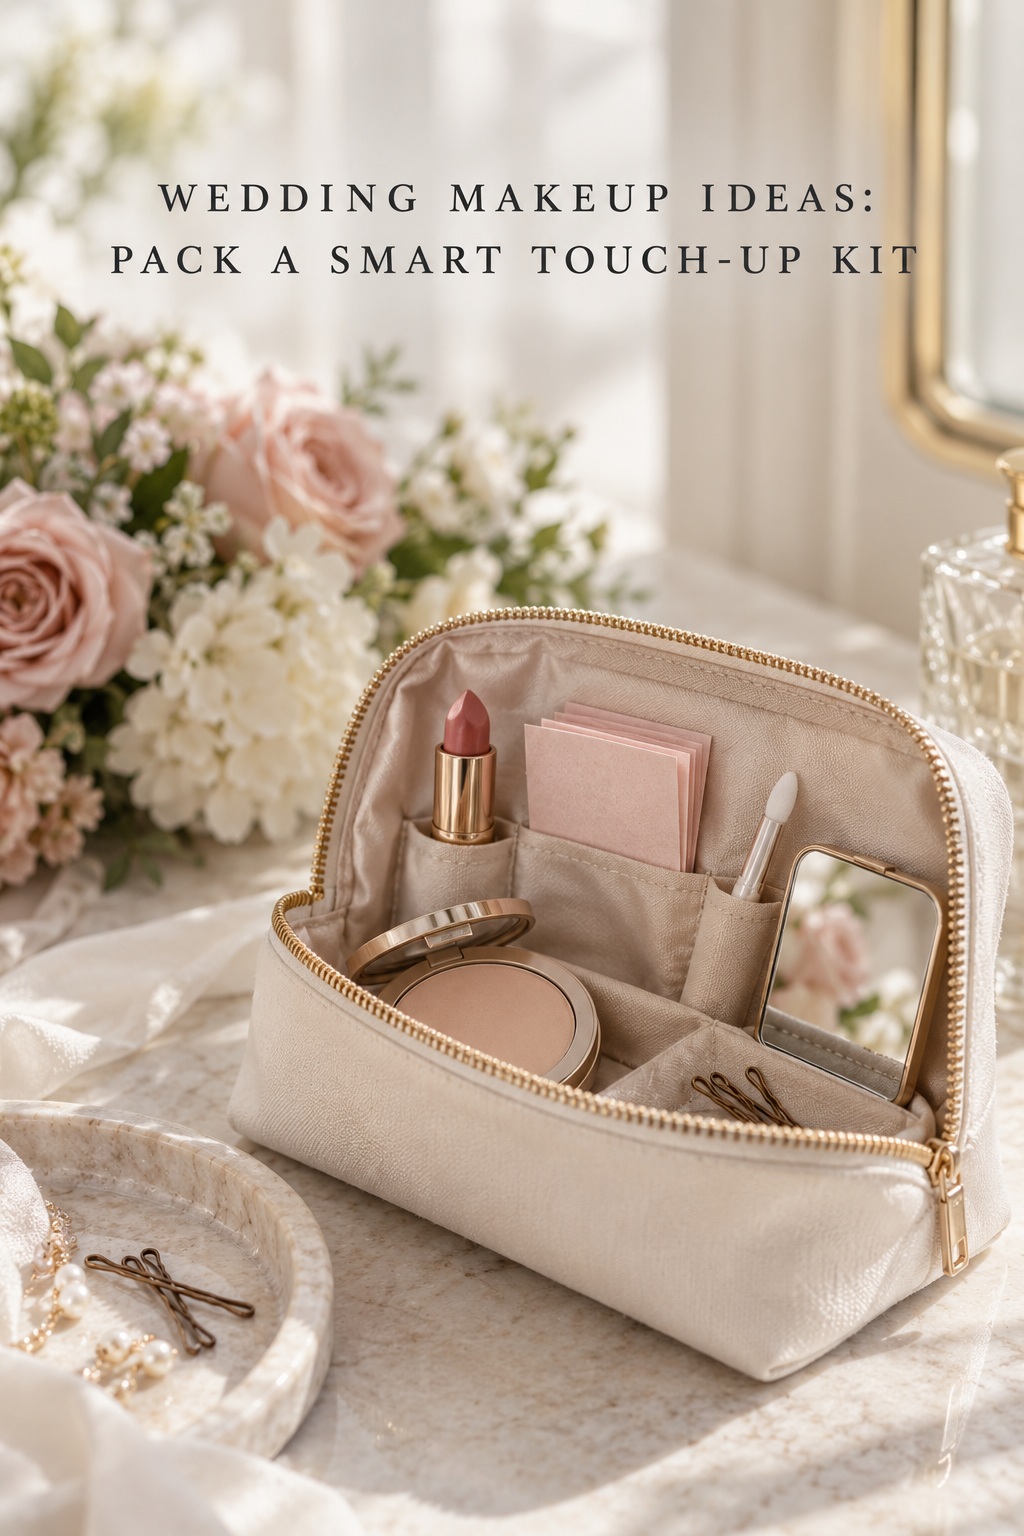
Ask your artist what to bring for touch-ups. A compact kit might include your lip color, a clean applicator or brush, blotting paper, a small powder if you use one, tissues and cotton swabs. Keep the kit with someone who knows where it is. You do not need to pack every product from the original application. A short list of items you already tested is easier to use.
For eye makeup, use clean hands and tools, keep products closed and do not share mascara or other eye cosmetics. The FDA advises stopping use if an eye cosmetic causes irritation and avoiding eye makeup during an eye infection or inflamed skin around the eye. Review the agency’s eye cosmetic safety guidance for additional consumer precautions. Replace old or dried-out products rather than trying to revive them.
Give the makeup schedule a realistic buffer. If several people are getting ready together, ask the artist how long each appointment takes and who must be ready first for photos. Keep the makeup station near good light, clear a clean surface and make sure each person has a place to sit. If you are wearing a top that must be removed over your head, decide how to change without disturbing the finished look, or plan a button-front layer for getting ready.
Mistakes to avoid when choosing bridal makeup
Saving too many unrelated references: A board with natural skin, a dark smoky eye, a bright lip and a glossy editorial look can leave your artist guessing. Choose a small set and label the exact detail you want from each.
Copying a face instead of a feature: A celebrity or influencer photo includes their features, lighting, styling and editing, not just makeup. Translate the look into details you can discuss, such as a soft brown lash line or muted berry lip. A reference is a direction, not a guarantee of an identical result.
Trying several new products at the last minute: Give yourself enough time to learn whether a texture, shade or tool feels comfortable. If a product irritates your eyes or skin, stop using it. For medical or persistent concerns, seek advice from a qualified clinician rather than relying on a wedding beauty checklist.
Over-coordinating the wedding party: The group can look cohesive without wearing identical makeup. Share an overall color or formality cue, then let each person choose the version that suits their features, comfort and budget. Make professional services optional unless you are paying for them and have discussed expectations clearly.
Forgetting the complete outfit: Makeup is part of a full look. Consider your dress neckline, veil, jewelry and hairstyle when judging the overall balance. You do not need to match makeup to each accessory, but the whole arrangement should feel intentional together.
Changing everything after the trial: If the look is close, write down the small changes rather than restarting with a completely new direction. Keep a copy of your notes, reference photos and agreed products where the artist or your own kit can access them. This reduces confusion when the wedding morning is busy.
FAQ
How do I choose wedding makeup that still looks like me?
Start from the makeup you already like, then choose one or two refinements that make it feel special. Decide how you want to feel, select a comfortable complexion finish and add definition where you want it. Use a trial to check that the complete look feels recognizable in person and in photos.
What should I bring to a bridal makeup trial?
Bring two or three reference photos, notes about what you like in each, a list of details you want to avoid and information about your outfit, venue light and normal makeup routine. Share any sensitivities or eye concerns and ask whether you should bring personal products. Take photos and notes before you leave.
Should I hire a makeup artist or do my own wedding makeup?
Choose based on your confidence, budget, schedule and the support you want on the wedding morning. A makeup artist can handle the application and appointment flow. DIY may feel more familiar and gives you control over your products. Practice the full look either way and confirm the timeline in advance.
How many makeup inspiration photos should I save?
A small group of two or three clear references is often easier to discuss than a large board. Use each image for a specific detail such as complexion finish, eye shape or lip color. Choose references that give your artist useful information rather than asking for a full copy of someone else’s face.
How can I make bridal makeup look good in photos?
Ask to review your trial in different light and take a few photos from a normal viewing distance. Check whether the features you care about remain visible and whether the complexion finish still feels comfortable. Share the ceremony and reception lighting with your artist, then make specific adjustments based on what you observe.
What should go in a wedding makeup touch-up kit?
Pack only the products you have tested and expect to use, such as your lip color, blotting paper, a small powder or a clean applicator. Ask your artist what they recommend for the chosen look. Keep eye products personal, clean and closed, and leave out old or dried-up cosmetics.
Can the wedding party wear different makeup looks?
Yes. A shared level of polish or a coordinating color family can create a cohesive group without requiring identical makeup. Let each person choose the finish and intensity that feels comfortable. Be clear about whether professional services are optional, included or paid for by the couple.