Save the Date Video Ideas for Four Simple Edits
The hardest part of making a save-the-date video is deciding what you have to film. You might already have a folder of vacation clips and still have no idea what goes in the first five seconds. I’d make the final date card first. Once the date is readable, you can spend the opening on something a guest will recognize about the two of you.
The save the date video ideas below share a date card and one opening shot. A close-up can help you bridge two clips. If you record a greeting, keep that audio separate so you can try it over another shot without filming again. Start with the version you can record this week and check how the date looks on the kind of screen your guests will use.
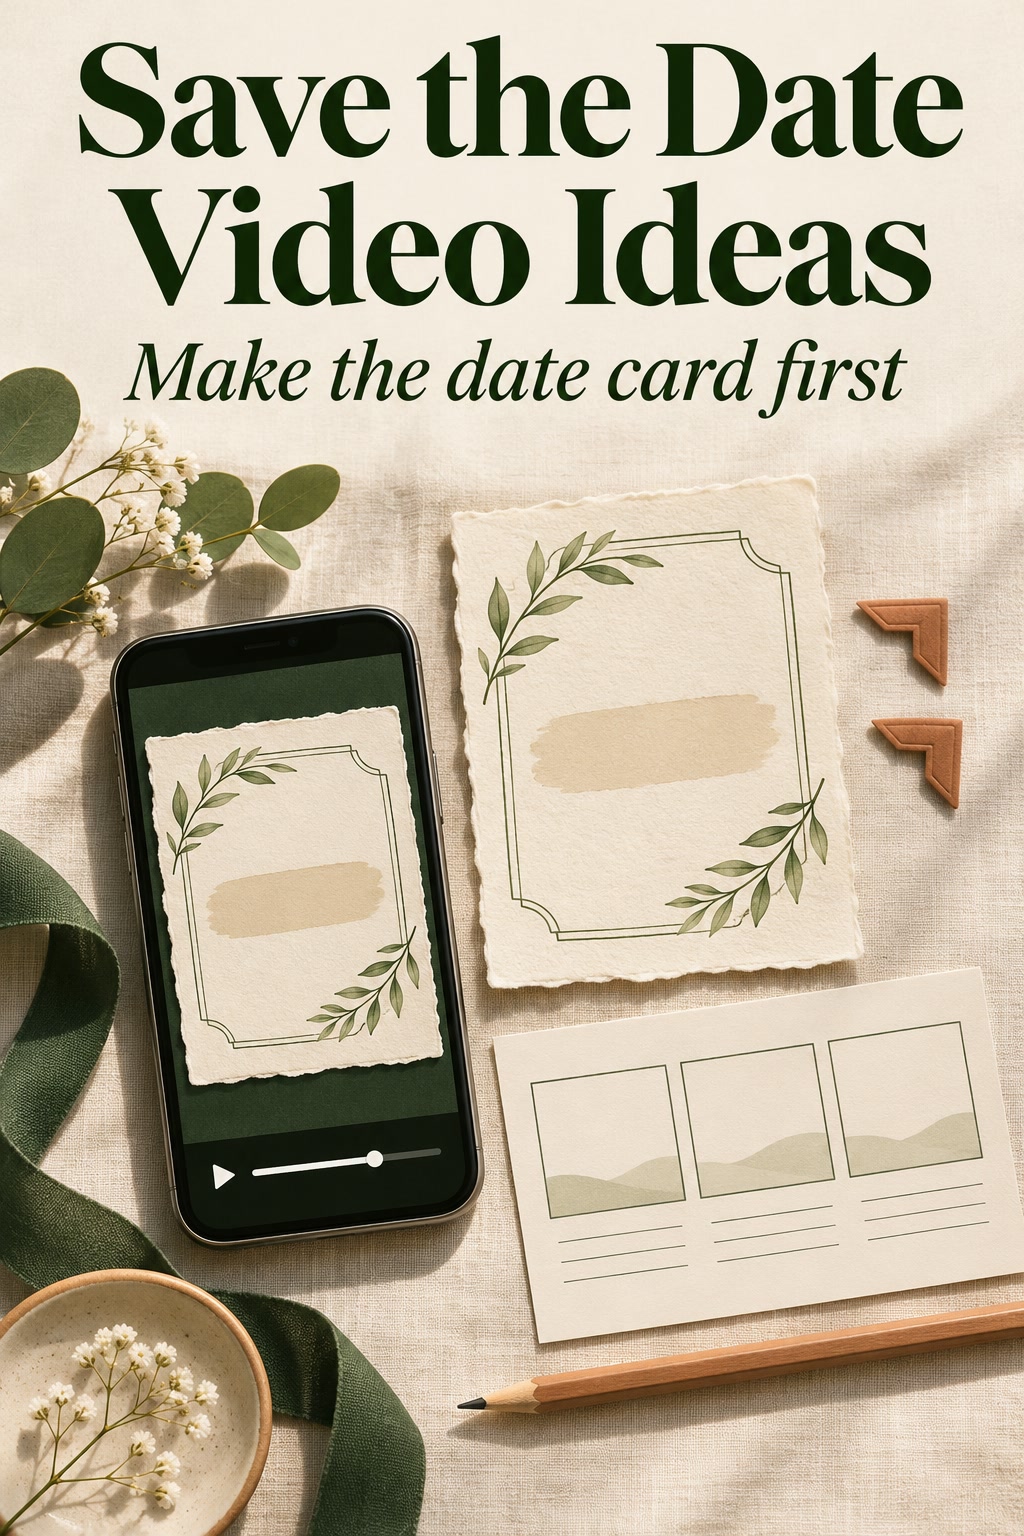
The pieces every version shares
A date card you can lift out of the timeline
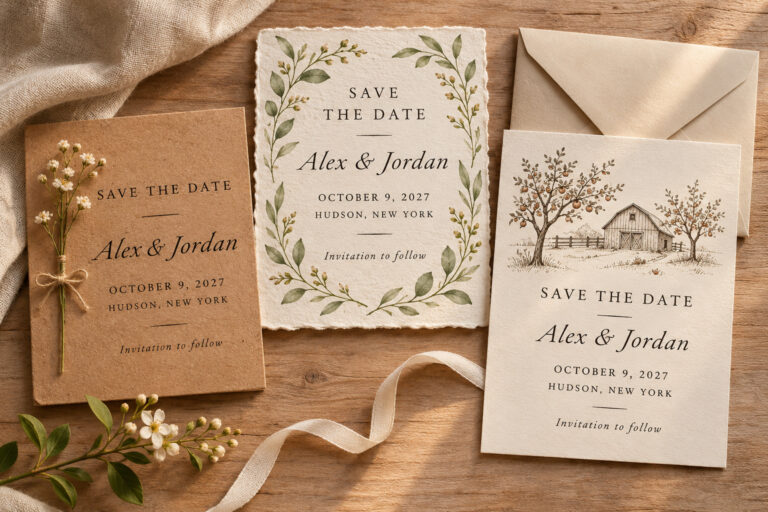
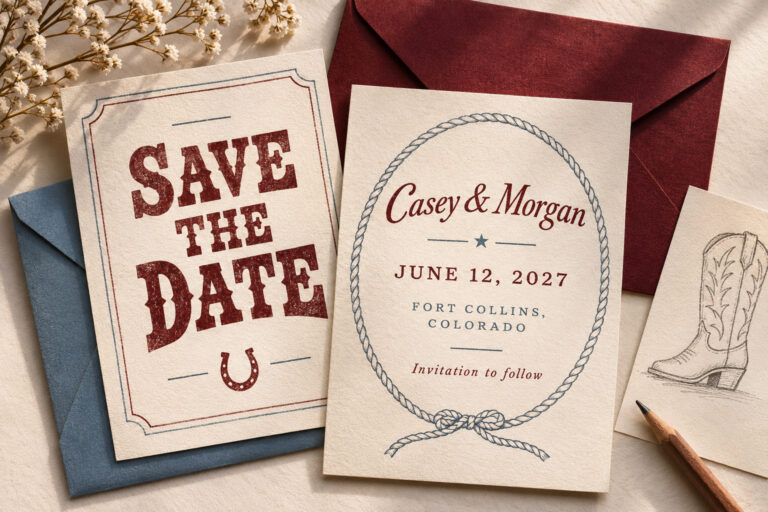
Put both names, the full date, and the confirmed location on a still frame headed “Save our wedding date.” Use the city and state where that is the clearest way to identify the place. If the wedding website is ready, you can put it in the accompanying message. Guests get a link they can tap, and you have another line of space for a long place name. You can build the date card in an editor or make it on paper and photograph it. I’d keep it as a separate image or editable block so you can move it later without changing the footage.
Create a rough timeline with the date card in place before you choose transitions. Start by giving the finished card about five seconds. Read every line aloud without hurrying, then play the cut on a phone at normal size and see how much time you actually need. Long names or a longer place line may need additional time or a layout with more room. Text that fades in word by word takes longer to read, so count the time from the point when the whole card is visible. A final freeze under a music fade can be as simple as extending the already readable frame.
Turn wedding inspiration into a plan you can actually follow.
Zarellea brings your guest list, budget, vendors, and day-of details into one shared space — so no beautiful idea gets lost in the shuffle.
One shot that can carry the opening
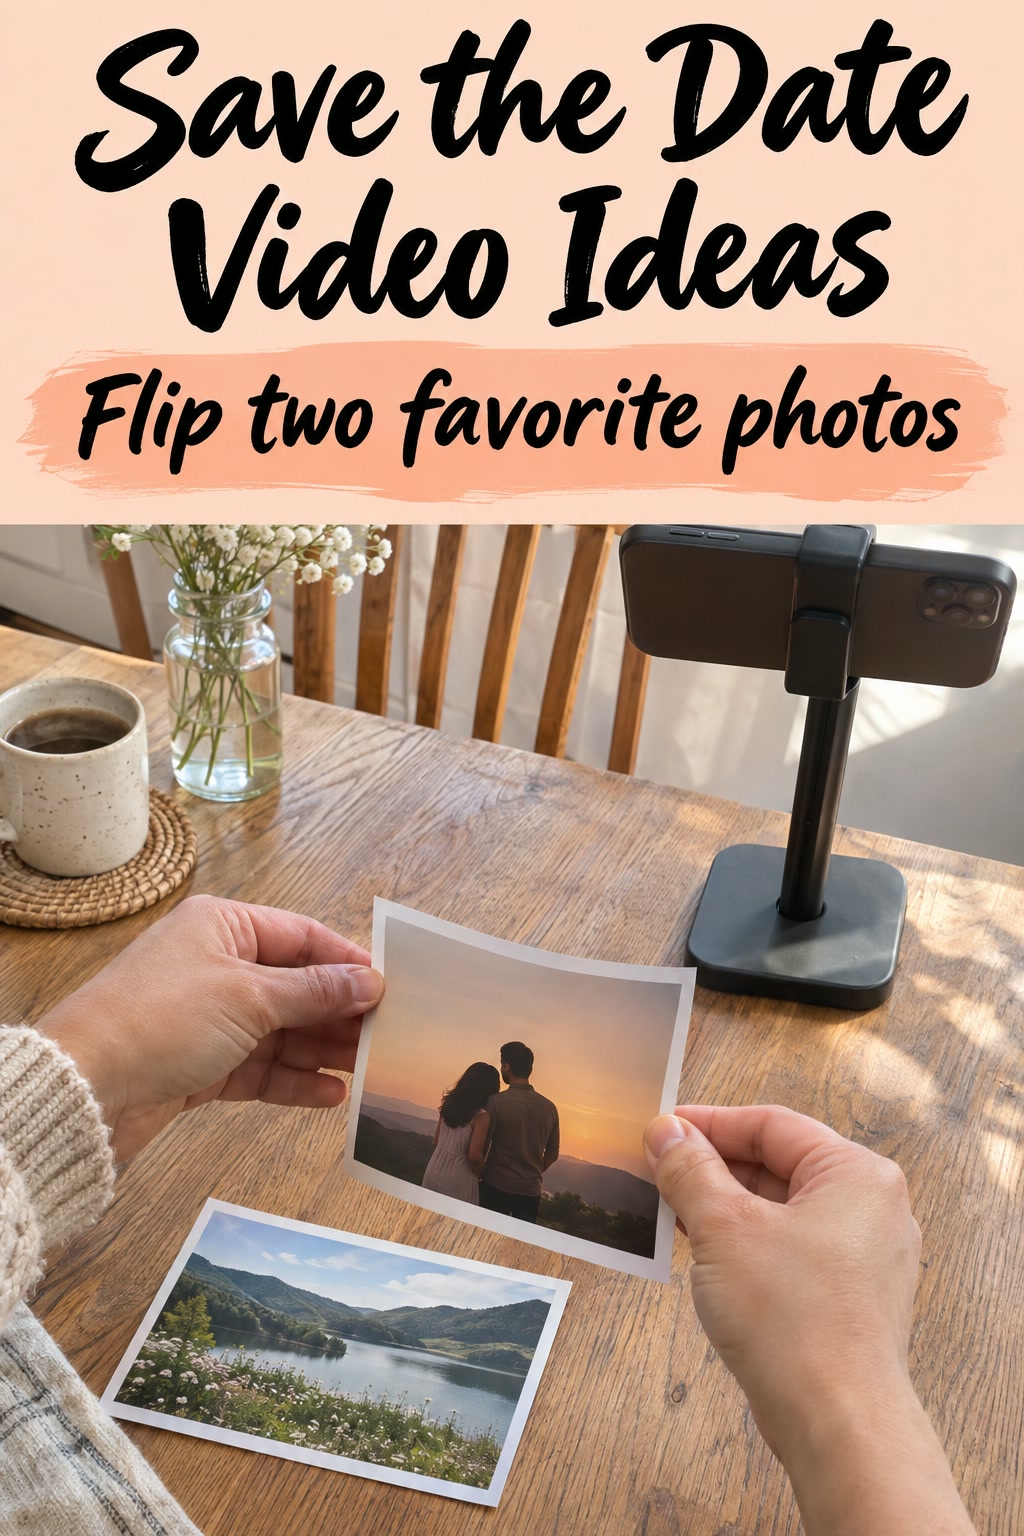
Pick one thing for the camera to see. If your hand slides two photographs into the frame, record from just before the first print appears. Let the clip run after your hands leave so you have a place to cut. Listen back before you move on. A closing door or a gust of wind can make the same shot work better as a silent clip.
If the two of you will be in the shot, I would put the camera where a person could sit and talk to you. Try the angle before deciding on the backdrop. If the floor slopes or the table shakes when somebody leans on it, move the camera to a more solid spot. Take a second version with slightly more space around your shoulders. That extra room can be useful if a crop cuts off a hand or leaves no place for captions.
A detail shot and an optional voice track
The detail is usually a closer view of something already in the opening. Film the hinge of the slate after shooting the wider setup, or cut from a pair of seated speakers to the hands of the person unfolding an old photo. If a hand enters from the right in the wide shot, start the close view just as it reaches the object. Film that piece before moving the prop or the light.
Record a greeting separately if the room where you filmed the picture is too noisy. A simple “We’re getting married in June, and we’d love for you to save the date” lets your voices be part of the cut. Read it slowly enough to follow on a first listen, and edit out the preparation before the first word. Include captions for any spoken message and check the spelling of names and places yourself. The W3C guide to prerecorded captions explains why captions should also convey relevant sounds when they carry meaning. Keep the names, location, and date visible even if the video is muted.
Four edits from the same small set of pieces
A countdown with a real ending
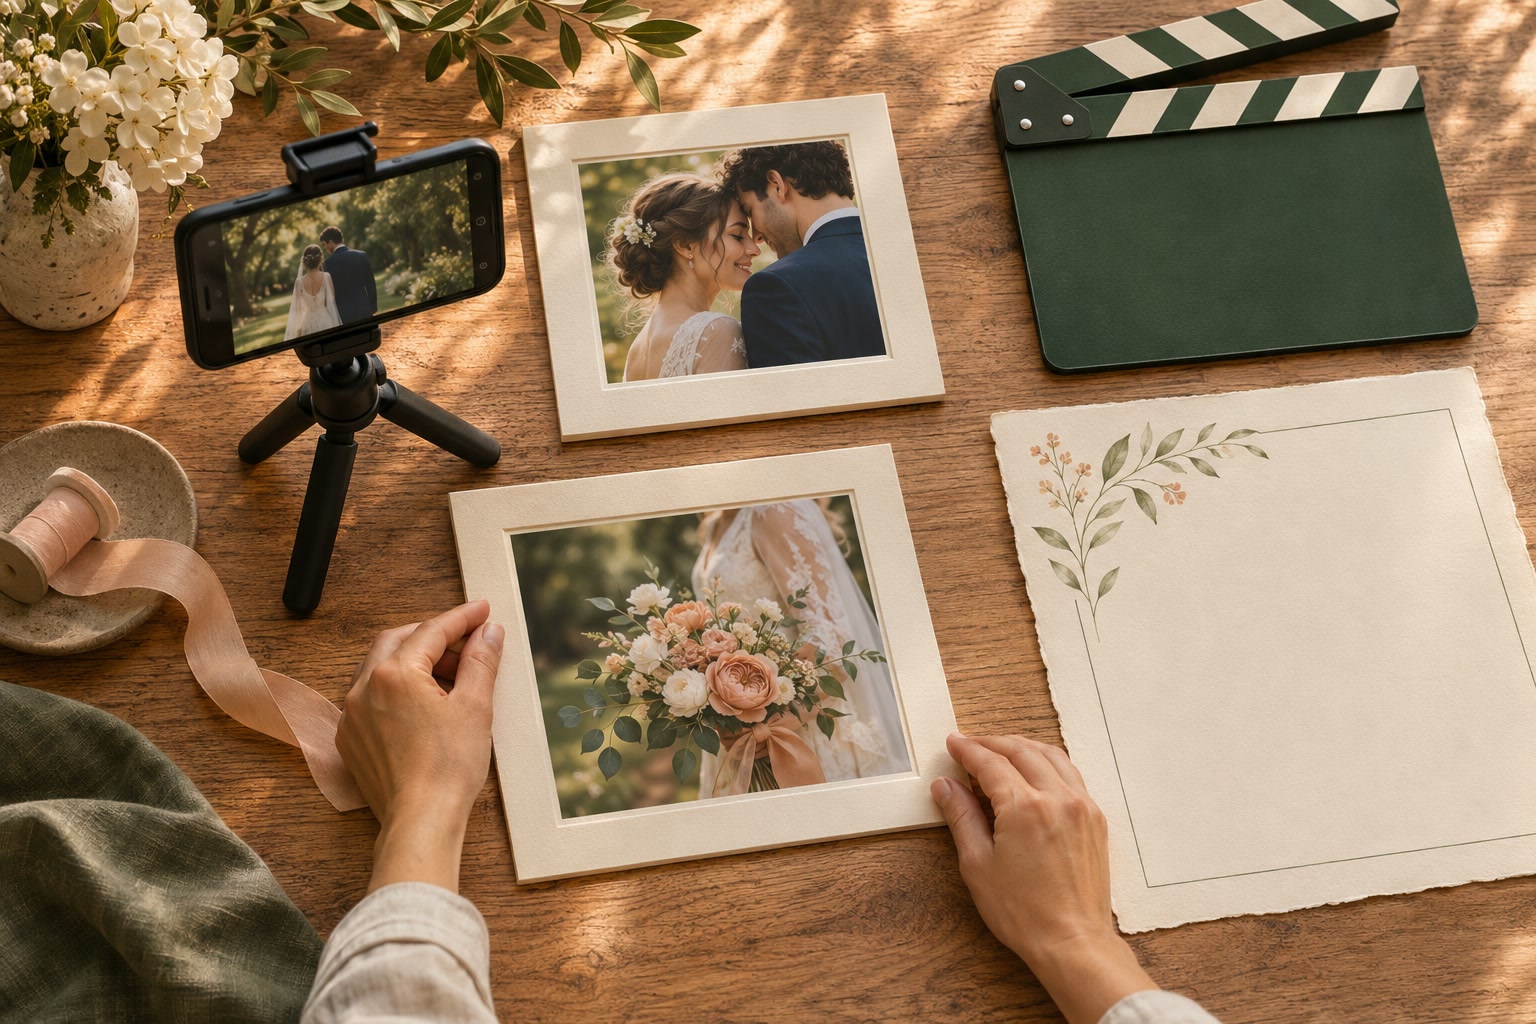
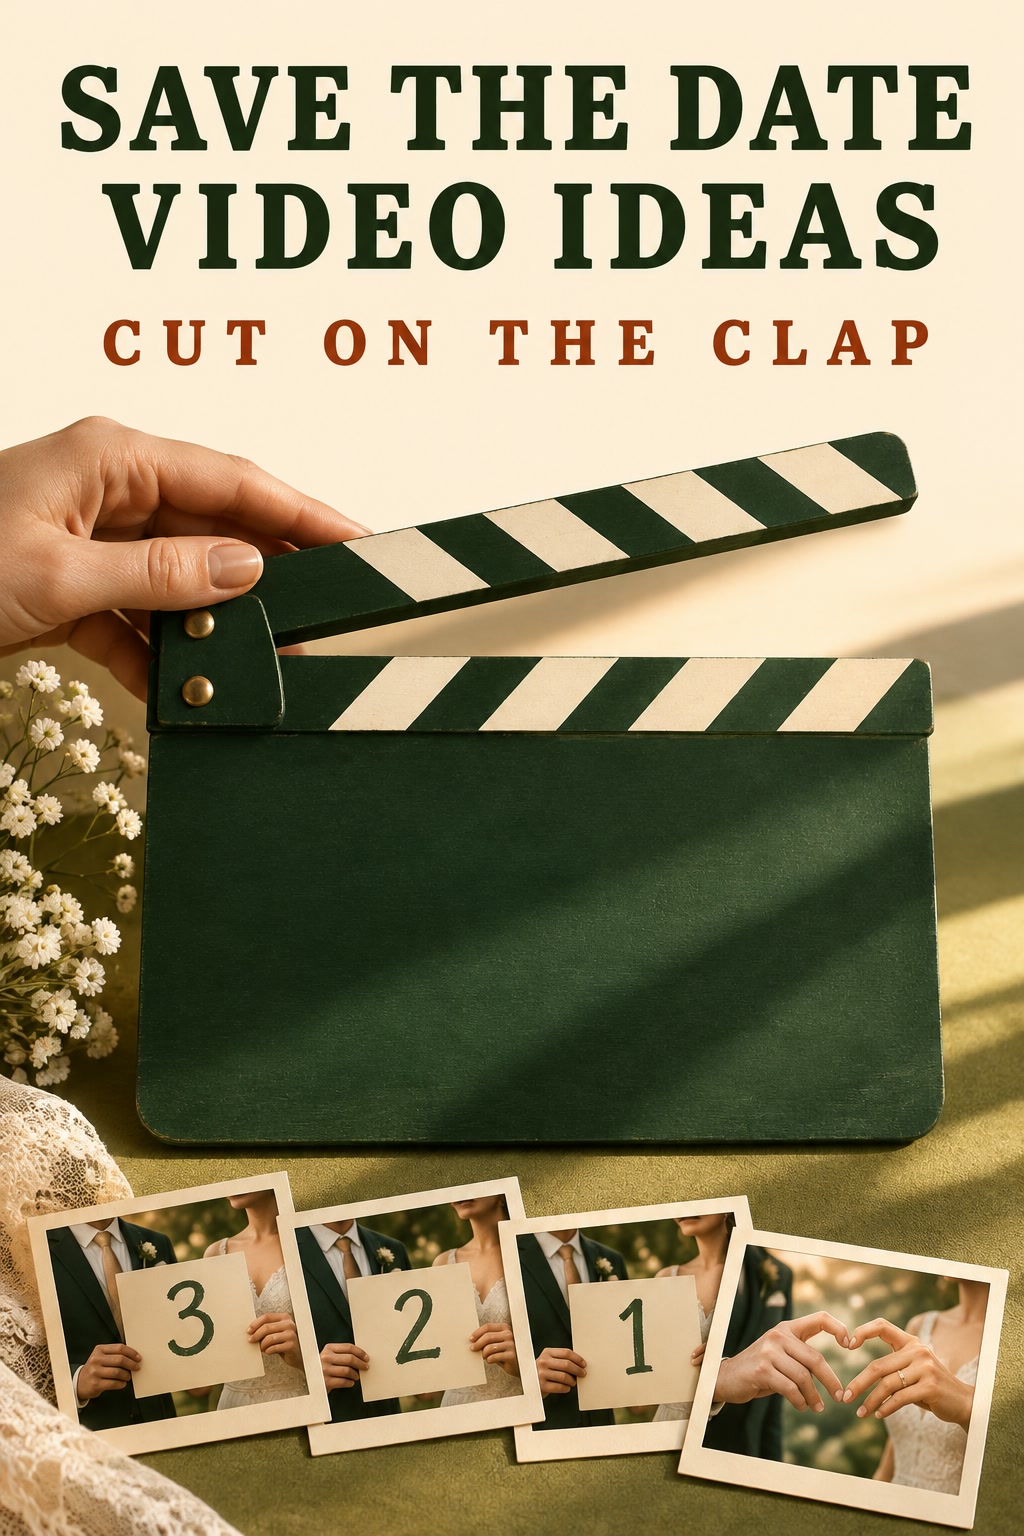
Film a close view of your hand opening an old-fashioned film slate, or draw a simple slate graphic. Place a short countdown over the opening. Let the count follow the hand reaching for the slate. You can cut on the clap without interrupting the motion to introduce a second prop. Cut cleanly to the date card as the slate closes. Give the date card a quiet hold once the movement stops. A sound can accompany the clap if you want one, and the cut still makes visual sense with the volume down.
If the numbers invite confusion with a date, give them a simple shape of their own and start the wedding card with clear wedding wording. I would keep the setup to one action. A second prop needs its own moment on screen, and that can make a short count feel rushed. If you like the slate as an image and find the numbers too frantic, use the clap on its own to make the transition.
A spoken hello with room to breathe
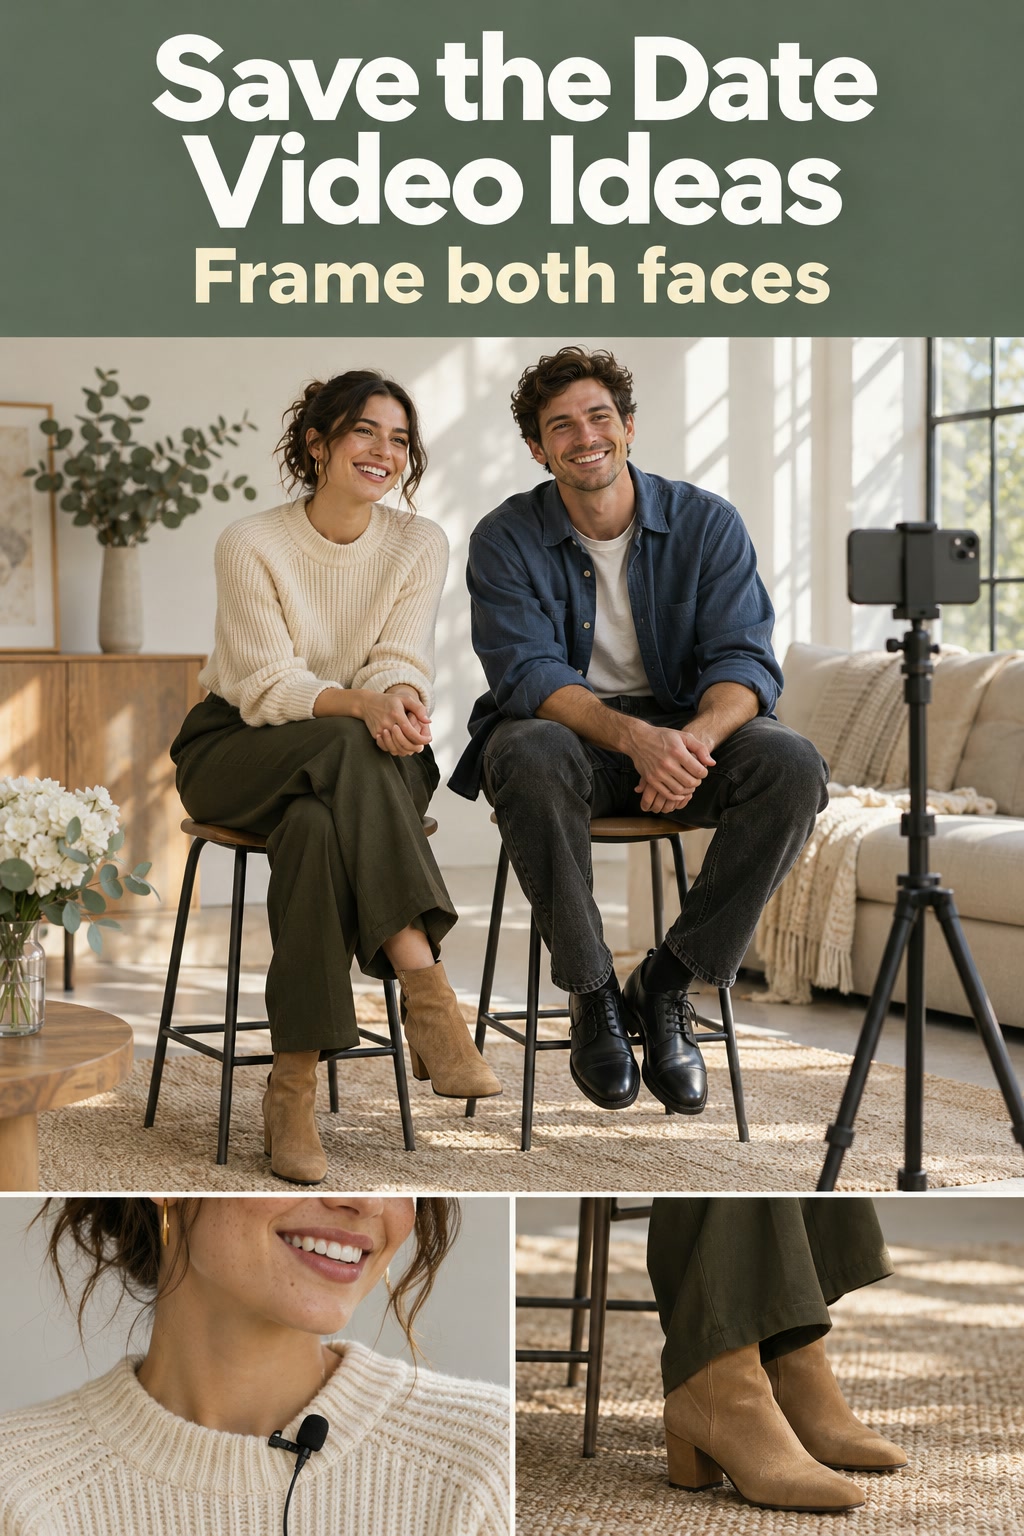
Set the camera at a height that keeps both faces in view. Let one person say the wedding line and give the other a reply they might actually say. A wave, a look, or the sound of the two of you laughing can bring the clip to a natural stop. Cut to the date card after the last word and leave it static while any remaining audio tails off. Give captions a solid backing if the background behind your shoulders varies in brightness.
Record at least one take where both of you can hear each other at a regular speaking volume. Listen back at the volume you usually use for voice messages. With a phone on a shelf across the room, the echo of a quiet speaker can get in the way. Try sitting closer to the phone and leaving space above your heads in the composition. At that distance, try a take where both faces stay in frame and the quieter speaker is clear at your usual playback volume.
An illustrated frame flip for photos you already have
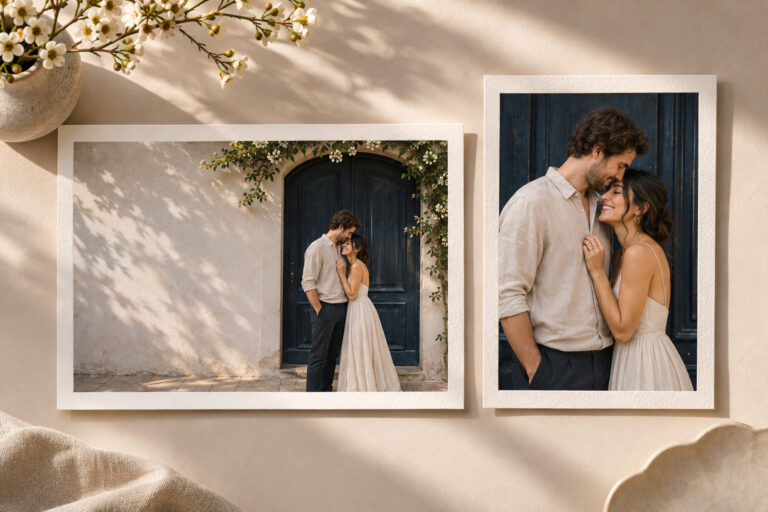
Pick two existing photos with enough visual space around the faces to crop them comfortably. Make a layout that resembles two photo frames, each with a broad paper edge, and show the first picture on screen by itself. Animate a quick flip to the second, then use a third panel in the same shape for the date card. Keep the third panel straight and still so the animation has an obvious stopping point. Keep the flip moving in the same direction, especially if the next face is on the opposite side of the screen.
You can make the flip with paper too. Place the camera over a table and turn one print out of the frame with your hand. Capture an extra moment with the second print settled before ending the shot. If a clear window reflection lands across someone’s face on the tabletop, turn the print a little or move the setup until the image reads. Two distinct pictures give this particular edit enough visual change. A third favorite image can go on the wedding site if it weakens the rhythm between the other two.
A match cut that follows one movement
A match cut can join two shots with a similar shape or movement. Film one person passing a folded sheet across the middle of the shot. In another setup, film the other person drawing an identical fold in the same direction, with the edge crossing the same point in the frame. Cut while the paper is moving and let it settle before you bring up the final date card. A change of background or outfit can read as intentional while the paper keeps moving along the same line.
Set the camera position and mark where the hands cross with a bit of tape outside the frame. Save both raw clips before trimming either one so you can adjust the cut after seeing them together. If one hand sweeps through the frame faster than the other, try one take at a slower speed and slide the second clip along the timeline until both edges pass the same point. I’d use this edit when you enjoy rehearsing a little move. Someone who wants to film once and move on may prefer the spoken hello.
Decide what to borrow, buy, or skip
Play back one complete rough clip before you order anything. Use the phone you plan to film with and the room you can actually use. Watch for what you would have to fix before sending the clip. A phone tripod can take over when the angle you need is too high for a stack of books or when you both want to step into the opening shot. Check how the clamp fits over the case before you settle on a tripod, and make sure there is room for the position you want.
A wireless clip-on microphone is worth considering if the spoken greeting makes the film feel like you and the camera has to sit farther away than your phone can record clearly. Match the receiver plug to the phone. If you both need to speak on camera, look for a kit with two transmitters. Make a short recording before filming the whole sequence. Have each person speak at their normal level, then move their shoulders once to see if clothing brushes across the mic. Keep a separate phone recording as a backup if you can set it close by without putting it in frame.
For the illustrated flip, an overhead phone mount can keep the paper and frame aligned while your hands turn the print. Try positioning and checking the phone’s contact points over an empty table before you put your photographs beneath it. Look at the corners of a test print in the frame. If one edge seems much shorter than the opposite edge, adjust the mount until the phone points straight down. If your tabletop is too thick for a clamp or moves when you use it, try a stable stand with a different base or make the flip inside the editor.
A small adjustable LED video light is useful if your print or face disappears into a late-afternoon shadow while the rest of the frame stays bright. Start with whatever daylight you have and shift the setup until the bright side is beside you. If you add a light, turn it down and see whether it lifts the shadow without introducing glare. For shiny photographs, moving the light to one side can be easier than editing a bright streak later. Keep the light out of the shot and mark its position if you need the same setup for a close-up.
Gear for the shot you decide to film
Set a steady opening angle
Record both parts of the greeting
Keep the paper flip in frame
Add a little fill light
Adapt the same video to a phone or a TV
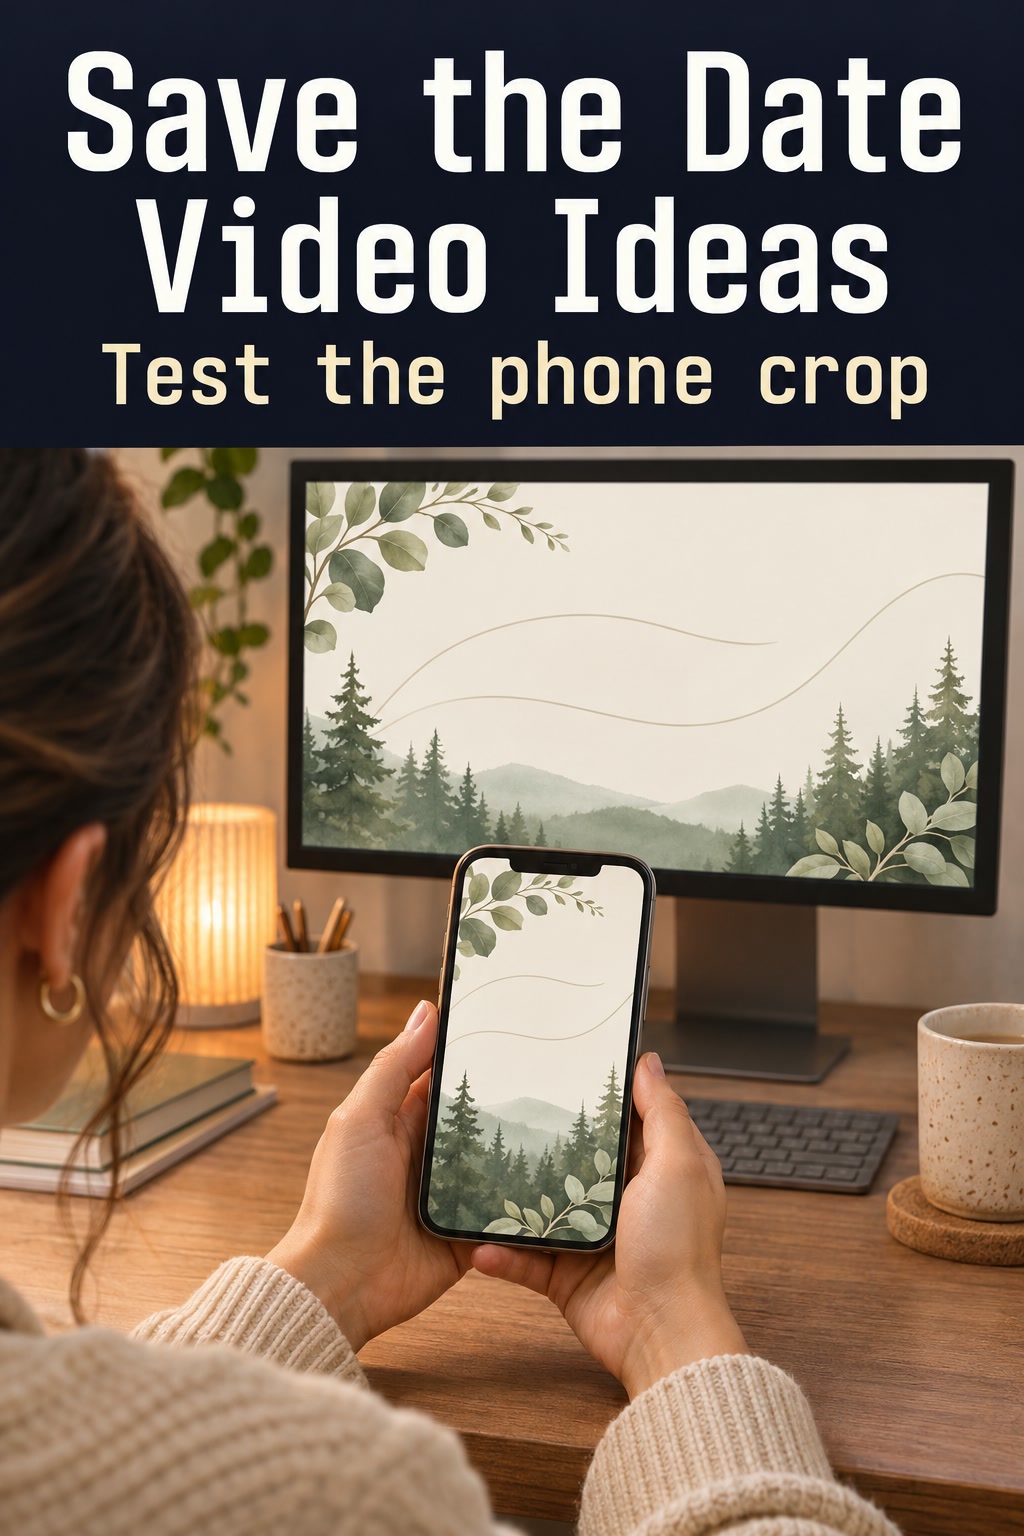
Duplicate your timeline before making the second version. You can trim either frame without disturbing the first edit. For a portrait version, put the main action near the center and allow room above and below for the app interface. If two faces look cramped, choose the take in which you sat closer together or use a single speaker and cut to the other person for the reply. A landscape version for a bigger screen can use a wider view of both speakers. Redo the date card for each shape if its lines wrap awkwardly. Keep the text the same so an update in one version has an obvious counterpart in the other.
Listen for wind or traffic and watch for a moving patch of shade across either face before committing to an outdoor greeting. If you lose that usable moment, keep the silent close-up and record the line indoors. In winter, a window you can use before dusk may be a steadier choice than trying to match two exterior takes around a changing sunset. When you have the room only briefly, film the wide and close versions of the action before rearranging the set.
Export a sample and send it to yourself the way you intend to deliver the final video. Watch it from the message thread or link the guest will actually use. See where the player puts its buttons and what the preview shows. Look at the captions with the sound muted. Include both names, the full wedding date, and the location in the message itself so people can copy the text and recover it without replaying the clip. If you link to a video hosted online, test the intended viewing permissions from a session that isn’t signed into the owner account before guests get the link.
Editor’s take
I’d make a spoken hello if you both like the idea of people hearing your voices. Give the names and date a still frame of their own and build the opening around one sentence. If getting a natural line means a long rehearsal or a room you can’t film in, I’d use the frame flip and save the voice for a personal message to people close to you. Make the date card tonight and put one rough shot in front of it. Send yourself the result. If you reach for pause or scrub backward to catch the year, lengthen the final frame before you spend time on the opening.
Sources and methodology
The design options came from published examples and template catalogs, including Canva’s save-the-date video gallery. The caption guidance comes from W3C. The sequences and timings above are editorial mockups intended as starting points for the reader’s own preview. The production recommendations are based on that research and the needs of each example.
FAQ
How long should we make the video?
Try a first cut around 15 to 25 seconds if you are filming a single action or a short spoken hello. Treat that range as a starting point and give the date more time if the place or names need it. A longer voice clip can work if it says something you want the recipient to hear.
Can we make one without filming ourselves?
Use the illustrated frame flip with photographs you have permission to share, or build the countdown from a plain graphic and a date card. Read the date and location in the finished export so you can confirm they still fit. You can record a short voice line if you want people to hear you without showing new footage.
Do we need to film the phone’s portrait and landscape versions separately?
A wide take with the main action near the center may crop well into both. Look at how hands, faces, and captions fit inside each frame. Film a separate take if the portrait crop loses something important or if one person ends up behind the other. Keep a separate date card for each aspect ratio.
What should we send to a videographer?
Send the approved names, date, and location as text. Include the platform or message app you’ll use, the orientation you want, and a rough example of the opening action. Ask for an editable date card or a clean still along with the video. Say whether you need captions committed to the video file or as a separate file for your player.
Should we record a new version if we catch a typo?
Edit the date card and captions first. Because the wedding details sit separately from the footage, a typo in one text layer may be easy to fix without filming again. Listen for the same mistake in the audio, and re-record that line if needed. Replace any earlier copies you still control and check the message text too.
What if we want a song under the whole video?
Choose music you have permission to use in the places you plan to share the video. Listen to the spoken version with the music on at a comfortable level and turn the background down if any words disappear. If the beat would force you to cut away from the date early, let the card stay still until there’s time to read it.