Bridesmaid Hairstyles Half Up Half Down: 5 Options
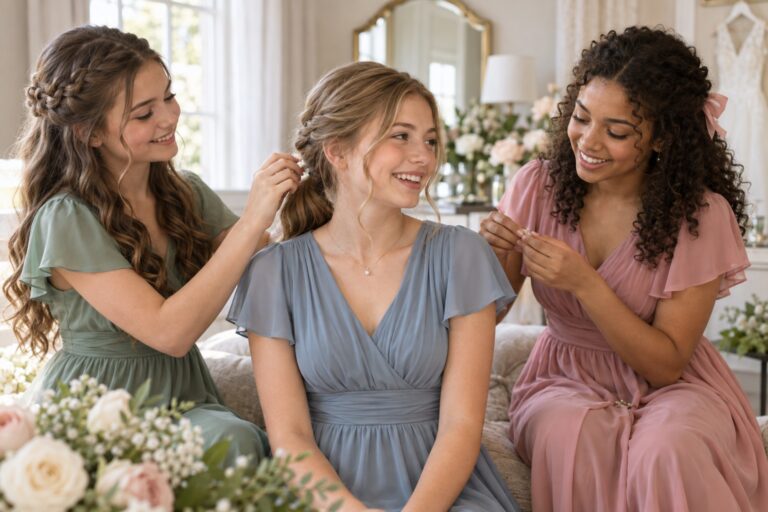
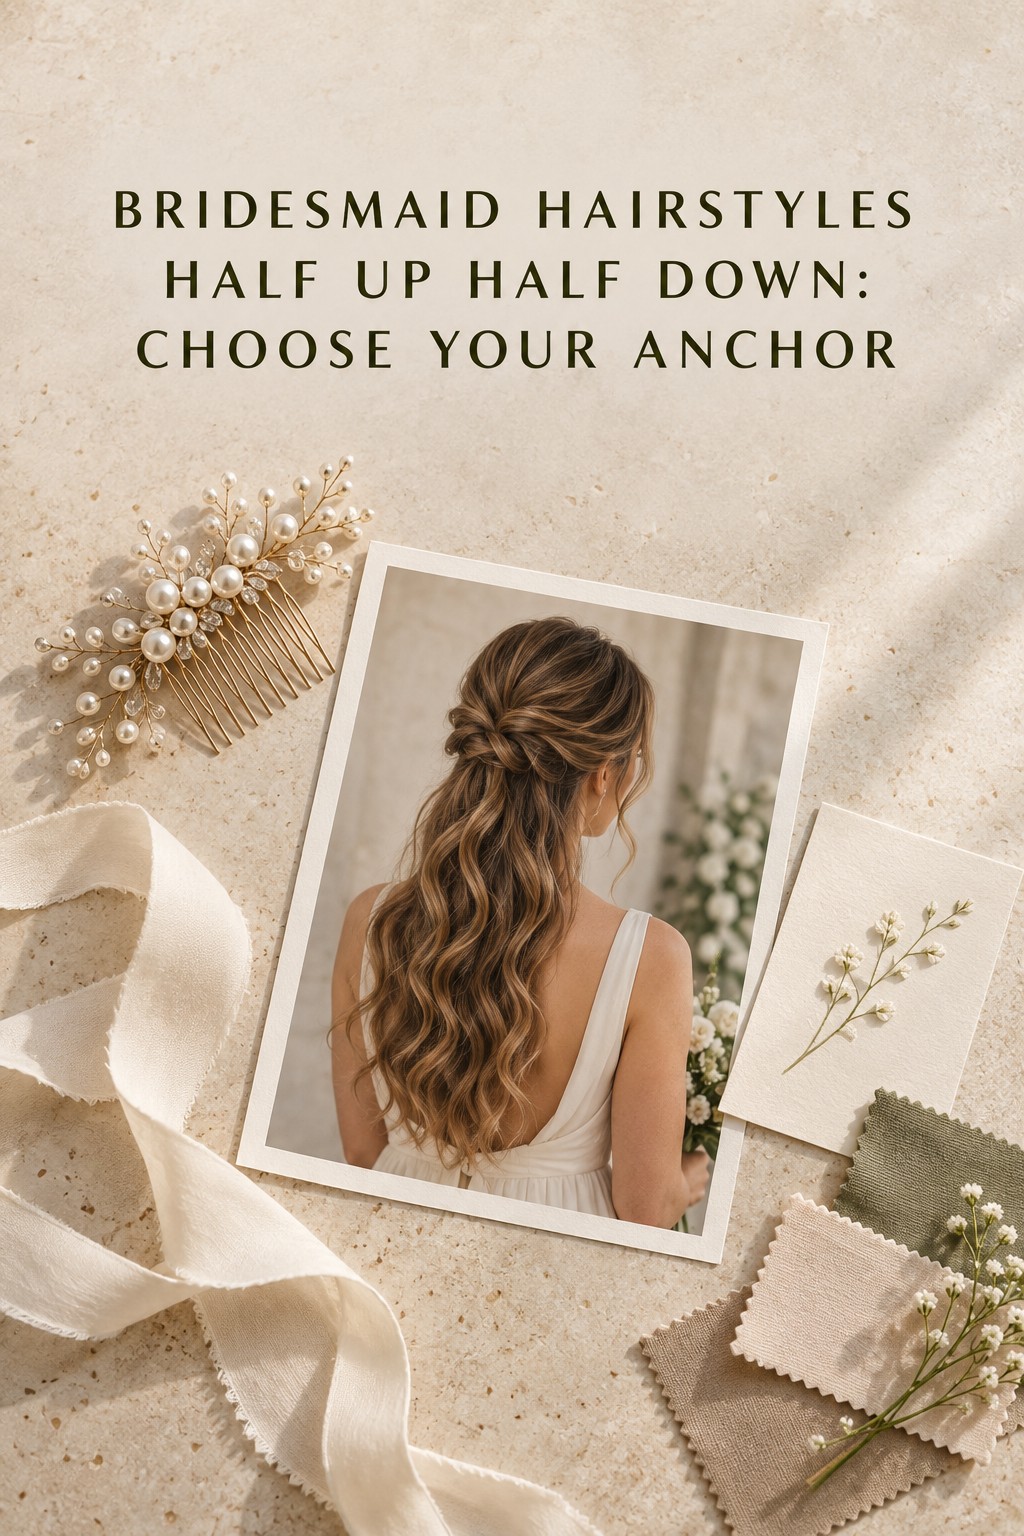
Bridesmaid hairstyles half up half down can mean a loose twist, a braid, a small knot, a lifted ponytail, or simply a few sections pinned back. Those options look related in a gallery, but they do not feel or function exactly alike. The useful choice is the one that gathers enough hair to keep your preferred front pieces in place while leaving the amount of length and movement you want.
Use this comparison to choose a construction before you choose curls, accessories, or a precise finish. Think about the anchor at the back, how much hair it gathers, what your own hair can support comfortably, and how the style will sit with your dress. Then take one main reference and a short list of preferences to your stylist. The goal is a clear direction that can be adjusted for your hair, not a copy of someone else’s photo.
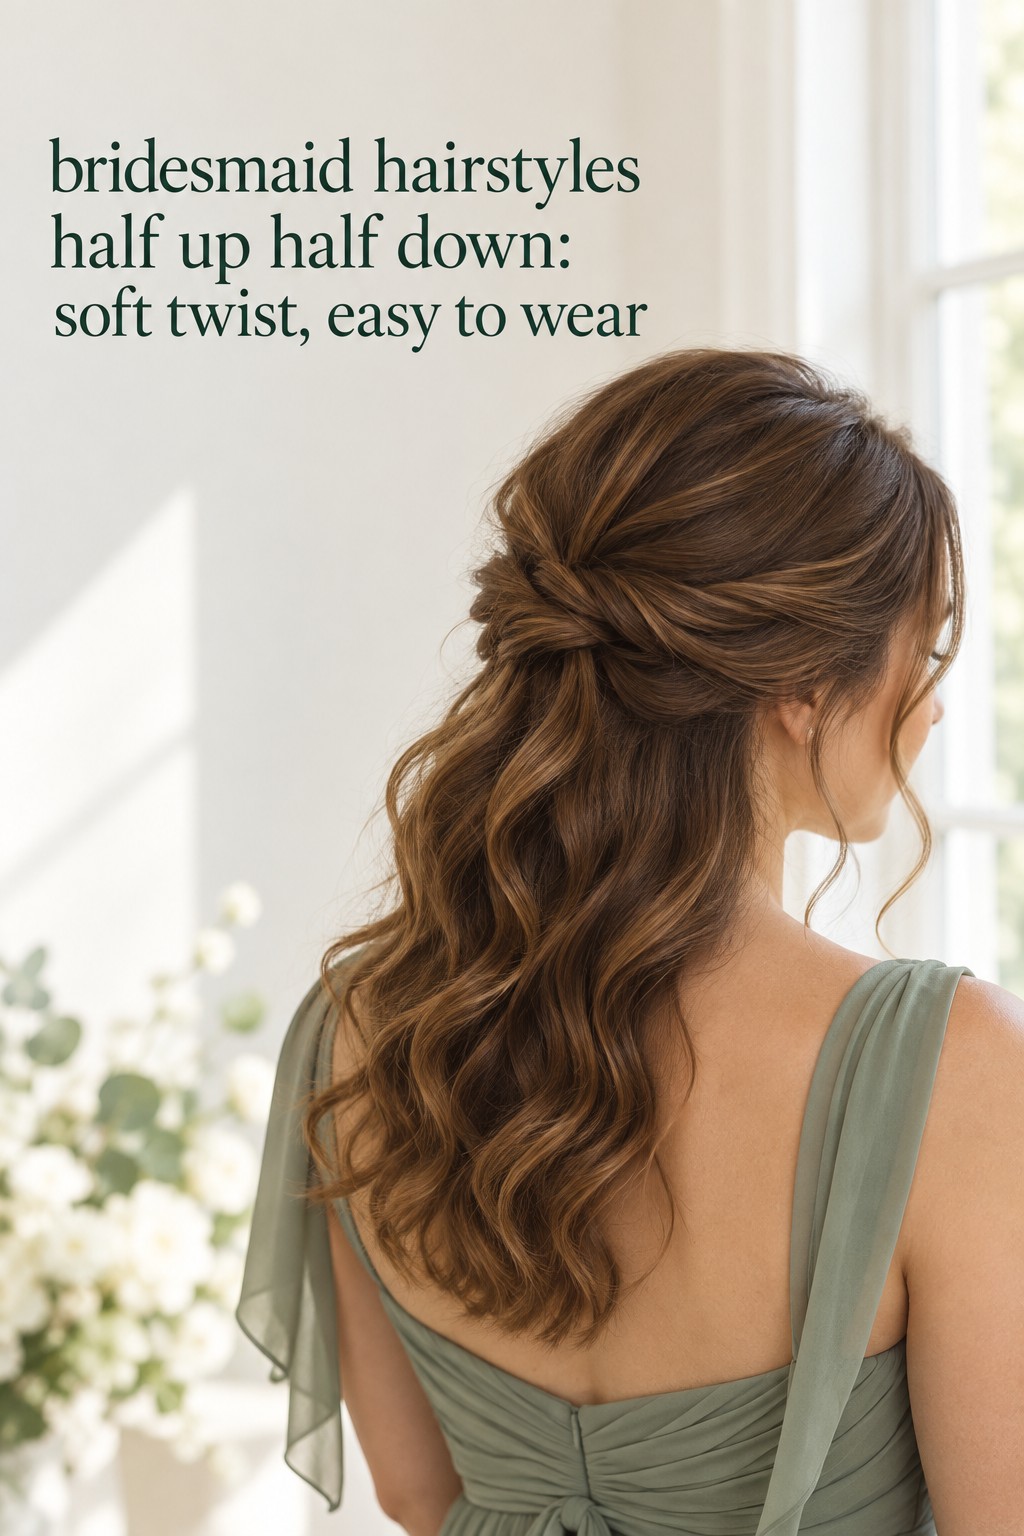
What the half-up shape actually asks of your hair
A half-up style has two jobs. The upper section creates the visible design and holds hair away from at least part of the face. The lower section stays loose, showing length, texture, or a finished curl pattern. The balance can shift: a tiny pin-back leaves most hair down, while a broad gathered section gives a more lifted look. Both still fit the general idea, but they create different proportions.
It helps to describe the shape instead of asking for “half up” as if it were one standard hairstyle. Decide whether you want the sides swept back, a raised crown, a visible braid, or a small secured ponytail. Then say how much hair you want left around your face and how much of your length you want visible from the back. These details give the stylist a useful starting point without locking you into a complicated reference.
Turn wedding inspiration into a plan you can actually follow.
Zarellea brings your guest list, budget, vendors, and day-of details into one shared space — so no beautiful idea gets lost in the shuffle.
Hair length, layers, texture, density, and your comfort with pins all affect the construction. A photo of a long, dense braid may not translate directly to a shorter layered cut. A pulled section may feel secure to one person and too tight to another. These are not reasons to rule out a style before a trial. They are reasons to compare the design idea with the hair you will actually wear.
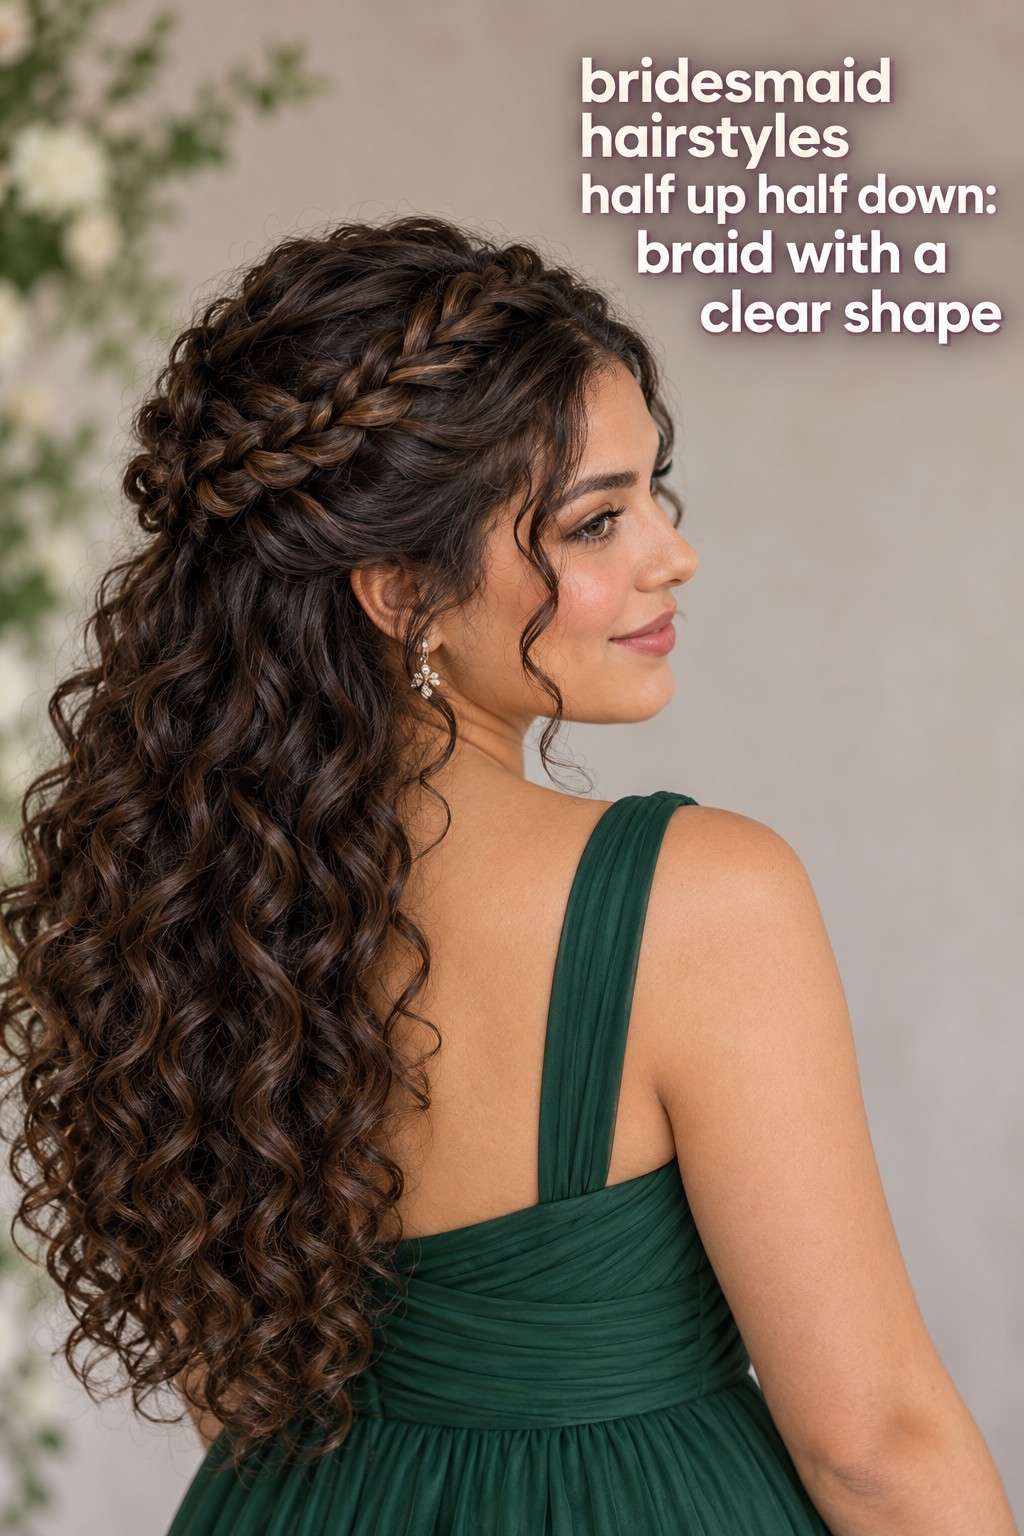
Compare five ways to build the top section
Compare each option using the same questions: What holds the upper section? How much hair is gathered? What detail will show from the back? What might need adapting? Once you can answer those questions, it becomes easier to narrow a large inspiration board to one or two references that share a clear construction.
1. A simple twist for a soft, low-detail finish
In a basic twist, sections from the sides are brought toward the back and turned over one another before they are pinned. It gives the top section a little shape without making a braid or accessory the main event. The lower hair can stay straight, wavy, curly, or close to its natural texture. A twist is a useful reference when you want the face cleared but still want the overall look to feel relaxed.
The trade-off is that “simple” can be hard to interpret. A tight, smooth twist reads differently from one with a little lift and softened edges. Ask where the twist should sit, how much volume you want at the crown, and whether any short pieces should remain loose. If your hair has layers, show the stylist where they usually fall so the pinning plan can account for them.
2. A braid when you want the detail to read clearly
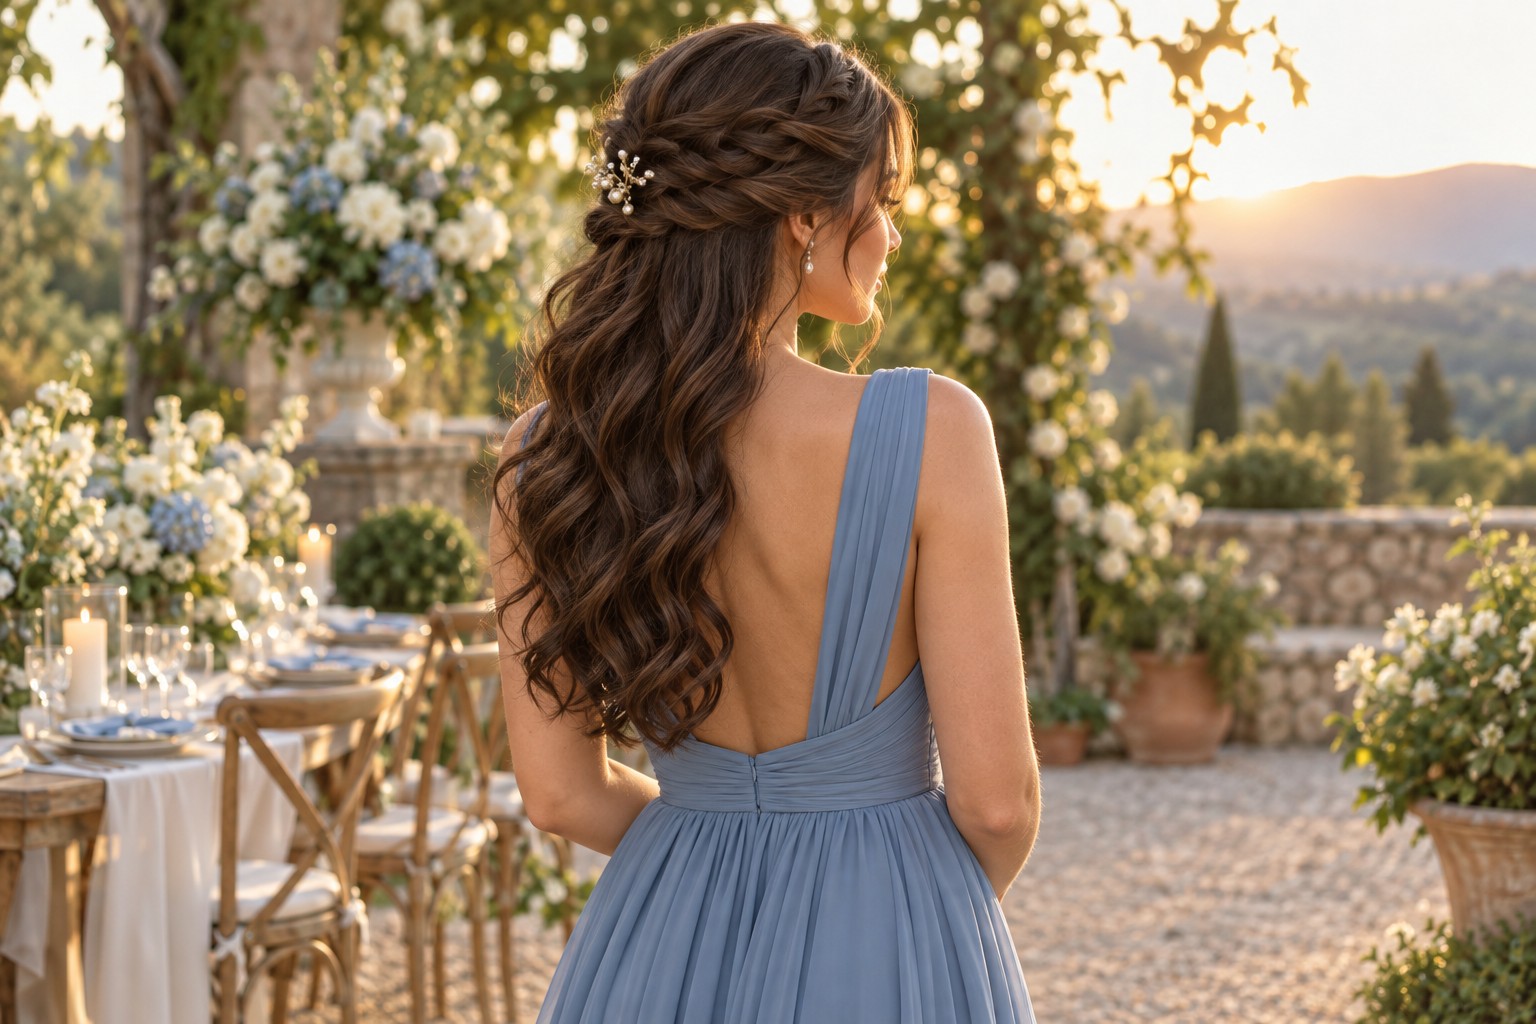
A braid can run along one side, cross the back, or form a crown-like band across the top. It gives the gathered section a visible pattern and can make a plain clip unnecessary. A narrow braid feels subtle, while a wider pulled-apart braid becomes a stronger feature. If you like a style in which the top section itself is easy to see, bring a reference that shows the braid from the back rather than only from the front.
The braid’s size depends on the section being gathered and the hair available to work with. Very short layers may slip out of a loose weave; fine hair may create a smaller braid than the picture suggests; dense hair may produce more visual weight. A stylist can change the braid’s width or use a pair of smaller braids, but those changes alter the mood. Decide whether your priority is a distinct pattern, a light look, or more hair held away from your face.
3. A wrapped knot for a defined center point
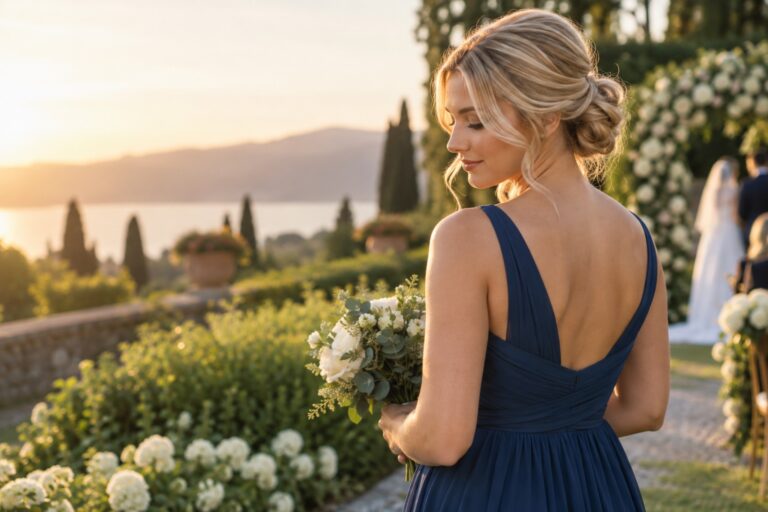
A small knot or half-up bun gathers the upper section into one focal shape. It can look polished with smooth sides or softer when the crown has some lift and the loose hair keeps its texture. This option works well as a reference if you want the top of the hairstyle to have a clear center point instead of two side sections meeting in a narrow twist.
It asks the hair to make a compact shape, so the amount of available length and the way it holds a pin matter. A knot that is too large can dominate a delicate dress or feel heavier than intended. A very small knot may disappear from a distant photo. Ask the stylist to show a side and back view, and discuss whether the knot should be tidy, softly textured, or barely visible beneath a decorative piece.
4. A half-up ponytail for lift and visible movement
A half-up ponytail gathers the upper section into an elastic or pinned base, leaving the rest to fall below it. The base can be covered with a strand of hair, wrapped with ribbon, or finished with a small accessory. This construction makes the gathering point clear and can suit someone who likes a bit of height or wants the loose section to feel more arranged than fully free hair.
Think about where the base will sit and how it will look from the side. Higher placement can draw the eye upward, while a lower gathering point can feel quieter. The style still depends on what you want left loose: curls, natural texture, or a smooth length. If the ponytail feels heavy or pulls when you move, ask for less hair in the upper section or a different anchor. Comfort is part of the design decision.
5. An accessory-led pin-back for the lightest structure
A barrette, comb, or a few pins can secure two small sections without creating a prominent braid or knot. This is the least constructed-looking option of the five, and the accessory supplies much of the visual detail. It is a good direction if you like wearing your hair down and only want it moved back from the face or gathered enough to reveal earrings.
The accessory needs to work with the amount and texture of hair it will hold. A wide comb may need a stronger section than a delicate pin. A heavy piece can shift if it is attached only to loose strands, while a very small clip may not be visible from the back. Bring the actual accessory to the trial if possible. Ask the stylist to test it at the intended angle and check whether it stays in place when you turn your head.
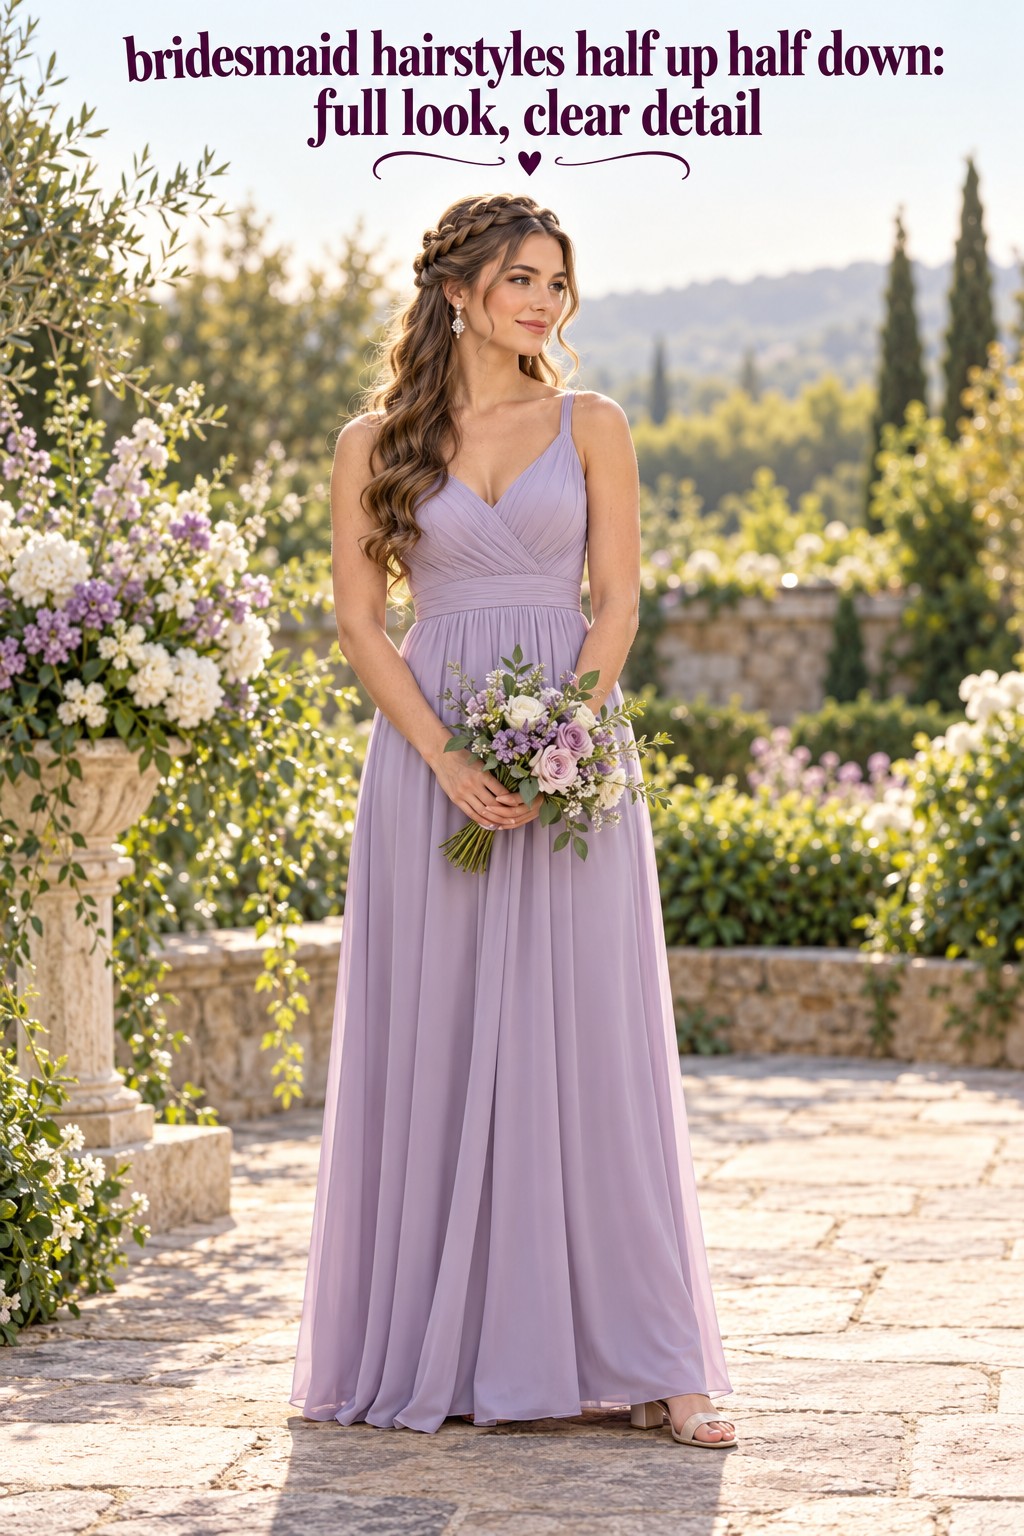
Choose a construction for your hair and priorities
Once one or two constructions appeal to you, consider what your hair can support and what you want to notice most. The right question is not whether a style is “for” a particular hair type. It is which parts can be adapted so the finished look feels secure and still resembles your reference.
If your hair is short or heavily layered
For shorter hair, a narrow twist or accessory-led pin-back may be easier to scale than a large braided crown or knot. A stylist can work with the sections that reach comfortably to the back, or use several small pinned shapes to create a similar outline. Show the stylist a current photo of your hair at its usual part and length. A reference with a similar cut will usually communicate more than a long-haired example that depends on extra length.
Layers can add softness around the face, but they may also leave shorter pieces near the anchor. Tell the stylist which pieces you like and which tend to fall forward. If you want tendrils, decide how many and where they should sit. If you do not, say that too. The goal is to make the front feel deliberate rather than repeatedly pushing loose hair back during the event.
If your hair is fine or you prefer less tension
A smaller gathered section can keep the half-up effect without taking too much hair away from the loose length. A twist or a pair of discreet pins may feel lighter than a wide braid or a high ponytail. During the trial, mention if your scalp is sensitive or if you dislike a tight feeling at the temples. The stylist can adjust the width of the section, the position of the anchor, and how the pins distribute the hold.
If fullness is part of what you like in a reference, separate the shape from the volume. You might want a little lift at the crown, but not a large teased section. You might like the look of a thick braid, but prefer a smaller braid with a soft wave below. Ask which visual feature can be preserved with your own hair and which would require a different technique or added hair. You can then decide whether that extra step matters to you.
If you wear curls, coils, braids, or locs
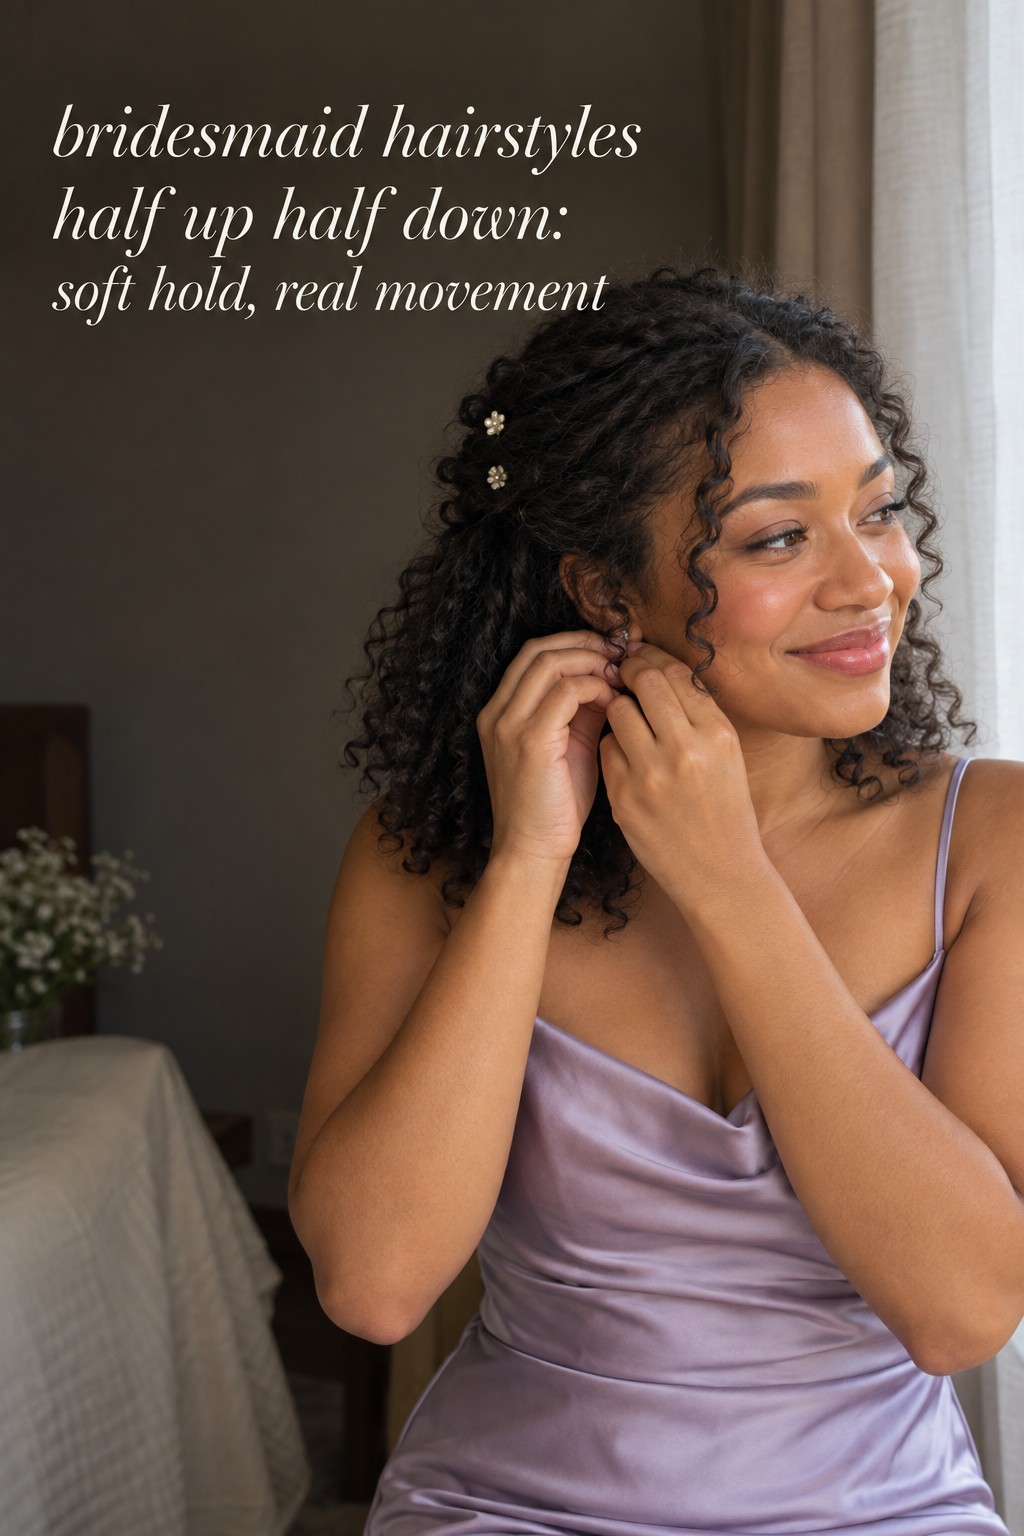
The half-up outline does not require the lower section to be curled into a different pattern. Natural texture, set curls, braids, and locs can each remain visible below a pinned or gathered top section. Bring an example that resembles how you want your hair treated on the day, and ask the stylist how they would secure the top without flattening or disrupting the texture you want to keep.
Consider the direction in which the loose section falls, especially if your texture expands or changes shape as the day goes on. You can ask for the gathered area to be neat while leaving the lower portion full, or for the whole style to keep a softer outline. Be specific about whether you want the natural pattern preserved, enhanced, or reshaped. A good reference should show both the top construction and the texture left down.
Coordinate the hairstyle with the dress and accessories
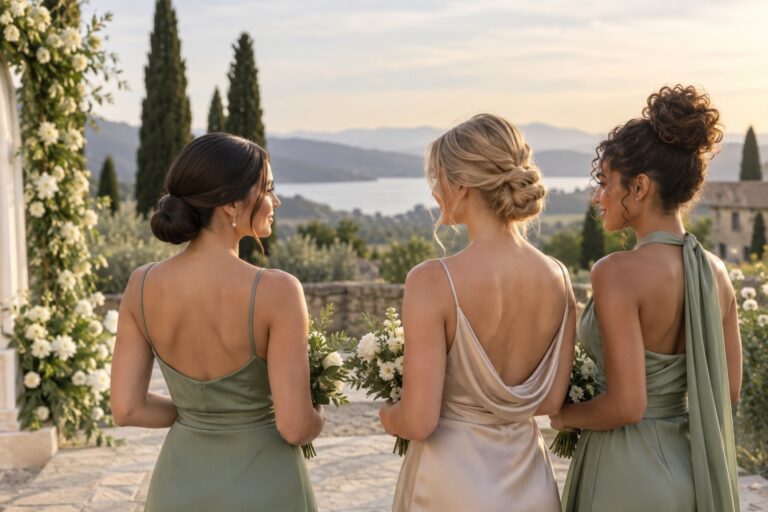
The half-up shape leaves hair over the shoulders and back, so look at what it will cover as well as what it will reveal. A detailed back, open neckline, or straps may influence where the loose section falls. Earrings may be easier to see if one or both sides are swept away from the face. These are choices, not strict rules. The hairstyle should support the parts of the outfit you want to notice.
Try the reference beside a photo of your dress and jewelry. If the dress has a high neckline or embellished shoulders, you might prefer less volume near the sides. If the back is a feature, a higher or narrower anchor could leave more of it visible. If you love the look of hair over the shoulders, keep that preference in the plan and ask how much can remain in front without hiding the dress detail.
Choose one finishing idea to test first. A small pearl pin, floral detail, ribbon, or metal clip can finish a twist or braid, but several accents can compete with the construction. Match the scale to the hairstyle and the rest of your jewelry. If the accessory is important, bring it to the hair trial rather than describing it from memory. A stylist can check its weight, position, and visibility while the hair is actually pinned.
Think about the front view too. A style can look beautiful at the back but leave you feeling unlike yourself around the face. Try the part you normally wear, then test whether you prefer both sides swept back, one side tucked, or a few pieces left loose. Take a front-facing photo at eye level. This makes it easier to notice whether the style has the openness or softness you intended.
Make the trial answer practical questions
Bring one primary reference and, at most, a second image that clarifies a separate detail. For example, the first picture might show the twist you want, while the second shows the amount of wave you prefer. Explain what you want to borrow from each rather than asking for a blend of two entire hairstyles. The stylist can then recreate the shared idea using your own length, texture, and accessories.
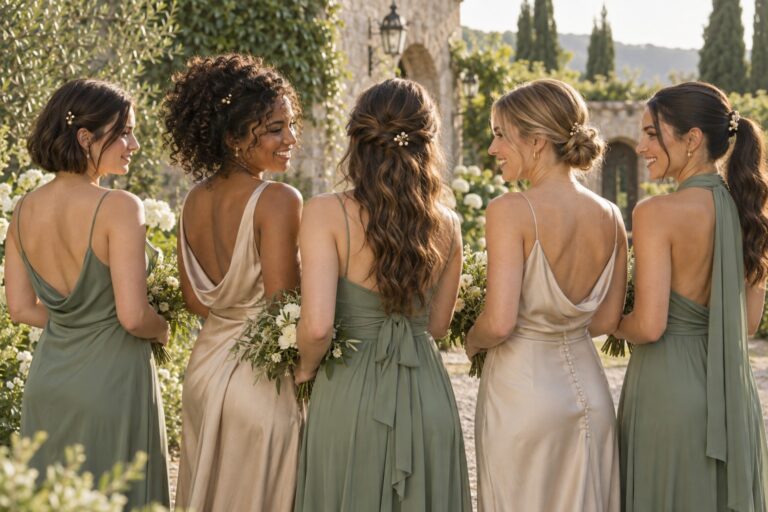
Ask to see front, side, and back views before the trial ends. The front confirms the part and face-framing pieces. The side shows crown height and how the gathered section meets the loose hair. The back reveals the anchor, braid, knot, or accessory. If the back is the main detail, take a clear photo from that angle while the hair is still fresh.
Move around in the finished style. Turn your head, look down, lift your arms, and sit for a moment. Notice whether pins catch, a section pulls, or loose pieces fall in a way you dislike. A style that feels fine while standing still may need a small adjustment for comfort. Tell the stylist what you feel rather than waiting until the wedding morning to work around it.
Take a few ordinary phone photos in the room’s available light. You do not need a professional camera to compare the silhouette and see whether a braid, knot, or clip is visible at a normal distance. Look at the picture as a whole, then zoom in. If the feature disappears, you can ask whether a slightly different placement or scale would help. Keep the change proportional to your desired look.
Before you leave, write down what the stylist learned about prep and timing. Hair professionals may prefer different preparation, so follow the instructions for your own appointment rather than assuming that freshly washed or day-old hair is always best. Note the accessory, the planned part, any product or extension discussion, and the small adjustments you approved. That short brief reduces the chance of having to reconstruct the decision later.
Trade-offs to settle before the wedding morning
A common mismatch is choosing only by the finished curl pattern. Two styles can have nearly identical waves but very different upper sections. If you care about how hair stays off your face, focus on the anchor and the amount gathered. If you care most about a visible braid or accessory, look for a back view that shows it clearly. Name the feature that matters before discussing the finish.
Another mismatch is requesting the same exact construction for every bridesmaid. People have different lengths, layers, textures, and preferences. A shared direction can be enough: each person might have one section secured back, loose length below, and a small coordinating accessory. Let the details change where needed so no one has to force a style that does not work with their hair.
Do not let an accessory rescue a construction you do not like. A beautiful comb cannot make a high anchor feel comfortable or make a shape feel like you. Test the style without the accessory first, then add it and decide whether it improves the look. Similarly, do not assume that adding more pins will automatically make a loose style more secure. Ask the stylist to show how the hold is distributed and tell them if you feel pressure.
Finally, be realistic about which details you can maintain. If you want the lower hair to remain perfectly arranged all evening, ask what the style needs and whether a touch-up is likely. If you prefer a softer finish that can move, say so. You do not need to predict every strand. A useful plan identifies what must stay secure and what you are happy to let move naturally.
Sources and methodology
This comparison draws on the range of half-up examples documented in Hair.com’s bridesmaid hairstyle gallery and The Knot’s bridesmaid hairstyle guide. The article organizes those recurring construction ideas into a practical decision framework. Recommendations about comfort, placement, and personal preference are presented as planning prompts, not guarantees about how a specific style will perform.
FAQ
What are the best bridesmaid hairstyles half up half down?
The best option depends on the detail you want. A twist is understated, a braid makes the top section visible, a knot creates a center focal point, a half-up pony adds lift, and an accessory-led pin-back keeps the structure light.
Can short hair work in a half-up bridesmaid style?
Often, yes. A stylist may use a small twist, a narrow braid, or pins and a clip to gather shorter sections. Bring a current photo of your actual length and ask how layers will be secured comfortably.
Which half-up style is easiest to personalize?
A simple twist or accessory-led pin-back can be adjusted in scale, placement, and finish without changing the overall direction. A braid or knot can also be personalized by changing its size and texture.
How do I keep a half-up hairstyle from feeling too tight?
Tell the stylist where you feel tension during the trial, especially around the temples or crown. Ask to adjust the amount gathered, anchor position, or pin placement, then move your head and shoulders to check the result.
Should bridesmaids wear identical half-up hairstyles?
They can share a direction without matching every detail. Agree on a general feature such as a swept-back top section or a small coordinating accessory, then let the construction vary with each person’s hair and comfort.
Can I wear a hair accessory with a half-up style?
Yes. Bring the piece to your trial so the stylist can check its size, weight, angle, and hold with your chosen construction. A single accessory often makes the design intention clear without hiding the twist or braid.