Bridesmaid Hairstyles: A Guide to Choosing Your Look
For bridesmaid hairstyles, start by deciding how you want to feel and what you want your hair to do. Then narrow the options by your natural texture and length, the dress details you want to show, and any shared direction from the couple. That gives you a more useful choice than saving a dozen pictures and hoping one can be copied exactly.
This guide takes you from a broad idea to a short stylist brief. You will choose an overall shape, identify one detail that makes it feel like you, select references that resemble your own hair, and plan questions for a trial or consultation. The aim is to arrive with a clear starting point while leaving room for the stylist to adapt the look to you.
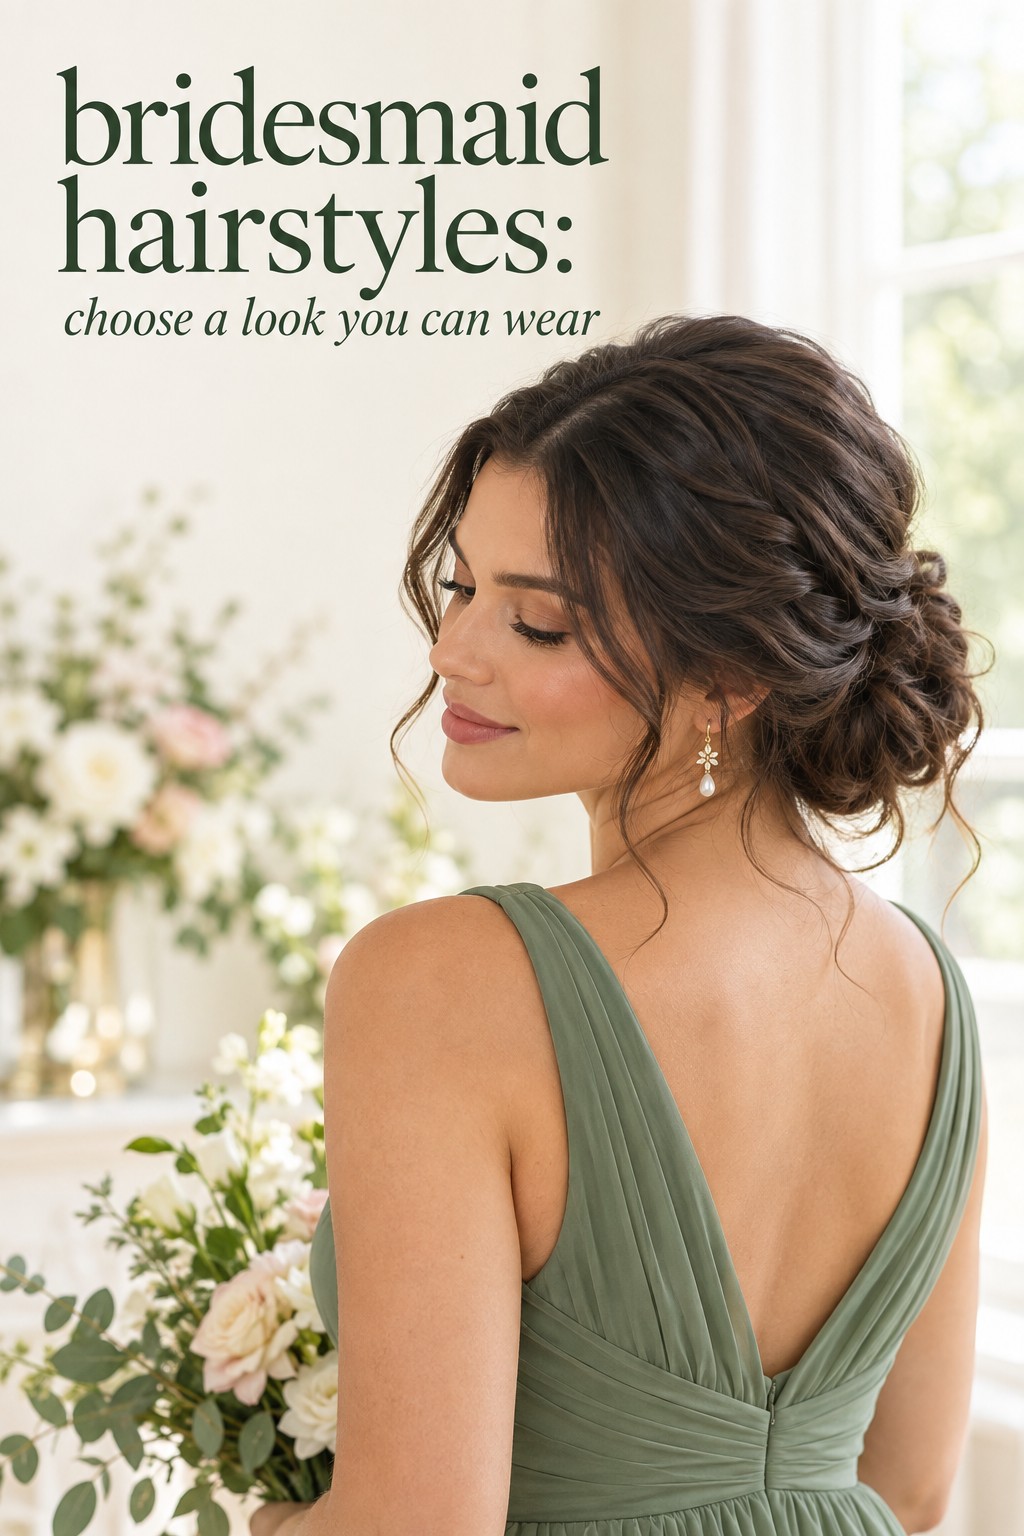
Why choosing from a hairstyle gallery can feel difficult
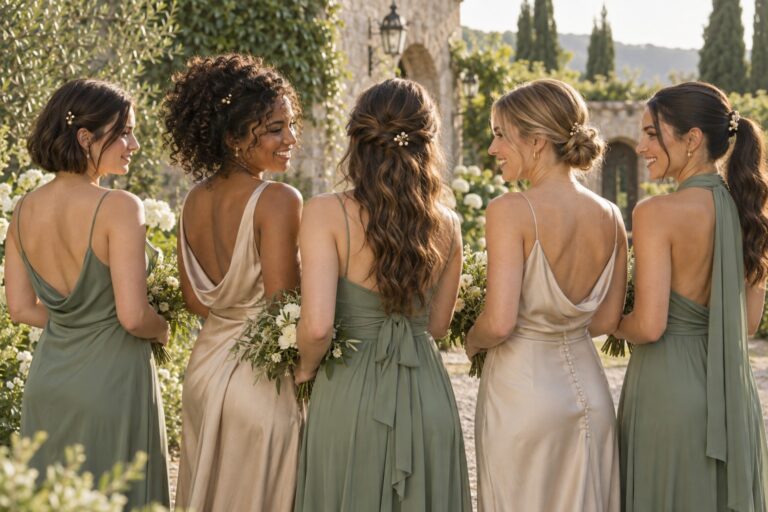
A gallery gives you finished pictures, but a finished picture hides many of the decisions that made the style work. You may see a romantic low bun and like its softness, while the photo does not show how it was secured, how much hair was pinned, or how the front looks when the person turns her head. You can admire the overall mood and still need more information before you can say what you want for your own hair.
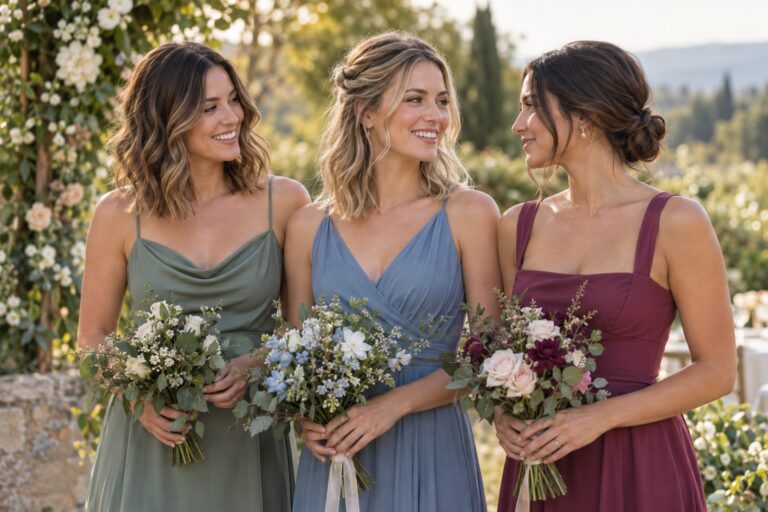
Images also mix different lengths, textures, densities, accessories, dress necklines, and lighting. Two looks labeled “soft waves” may have very different volume or movement. A sleek bun can be low and minimal in one reference, then high and architectural in another. When every saved photo changes several details at once, it is difficult to explain which part you are trying to borrow.
Turn wedding inspiration into a plan you can actually follow.
Zarellea brings your guest list, budget, vendors, and day-of details into one shared space — so no beautiful idea gets lost in the shuffle.
The answer is to stop treating the reference as a finished recipe. Look for its main shape first: is most of the hair up, partly secured, or left down? Then notice one or two details such as a side part, loose pieces, braid, curl pattern, or clip. That distinction lets a stylist keep the idea you like and adapt the construction to your hair and preferences.
It also helps to separate personal taste from wedding coordination. A group can look considered without every person wearing an identical hairstyle. The shared direction might be a level of polish, a common accessory, or a general outline, while individual details suit each bridesmaid. If the couple has a preference, ask what needs to be consistent and what can be personal before making a final choice.
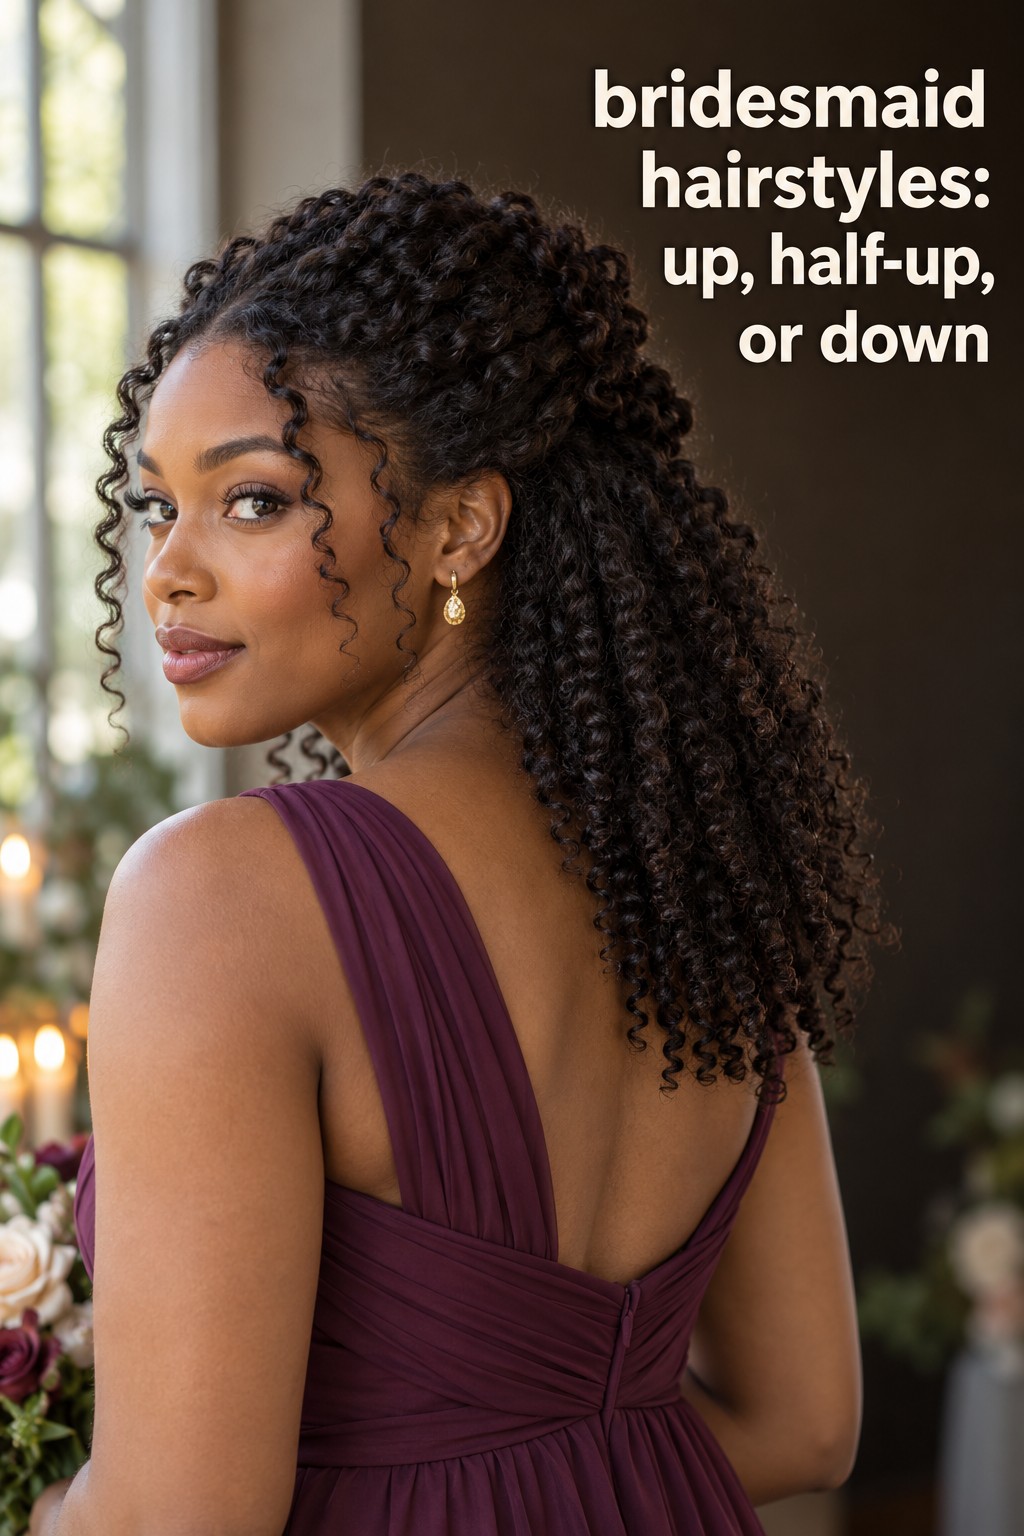
Start with four principles before choosing a look
1. Your own comfort is part of the look
Think about how you usually wear your hair and which parts make you feel most like yourself. You might prefer it away from your face, dislike a tight hairline, love seeing your natural curls, or want your length to remain visible. These are useful design preferences, not small afterthoughts. A style that looks beautiful in a picture may still feel unfamiliar if it changes every feature you normally enjoy.
Write down one thing you would like the style to do and one thing you want to avoid. For example, you may want your earrings to show but not want a fully slicked-back finish. You may want a soft outline but prefer not to have tendrils touching your cheeks. A pair of clear preferences gives the stylist a boundary to work within and helps you compare references more quickly.
2. Use the hair you have, not the hair in the reference
Length is only one part of the picture. Layers, texture, density, fringe, natural movement, and how you like your hair prepared can all affect what a style looks like on you. If a reference depends on a long, smooth ponytail but your hair is a layered bob, the useful idea may be its lifted shape or covered elastic rather than its exact length.
Look for inspiration that resembles your own hair in at least one important way. It does not need to match every quality. A photo with similar curl texture can help you explain the finish you want, while a different photo may show the height or accessory you like. Tell the stylist which part of each image matters. That prevents a useful collection of references from becoming a request to combine several unrelated hairstyles.
3. Let the dress inform the shape without dictating it
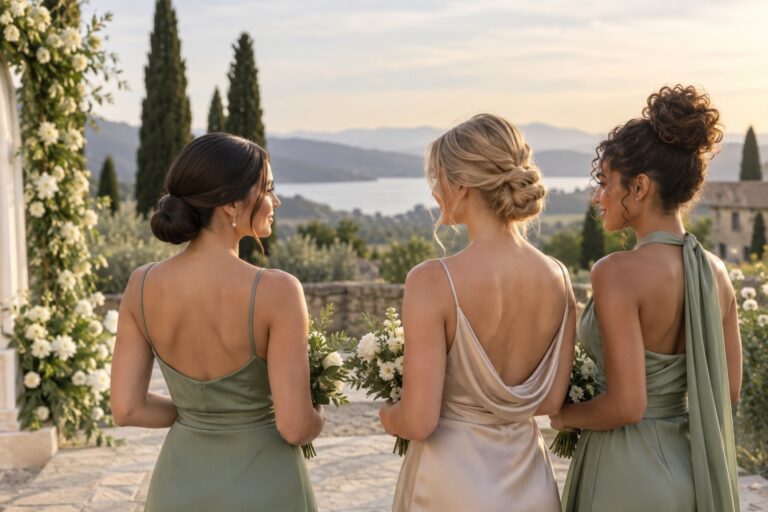
Bring a picture of the front and back of your dress, especially if it has a high neckline, open back, detailed straps, or a feature you want visible. Hair can cover, frame, or reveal those details depending on where it falls. You can use the dress as a composition clue: decide what should remain visible in a front view, a side view, and a photo from behind.
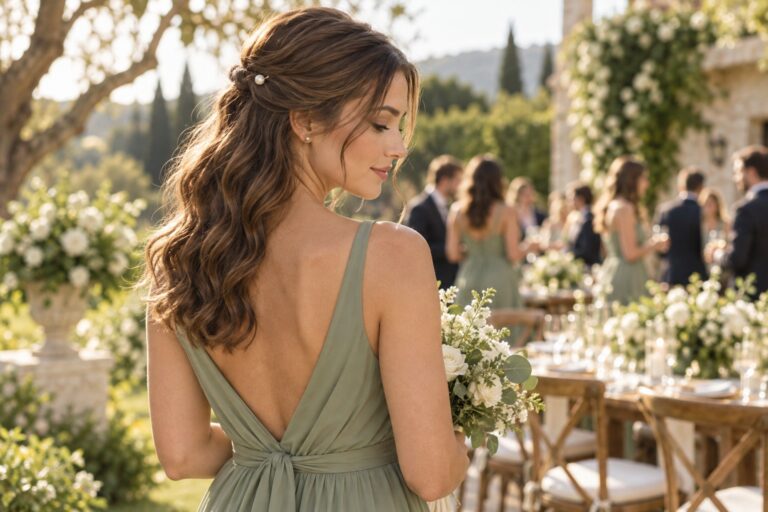
This is a chance to make a choice, not follow a rule. A high neckline does not require an updo, and an open back does not mean you must pin all your hair away. You may decide that a loose style is more comfortable and allow the hair to soften the outfit. You may prefer a pinned shape because you want the back of the dress and your earrings to show. Try the ideas with a dress photo and see which balance feels right to you.
4. Agree on a shared direction, then personalize the details
If the couple has a visual preference, ask for the simplest version of it. “Polished,” “romantic,” or “hair away from the face” can be a starting point, but each person may picture something different. Clarify whether the request means a particular silhouette, an accessory, or simply a cohesive finish. It is easier to respond when the direction is concrete.
Offer a way to keep the group visually connected while leaving room for individual hair. For instance, the shared element could be a small pin, a similar level of softness, or a choice from up, half-up, and down options. A stylist can adapt the exact construction to each person. If the shared detail is an accessory, confirm whether it will be supplied and whether it should appear in a set position or simply coordinate.
Also confirm who is arranging and paying for styling and whether a professional appointment is optional. This helps everyone understand what is being requested and what decisions remain their own. When the plan is clear, a group can feel coordinated without surprising someone with a style, accessory, or appointment they did not expect.
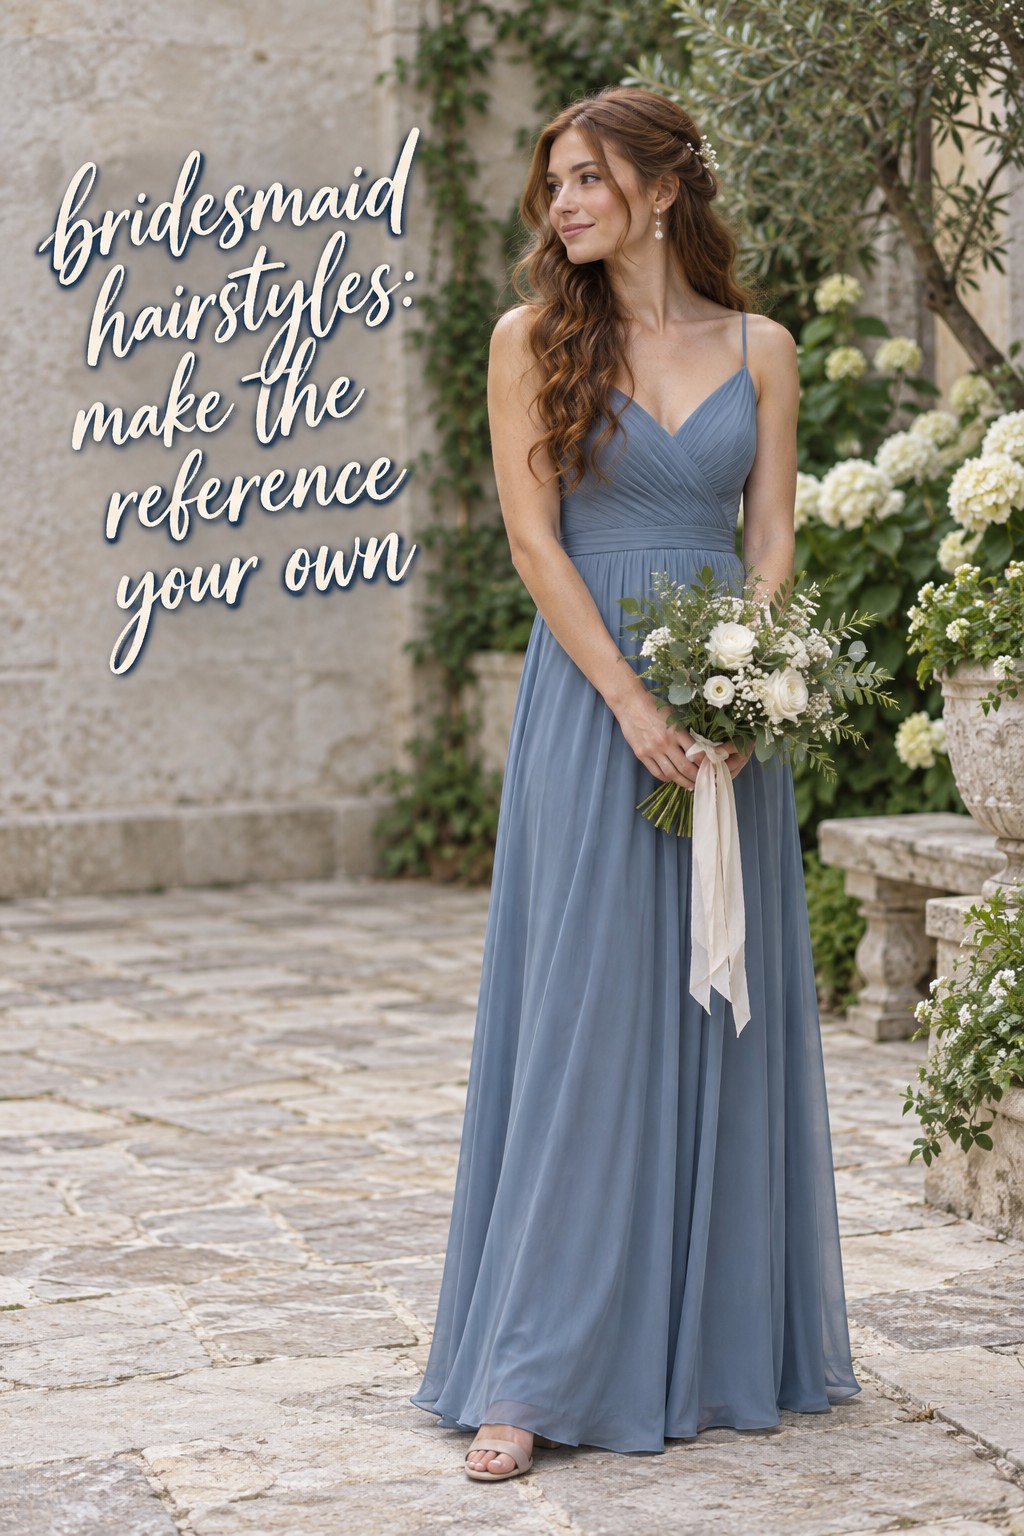
A five-step way to choose your bridesmaid hairstyle
Step 1: Check the wedding brief
Before searching, learn what is already decided. Ask whether there is a requested silhouette, a shared accessory, or a general finish. Find out whether you will wear a veil or other piece in your hair and when it needs to be added or removed. Confirm the appointment plan and any preparation instructions from the stylist. These details can narrow the options without taking away your personal choice.
If there is no required style, make a note of that too. You can then choose from your preferences instead of trying to guess what the couple secretly expects. If there is a request, ask which parts are important. A request for “hair up” might allow different buns and braids; a request for one matching accessory might leave the shape open. The more specifically you understand the brief, the more confidently you can make the rest of the decision.
Step 2: Choose an outline before a technique
Choose whether you want most of your hair up, partly secured, or worn down. You can also choose a side-swept outline or a ponytail if that is closer to how you like to wear it. This first decision is about the overall silhouette. It does not commit you to a French braid, low chignon, curled ends, or any other detail.
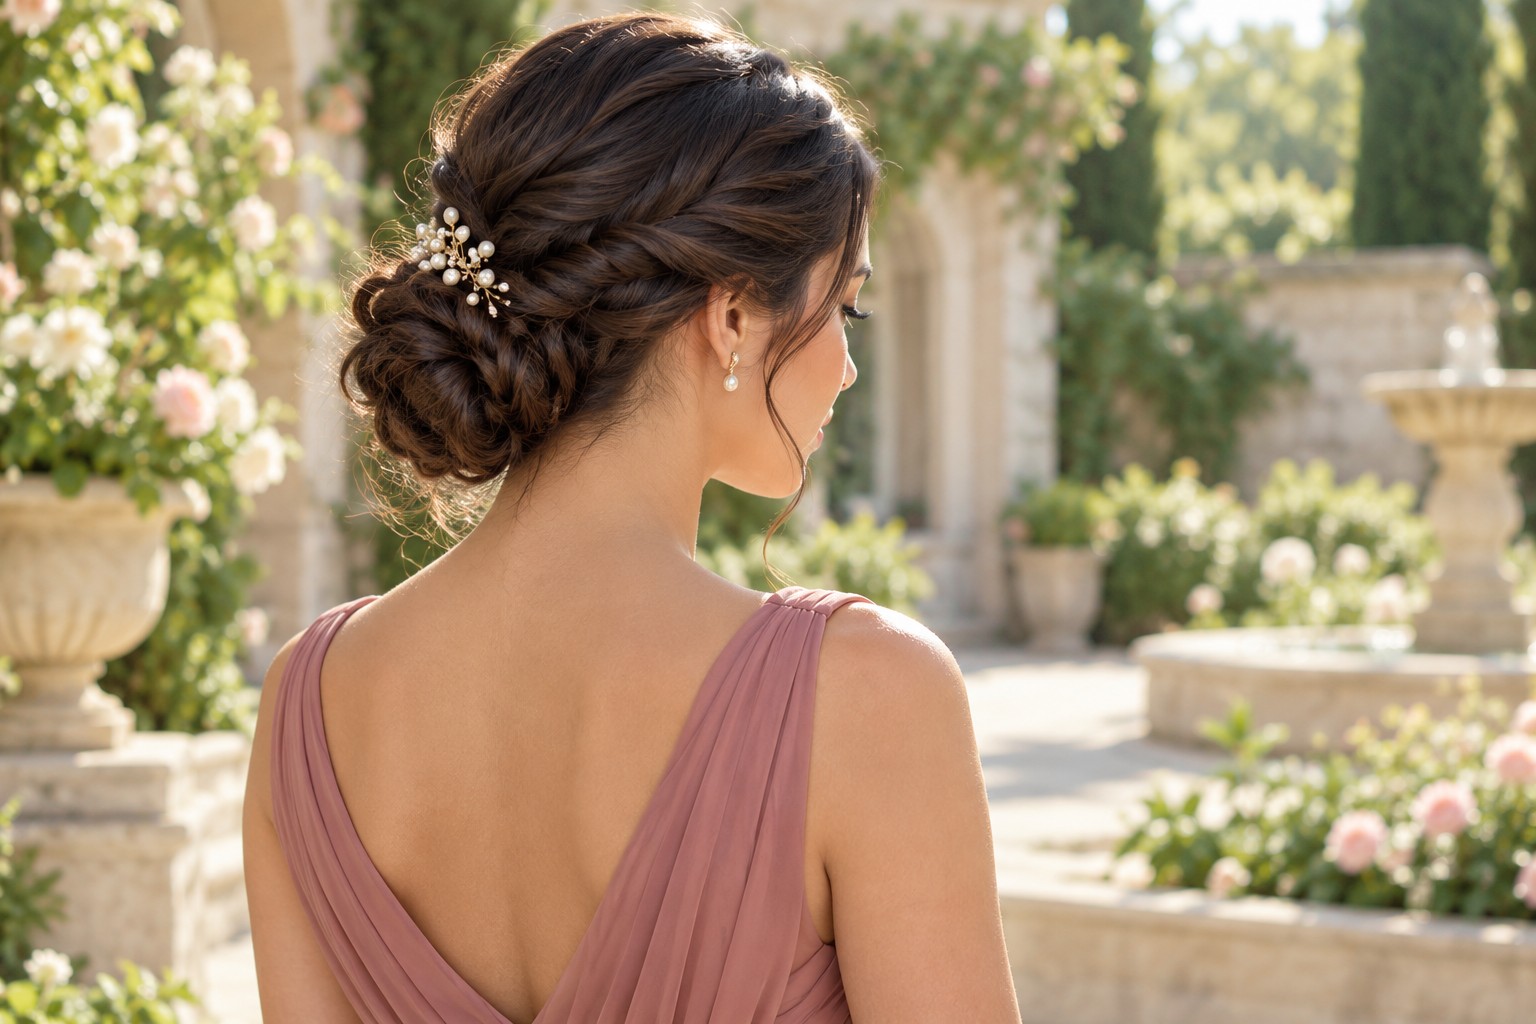
Use a simple three-view check. Imagine the front, the side, and the back. From the front, do you want hair framing your face or tucked away? From the side, would you like the crown to have some height or stay close to the head? From the back, do you want to see a bun, braid, clip, or loose length? The answers reveal the shape you want more clearly than the name of a style alone.
Step 3: Pick one defining detail
Once you have an outline, choose one detail that gives it personality. That might be a braid, a wave pattern, a defined part, a few face-framing sections, a polished finish, or one accessory. Keeping one feature in focus makes it easier to communicate your idea and leaves room for your own hair to determine how the rest comes together.
Think about how visible you want that detail to be. A small pearl pin can be quiet and close to the gathered section. A bow or flower can become a focal point. Loose curls may be part of the silhouette rather than an extra feature. If you want both a dramatic braid and a statement accessory, make sure they have separate space. Otherwise the details may compete with each other or be difficult to see.
Step 4: Save a small, purposeful reference set
Choose a few pictures that answer different questions. One can show the outline, another can show the texture or detail, and a third can show a similar length or hairline. Prefer images with clear views of the angle you want to discuss. A front-only picture will not explain a back detail, while a back-only image may not tell the stylist how much face framing you want.
Add a short note to each reference, such as “I like the low placement,” “keep the curl texture,” or “leave the front smooth.” Also note what you do not want copied. Perhaps you like a bun but not its tightness, or a wave pattern but not the center part. These notes help separate the design feature from the person and hair shown in the picture.
Use current photos of your own hair as well. A front and side view in ordinary light can show the length, layers, part, and natural pattern that a salon reference does not. If you are considering a change before the wedding, tell the stylist what you expect to change and when. Keep the consultation based on the hair you are likely to bring to the appointment.
Step 5: Turn the choice into a stylist brief
A useful brief can be one or two sentences. Name the outline, your defining detail, and the one thing that matters most for comfort or appearance. For example: “I am considering a low pinned style with some natural texture left visible. I want my neckline clear, but I do not want the sides pulled tightly.” That gives the stylist a direction and a practical boundary.
Add your dress photo, hair references, accessory, and appointment instructions. Ask what should be changed about the idea to work with your length and texture. If a trial is planned, use it to compare the parts you are uncertain about, such as a side part versus a center part or a visible pin versus no accessory. You do not need to test a completely different look for every saved image.
Before the appointment ends, ask what preparation the stylist prefers, what products or accessories you need to bring, and whether the finished style needs any touch-up plan. Follow the directions given for that stylist and service. Preparation routines vary, so a generic rule from a social post may not suit the technique or schedule you have booked.
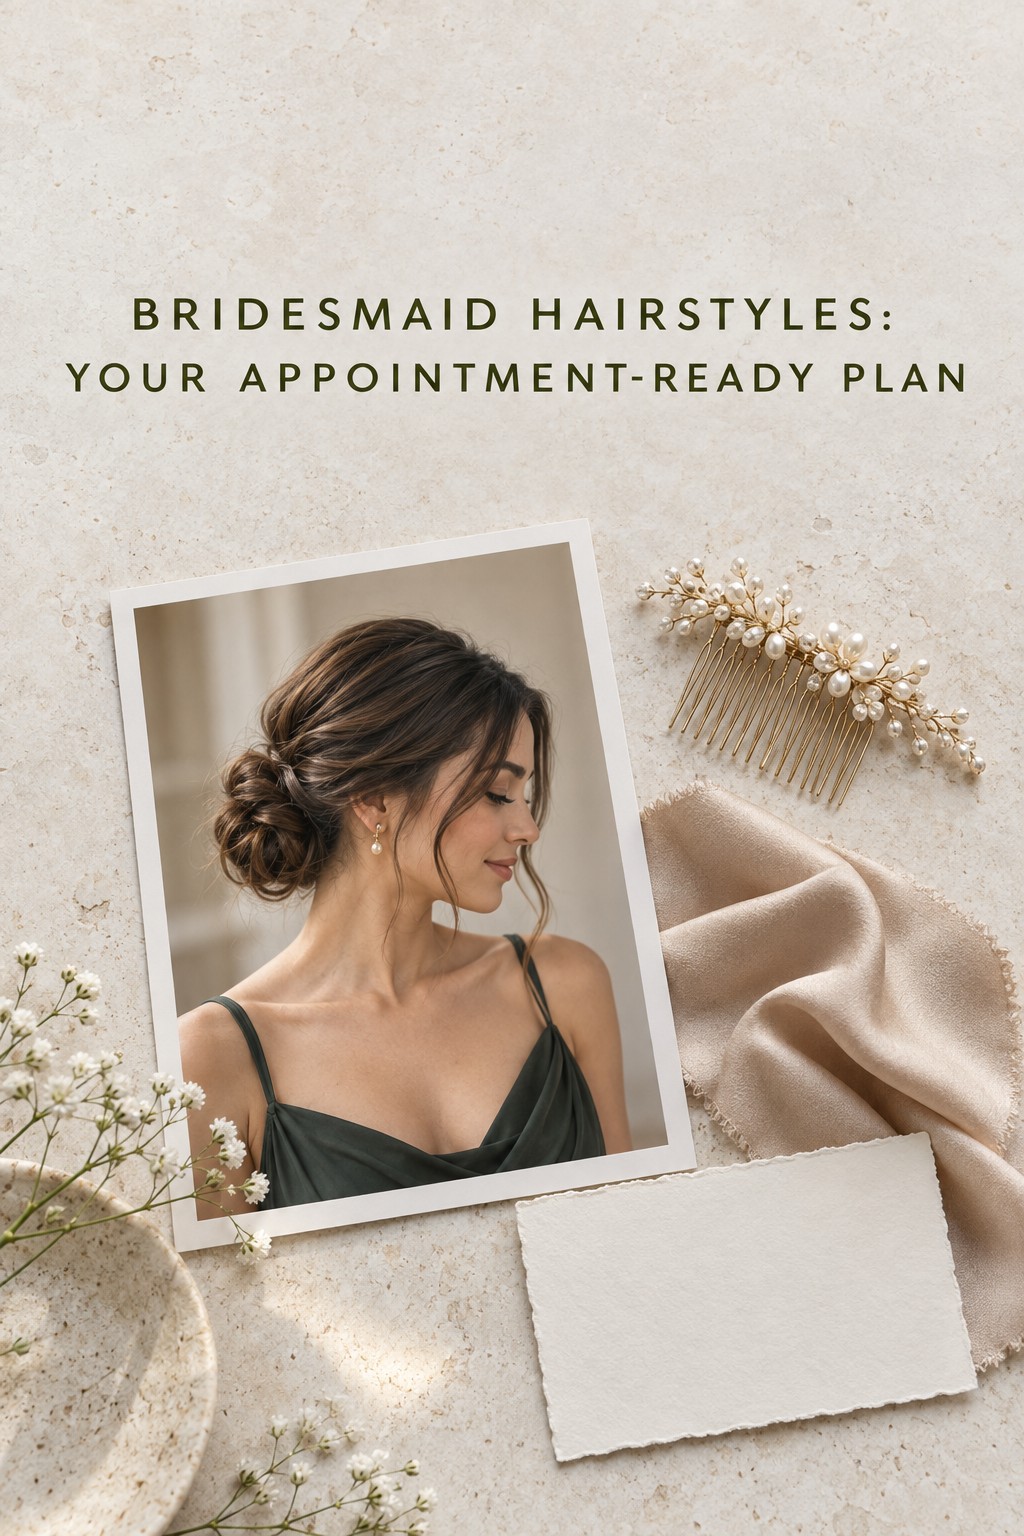
Use these examples to adapt the process
If you have short hair or a layered cut
Start by choosing whether you want the front tucked back, one side pinned, or a small section gathered at the crown. Those choices may create the feeling of an up style without asking every section to reach the same point. A clip, braid, or curved pin can become the defining detail. Bring a reference with a similar length, then ask how the shape can be secured without fighting your layers.
If your haircut has fringe or face-framing pieces, decide whether you want them to remain part of your look. Try the reference with the part you usually wear. A very different part can change the whole impression, so mention if you want to keep yours. The stylist can show you a version with the fringe tucked and another with it softly shaped around the face.
If your natural texture is the feature you want to keep
Look for a reference that shows the texture you want to preserve, whether that is curls, coils, waves, braids, or locs. Decide how much of it should remain visible and whether the gathered section should blend into the same pattern or provide a contrasting shape. Tell the stylist what you want to preserve before discussing how polished or relaxed the finish should look.
Ask how the style will be built around your chosen texture and any accessory you plan to wear. You can request a neat gathered area with a full natural shape below, or an overall loose outline. A reference should help describe the balance, not tell you that your hair has to be changed into another pattern to count as formal.
If you want a style that feels light and familiar
Choose an outline close to how you already wear your hair and add just one wedding detail. You might keep your usual part and add a smooth tuck, a subtle wave, or a small pin. If you rarely wear a tight updo, you do not have to make that your first choice simply because it looks formal in a gallery. Ask for a version with the same overall feeling but less tension or less height.
Comfort is easier to assess when you are specific. Rather than saying “not too tight,” point to where you dislike pressure. Rather than saying “natural,” describe the finish you mean, such as movement at the ends or a softer front. The stylist can make a more useful adjustment when they know which sensation or visual quality you are trying to avoid.
Mistakes to avoid before the appointment
Saving too many pictures with no notes
A large inspiration folder can make a straightforward choice feel endless. Edit it down to references with a clear purpose and write one line about what you like in each. Remove a photo if you cannot identify which part you want to borrow. A small set helps the stylist find the common thread and prevents you from spending the appointment comparing details you do not actually care about.
Asking for an exact copy of someone else’s hair
The person in a reference may have a different cut, texture, density, preparation, or accessory. Instead of asking for an exact copy, ask for the same outline or one feature you like. A stylist can explain what will translate and what would need adapting. That conversation makes it easier to agree on a result that suits your own hair rather than measuring your hair against an image it cannot match in every detail.
Choosing an accessory before checking its placement
An accessory can look different in a product photo than it does in your hair. Bring it to the trial and ask the stylist to test where it will sit, how it attaches, and whether it competes with another feature. If the piece is heavy, wide, or especially important to the look, discuss it before the style is finished so the hair can be built to support its placement.
Leaving the shared request vague
If everyone is expected to coordinate, vague words can produce surprises. Ask whether the common element is a color, accessory, silhouette, or finish. Clarify what is flexible, especially if bridesmaids have different lengths or textures. A clear shared cue gives the group a consistent idea while allowing each wearer and stylist to work out the details that make sense for that person.
Sources and methodology
This guide organizes the broad inspiration results into a selection process. Who What Wear’s bridesmaid hairstyle advice emphasizes adapting a shared direction to different hair characteristics, while Vogue’s bridesmaid hairstyle gallery connects hair choices with outfits and individual features. The examples and questions here are planning prompts, not guarantees about a particular style or stylist.
FAQ
How do I choose between an updo, half-up style, and wearing my hair down?
Start with how you like to wear your hair and what you want visible from the front and back. Consider the dress, accessories, and any shared wedding direction, then compare a few references that match your hair. A trial can help you decide if two options still feel equally appealing.
Do bridesmaids need to wear the same hairstyle?
No. A group can share a general direction or accessory while allowing the shape to vary for each person’s hair and preference. If a specific look is requested, clarify which parts must match and which can be adapted.
What should I bring to a bridesmaid hair consultation?
Bring a front and back photo of your dress, a small set of hairstyle references with notes, current photos of your hair, and any accessory or veil you will wear. Also bring the couple’s styling request and the appointment preparation instructions.
Can short hair still be styled for a formal wedding?
Yes. A stylist can shape short hair with a polished part, soft waves, a pinned side, braids where length permits, or a well-placed accessory. Choose a reference close to your length and ask how the idea can be adjusted for your cut.
How many hairstyle references should I show my stylist?
A few purposeful images are usually easier to discuss than a large collection. Use one to show the overall shape, another for a detail, and perhaps one with hair similar to yours. Add a short note to explain what you want to borrow from each.
Should I follow generic advice about washing my hair before styling?
Follow the preparation instructions from the stylist who will do your hair. Preferred prep can vary by service and technique, so ask directly rather than relying on a general rule from a gallery or social post.