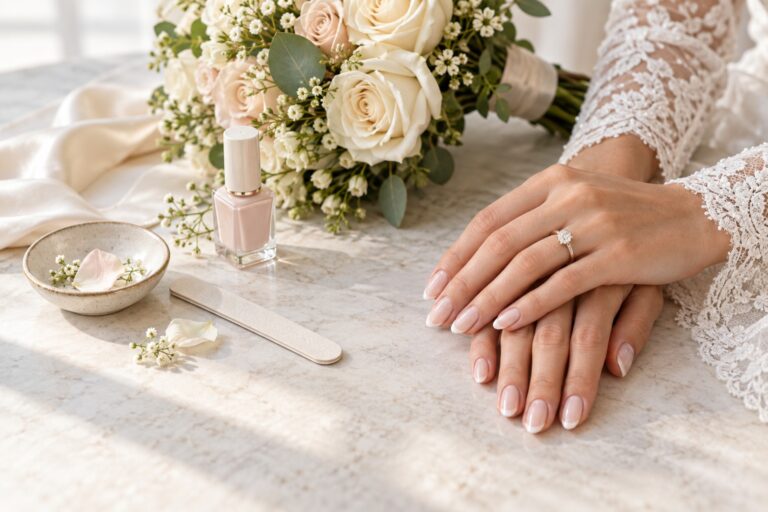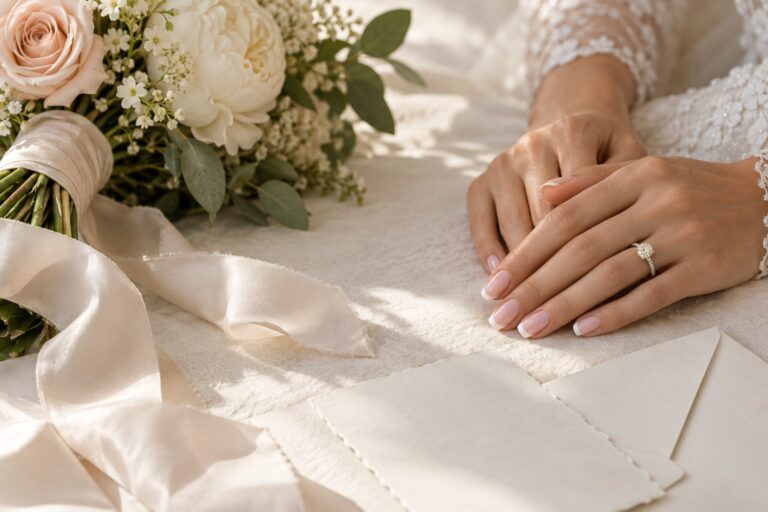
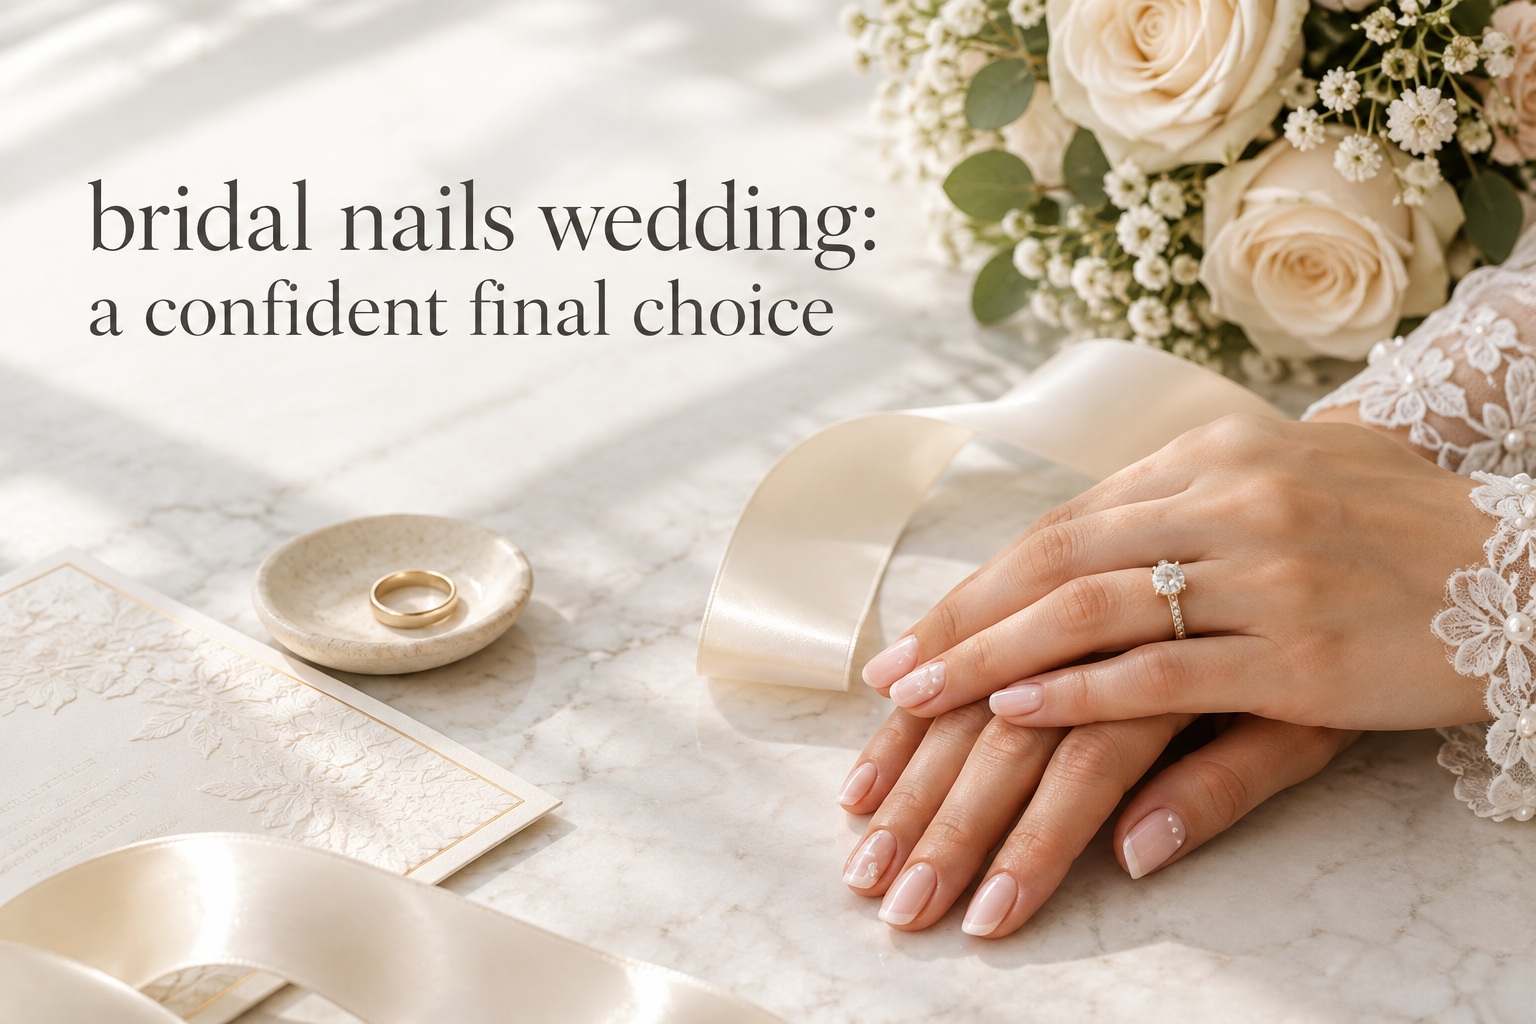
Bridal Nails Wedding: Personal, Photo-Ready Manicure
The hardest part of choosing bridal nails for a wedding is rarely finding beautiful inspiration. It is deciding which beautiful idea will still feel right when it is on your own hands, beside your ring, under reception lighting, and attached to a dress you have spent months choosing. A saved photo can show the mood, but it cannot tell you whether the length is comfortable, the white is too stark, or the detail will disappear in a bouquet photograph.
This bridal nails wedding guide solves that friction with a simple process. First, diagnose what is making the choice difficult. Then choose the nail canvas, base, finish, and detail in that order. Finally, test the result before the wedding and give your nail technician a brief they can actually use. The goal is not the most decorated manicure in the room. It is a polished set that feels recognizably yours and behaves well through the day.
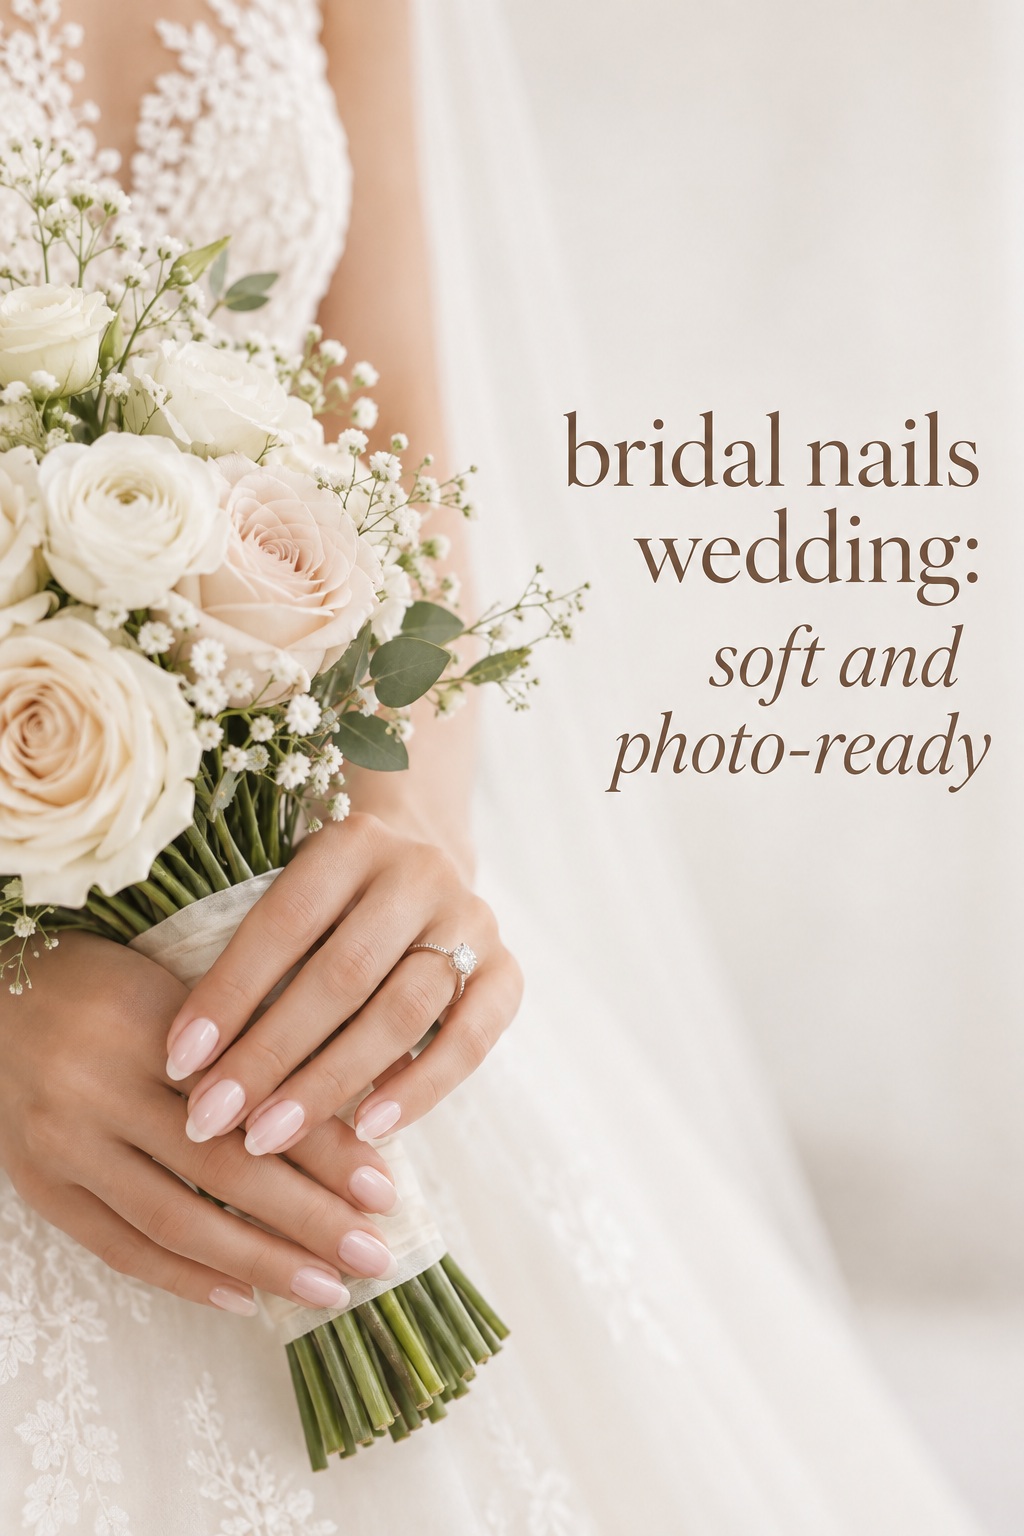
Why bridal nails wedding choices go wrong before the appointment
Most bridal manicure disappointment begins with an attractive reference that answers only one question: what does the design look like? A wedding manicure has to answer several more. Can you hold the bouquet without thinking about the tips? Does the base color flatter the dress instead of fighting it? Will the detail remain visible in a close-up ring photo? Can you explain the design clearly enough that your technician does not have to guess?
The reference shows a style, not a complete plan
One image may combine long almond extensions, a particular skin undertone, studio lighting, a glossy gel finish, and professional retouching. If you copy the image without separating those elements, you may ask for a result that does not suit your natural nails or your habits. Save the image, but label what you actually like: the sheer base, the soft tip, the pearl accent, the shape, or the calm overall mood.
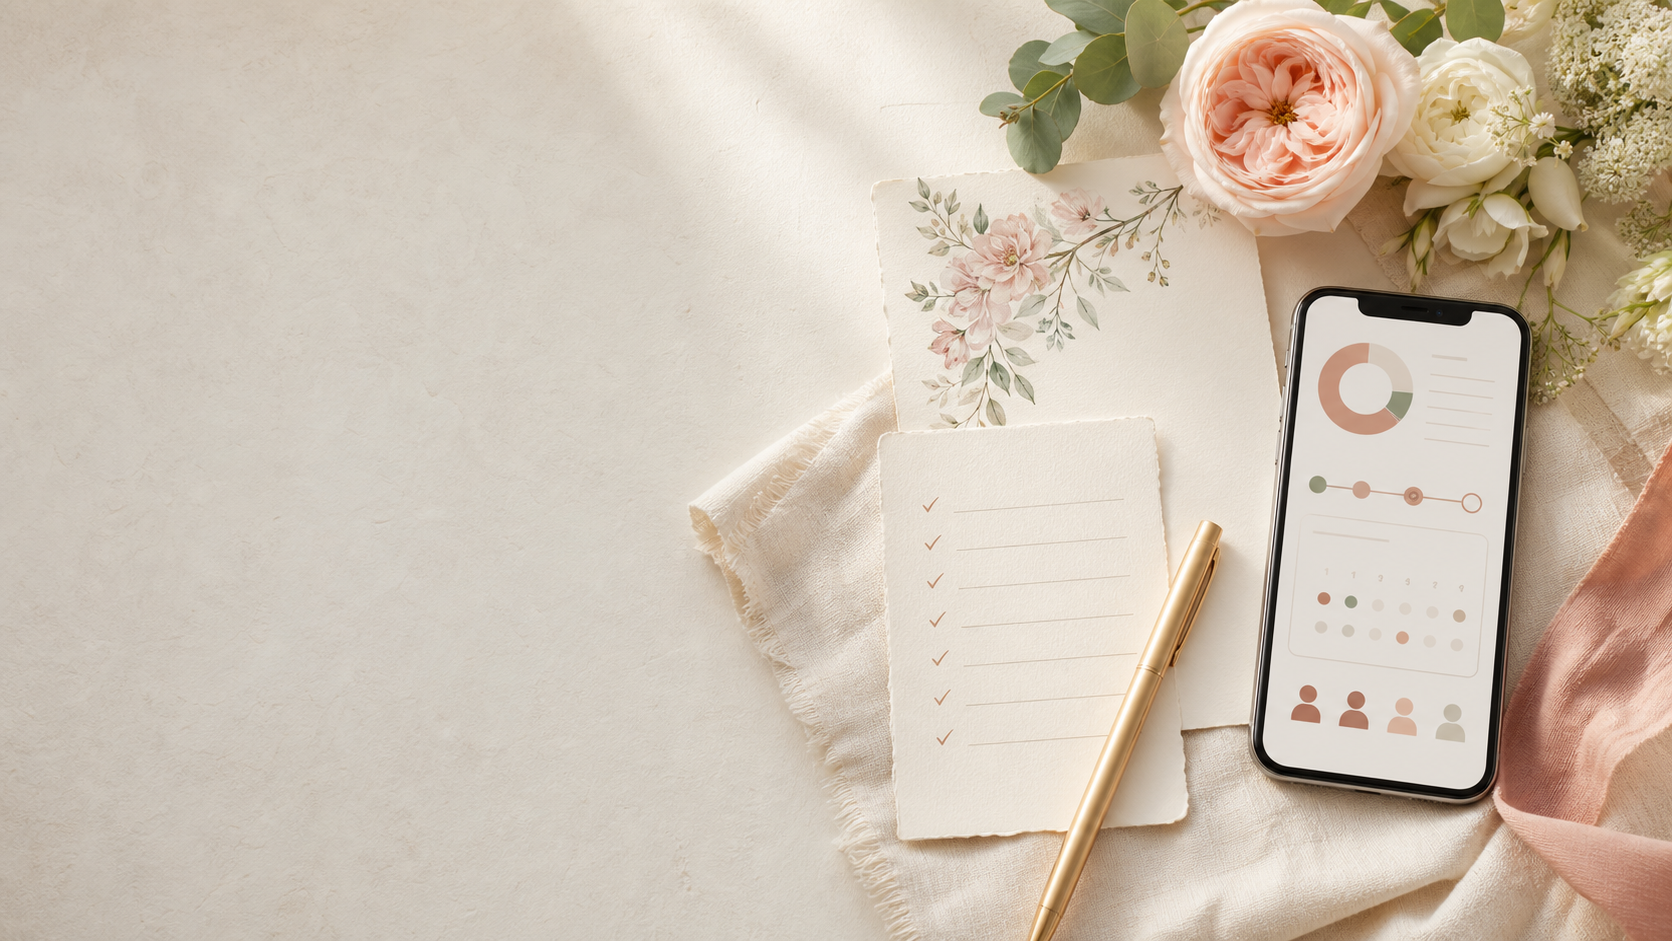
Turn wedding inspiration into a plan you can actually follow.
Zarellea brings your guest list, budget, vendors, and day-of details into one shared space — so no beautiful idea gets lost in the shuffle.
The manicure is being chosen in the wrong order
Many brides begin with nail art and only later consider length, shape, and service. Reverse that sequence. A design depends on its canvas. A narrow French line needs enough surface to remain even. A large pearl may catch on fabric. A dark color can look intentional on a short rounded shape but heavy on an extra-long square. Decide what your hands can comfortably wear, then build the visual story.
The wedding day puts the hands in constant use
Your hands will hold flowers, lift a glass, exchange rings, fasten jewelry, touch stationery, cut cake, hug guests, and appear in dozens of photographs. That does not mean your nails need to be plain. It means the manicure needs to be designed for movement. If you have never worn extensions, test the length before the final appointment. If your nails lift or peel easily, discuss a strengthening option and the removal plan early.
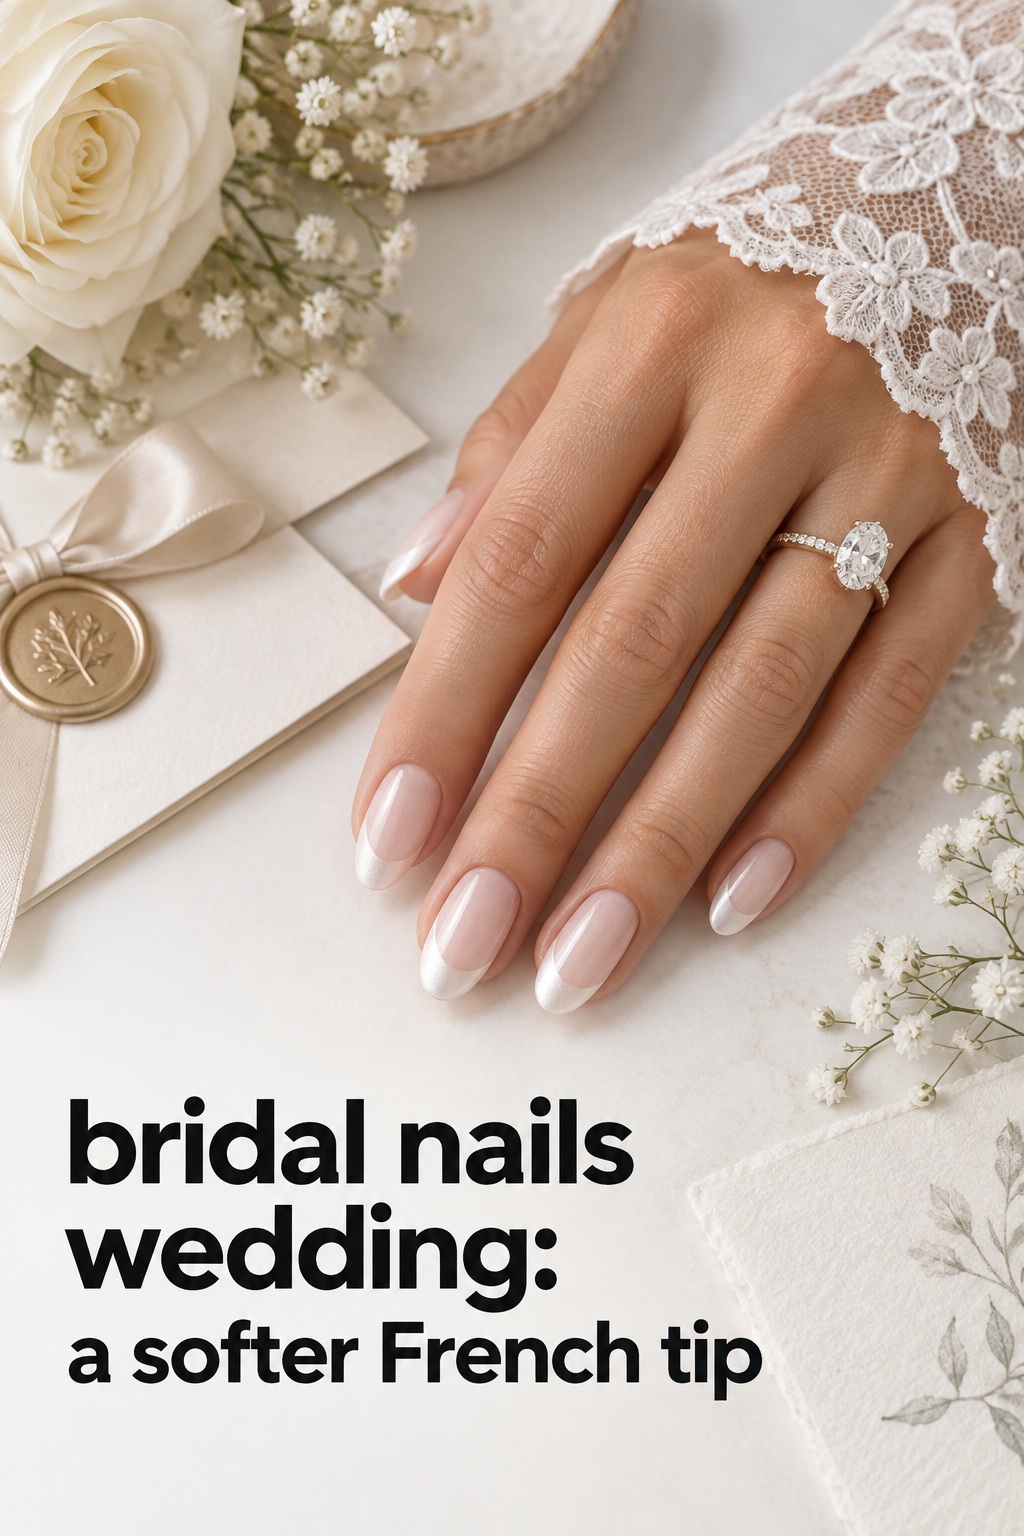
Choose the bridal nails wedding canvas before the color
Start with the part of the manicure that changes how every other decision looks: the canvas. Your natural nail length, extension choice, shape, and daily comfort are more important than a trend label. Write down the version you can wear confidently, not the version that looks impressive for one minute in a saved image.
Natural and short nails
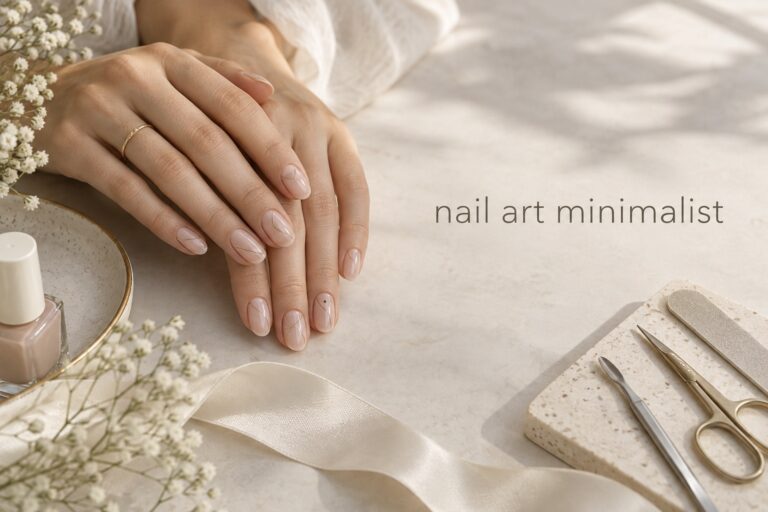
Natural or short nails can look exceptionally refined at a wedding. Choose a sheer pink, soft nude, milky white, glossy blush, or a fine shimmer. A micro French, tiny dot, single pearl, narrow metallic line, or small floral mark can add interest without needing extra length. Keep the shape even and let the cuticle area look neat. Short nails also make it easier to handle buttons, jewelry, phones, and travel after the reception.
Medium almond, oval, or squoval
Medium length gives you room for a visible tip, a soft ombre, two accent nails, or a small repeated motif. Almond creates a tapered, romantic line, while oval feels gentler and more natural. Squoval gives the hand structure without sharp corners. Choose the shape that follows your own nail bed and that you can wear for several hours without adjusting how you move.
Extensions and structured services
Extensions can create the exact length needed for a dramatic French, sculptural tip, or more detailed art. They also create a new maintenance routine. Ask how long the appointment will take, when the service should be filled or removed, and how the length will feel while dressing. A conservative extension tested ahead of time is safer than a long set chosen on the wedding morning.
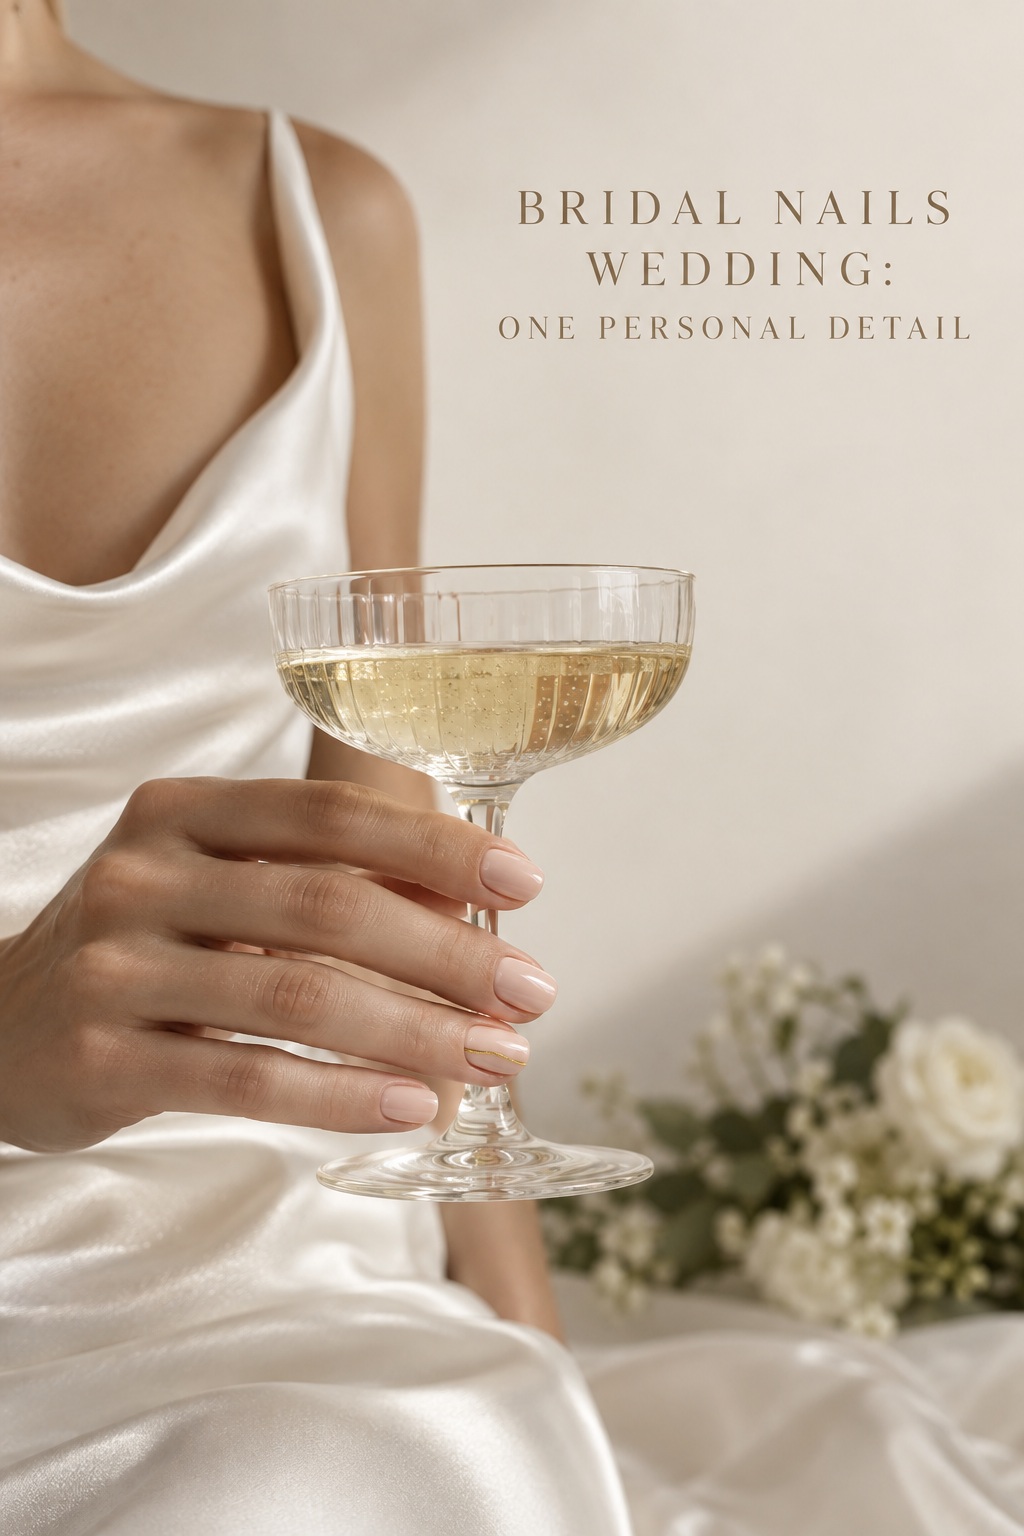
Build the look in four layers: base, finish, detail, and contrast
Once the canvas is clear, make four small decisions. This keeps the process manageable and gives your technician a precise brief. You do not need to choose every product name. You need to describe the visual relationship you want.
Base: sheer, milky, nude, blush, or color
A sheer pink or blush base feels familiar and lets the natural nail show through. Milky white brings brightness without the hard edge of opaque white. Beige, rosy nude, or peach can warm the hand and make a French tip feel softer. A berry, blue, red, green, or plum base is not automatically less bridal. It becomes bridal when it is intentional and belongs with the wider palette.
Compare swatches beside the dress fabric and ring, preferably in daylight. A shade can look neutral in a salon and yellow, gray, or almost white under a different light. Choose the undertone first, then the depth. If the dress is detailed, a quiet base may support it. If the gown is minimal, a colored base or precise accent can add the personality the outfit leaves open.
Finish: gloss, pearl, chrome, shimmer, or matte
Finish is often the easiest way to make a simple manicure feel special. Gloss looks clean and crisp. Pearl creates a soft reflection that can echo jewelry. Chrome catches light and works best when the rest of the design is edited. Fine shimmer gives movement without the weight of chunky glitter. Matte can make a French line or small graphic detail look modern. If the finish is highly reflective, keep the art smaller so the two elements do not compete.
Detail: choose one reason for the decoration
Give every decorative element a job. A pearl can repeat an earring or button. A gold line can connect to the ring or shoes. A fine flower can echo the bouquet. A blue accent can become a quiet something blue. A tiny initial or star can make the manicure personal. The detail does not need to appear on every nail. One accent nail supported by a consistent base often feels more deliberate than many unrelated decorations.
Contrast: decide how loudly the design should read
Low contrast creates a quiet, barely-there effect. Medium contrast makes the design readable in photographs while remaining restrained. High contrast creates a statement, such as a strong red, black outline, colored French tip, or graphic shape. There is no correct level. Match the contrast to the way you normally dress and to the visual intensity of the ceremony look. If you rarely wear polish, medium contrast may already feel celebratory.
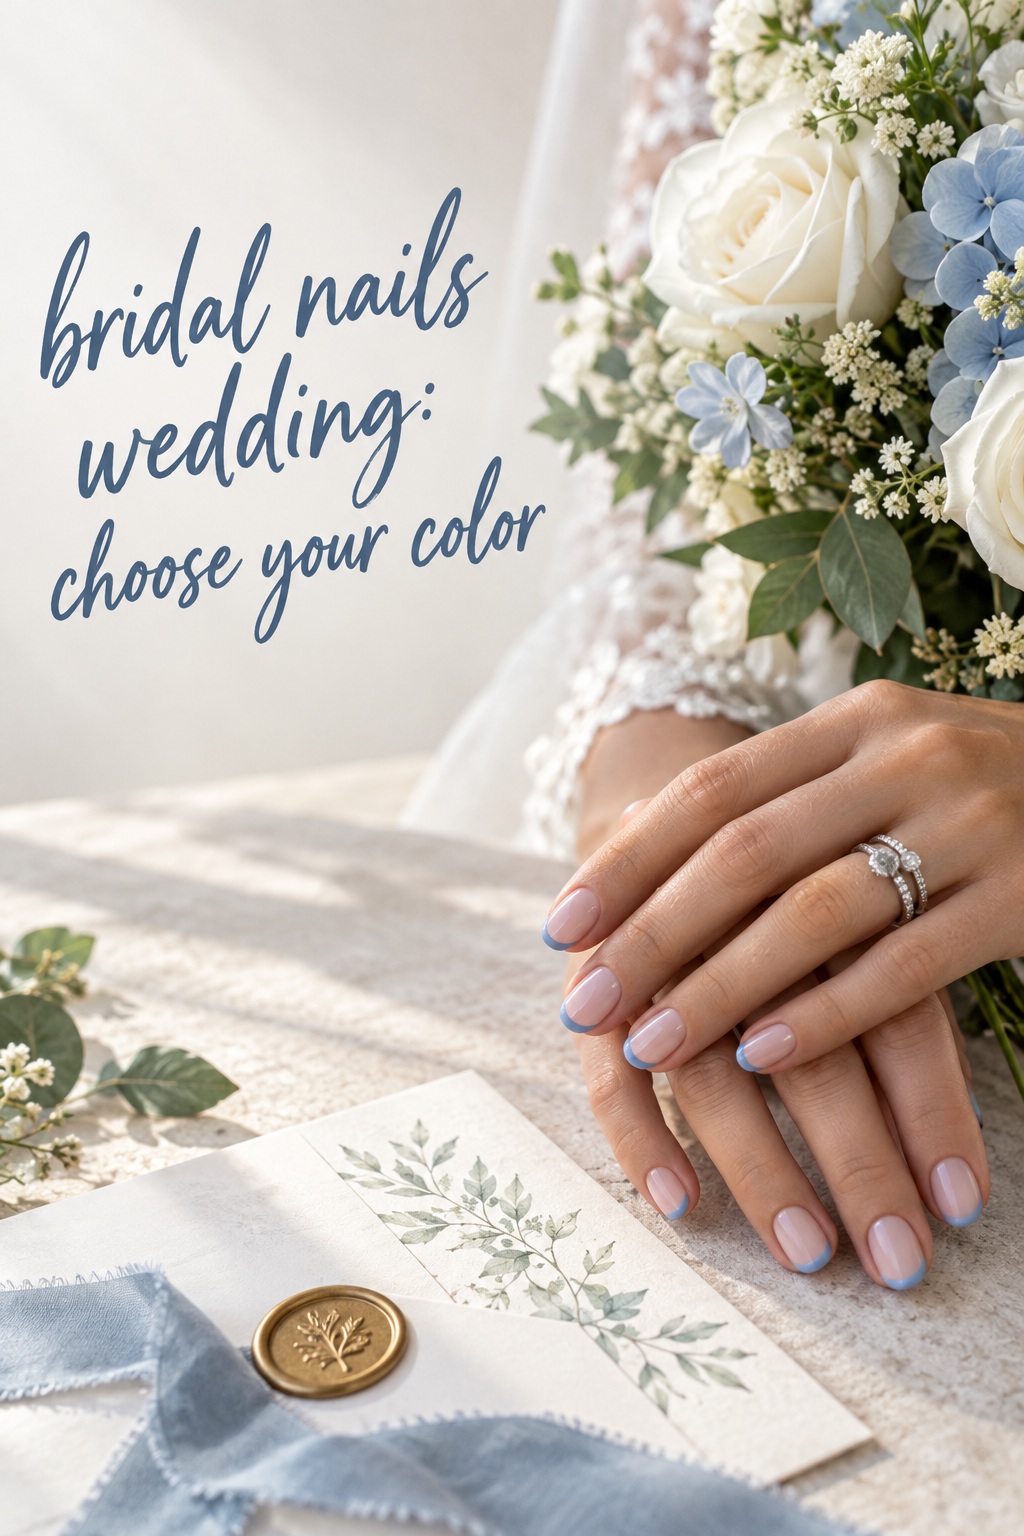
Choose a bridal nails wedding direction by the problem it solves
Instead of scrolling through disconnected trend names, choose the result you want. These directions give you a useful starting point while leaving room to adapt the length, color, and finish to your hands.
If you want the manicure to stay quiet
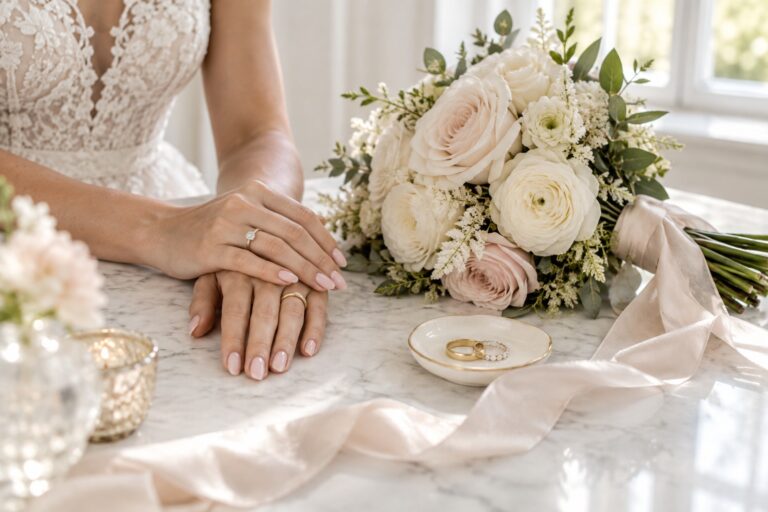
Try sheer blush, milky nude, a soft American manicure, or a short glossy neutral. These styles work when the dress, veil, bouquet, or jewelry is already detailed. Add one controlled element, such as a pearl sheen or a very fine French line, if a plain base feels unfinished. The result should look polished at hand distance and calm in a ring photograph.
If you want a classic design with a softer edge
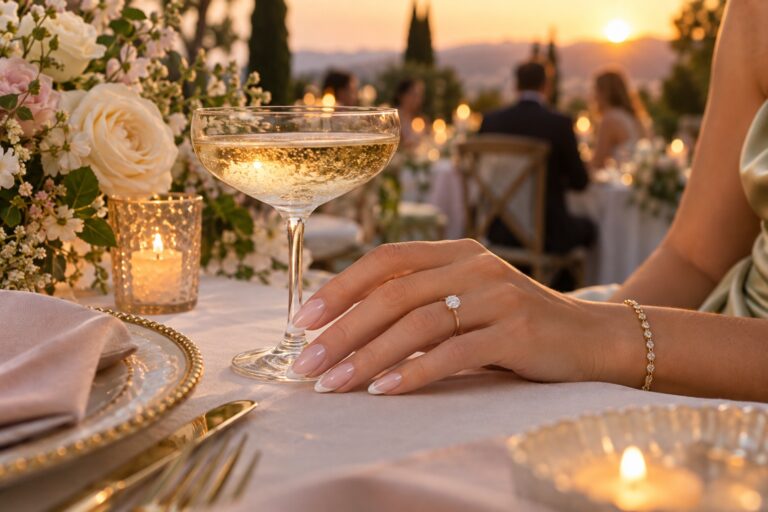
Ask for a French manicure with a translucent base, a thinner tip, a rounded smile line, or a blended ombre. You can also try champagne, pearl, or soft pink instead of bright white. An American manicure creates the same clean structure with less graphic contrast. This direction is useful when you like tradition but do not want your nails to feel copied from a standard template.
If you want the nails to connect to the outfit
Use the dress, jewelry, stationery, or bouquet as a reference rather than an instruction to match everything. Lace can become one fine white line. Satin can inspire a glossy finish. Pearls can become a luminous base. A botanical bouquet can suggest one small leaf or petal. Repeating one shape or material is usually more elegant than copying the entire pattern across every nail.
If you want a personal color moment
Choose a shade you already enjoy wearing, then refine its intensity for the ceremony. A deep red, muted blue, soft green, berry, or plum can feel sophisticated when the shape is clean and the finish is even. If a full-color set feels too strong, use colored tips, one accent nail, a translucent wash, or a narrow line. Personal color often looks more authentic than a neutral chosen only because it is labeled bridal.
If you want a small statement without a crowded set
Keep the base simple and place the statement in one area. Try a single crystal, a fine metallic frame, a tiny bow, a miniature floral, or a different finish on the ring finger. Ask the technician to keep raised elements smooth and secure. The point is to create a detail guests notice when they see it, not a texture that catches on lace, gloves, or your hair.
Make the manicure reliable with a trial and a clear salon brief
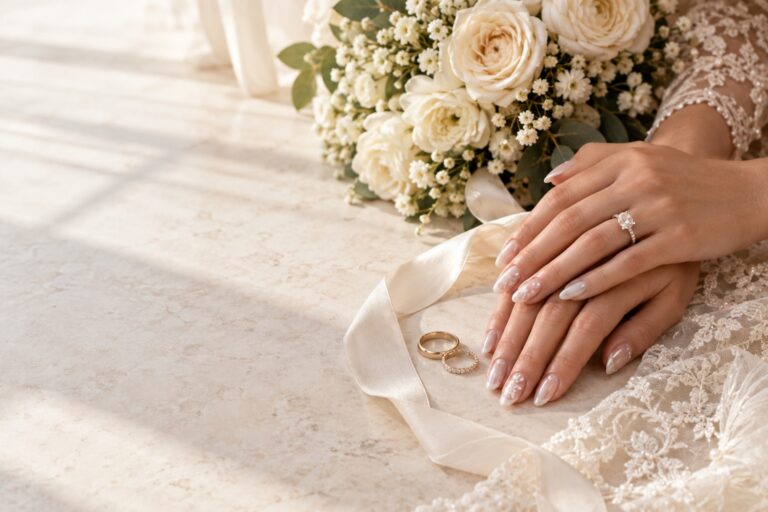
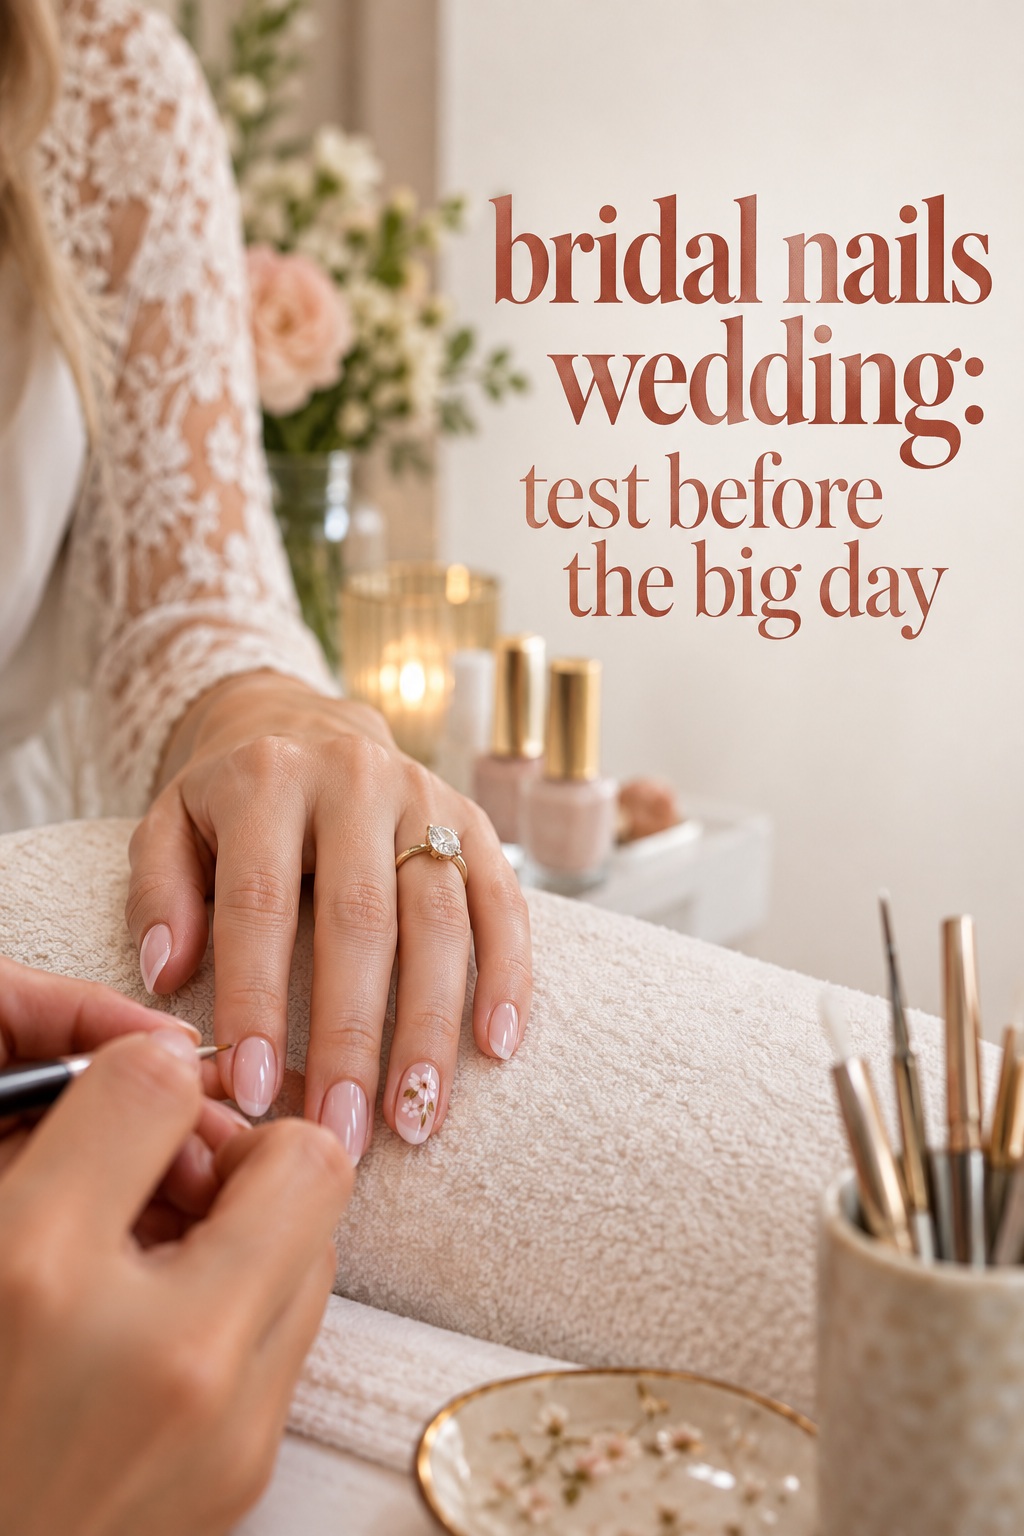
A trial is not only for testing whether the design is pretty. It tests how the manicure behaves on your hands. Bring the dress color, a ring photo, a bouquet reference, and one main inspiration image. Tell the technician what you want to feel and what you do not want: soft rather than stark, polished rather than glittery, short rather than dramatic, or visible rather than barely there.
- Record the exact shape, length, base family, finish, tip color, and number of accent nails.
- Photograph the trial beside the ring in daylight and under warm indoor light.
- Wear the trial long enough to notice catching, lifting, pressure, or awkward movement.
- Ask how the service will be removed and what to do if a nail breaks.
- Confirm the appointment duration, arrival time, payment, and whether nail art needs extra booking time.
Use the trial to edit. If the base is too white, soften it. If the tip disappears, increase the contrast slightly. If the extensions feel unfamiliar, shorten them. If the art looks busy beside the ring, remove one detail. A successful trial should leave you with fewer decisions, not a longer list of possibilities.
Choose the service according to wear and removal
Regular polish can suit a short, simple manicure when you prefer easy changes and your nails are already strong. Gel polish provides a cured finish but should be tested before the wedding and removed properly. Builder gel or acrylic can add structure or length, but both require a technician who understands the shape you want and a clear maintenance plan. Press-ons can work for flexibility or as a backup, provided you practice sizing and application.
Do not introduce an unfamiliar product on the wedding morning. Ask about sensitivity, sanitation, removal, and repair before you book. If your nails are peeling, sore, or unusually damaged, postpone aggressive cosmetic decisions and ask a qualified professional for appropriate advice. A beautiful design is not worth creating a new problem immediately before the ceremony.
Plan the wedding week and protect the final result
Timing depends on the service, your nail growth, and how quickly your polish tends to chip. A professional source such as Glamour’s wedding nail guide recommends keeping a fresh manicure close to the wedding, while Allure’s bridal nail coverage emphasizes preparing for small mishaps. Use those principles as a starting point, then follow the timing your technician recommends after the trial.
In the final days, moisturize your hands as usual, avoid aggressive cuticle work that is outside your routine, and protect the nails from tasks that can cause chips or lifting. Bring the same ring and dress references to the final appointment. Check the finished set before leaving, while there is still time to correct a shape, shade, or detail.
- Pack a small file, buffer, hand cream, and the appropriate adhesive or polish.
- Keep a spare press-on or matching polish if your chosen system allows it.
- Ask one trusted person to carry the repair kit so you do not manage it during the reception.
- Take one final close-up photograph in the actual lighting where ring photographs will happen.
- Do not peel, pick, or force off gel or extensions after the event.
The most useful bridal nails wedding decision is the one you can explain in one sentence: “I want a short oval with a sheer blush base, a soft pearl finish, and one tiny gold accent.” That sentence gives your technician direction while leaving room for professional adjustment. It also keeps the manicure connected to the way you want to feel, not only to a trend you happened to save.
FAQ
When should I book my bridal nails wedding appointment?
Book a trial several weeks before the wedding, then schedule the final service close enough to the event that the finish is fresh. The exact timing depends on whether you choose regular polish, gel, extensions, or press-ons, plus your nail growth and history of chipping. Leave a small buffer for a repair or shade adjustment.
What nail shape is best for a bridal manicure?
Short square, squoval, oval, and almond can all look bridal. The best shape is the one you can comfortably wear while holding flowers, fastening clothing, and moving through the day. Choose your canvas first, then adapt the French line, art, or finish to it.
Should wedding nails be white or nude?
Choose white when you want visible contrast and nude when you prefer a quieter result. Milky white, sheer blush, beige, rosy nude, and soft pink can all work. Compare real swatches beside the dress and ring in daylight because the same shade can look different under salon or reception lighting.
Are French tips still suitable for bridal nails?
Yes. French tips remain useful because the base, tip width, tip color, and contrast can be adjusted. Try a micro French, soft white, champagne, pearl, colored, or blended tip if a stark traditional French feels too strong. The design should match the length and shape you can comfortably wear.
Can I wear colorful bridal nails?
Absolutely. A color you already enjoy can feel more personal than a neutral chosen only because it is considered traditional. Refine it with a clean shape, glossy or satin finish, colored tips, one accent nail, or a translucent version. Check it beside the dress, jewelry, flowers, and stationery before committing.
How can I prevent a bridal nail from becoming a distraction?
Use one clear idea and repeat it selectively. Keep the base consistent, limit raised details, and choose a contrast level that feels like your normal style. Photograph the manicure beside the ring and bouquet. If the eye goes immediately to the decoration instead of the whole hand, remove one element or soften the finish.
What should I put in a wedding manicure repair kit?
Pack a small file, buffer, hand cream, and the matching polish or appropriate nail adhesive. If you wear press-ons or extensions, keep a spare piece when possible. Give the kit to a trusted person rather than carrying it through the day yourself. Do not peel off gel or force a damaged product away. Follow the salon’s removal advice after the celebration.