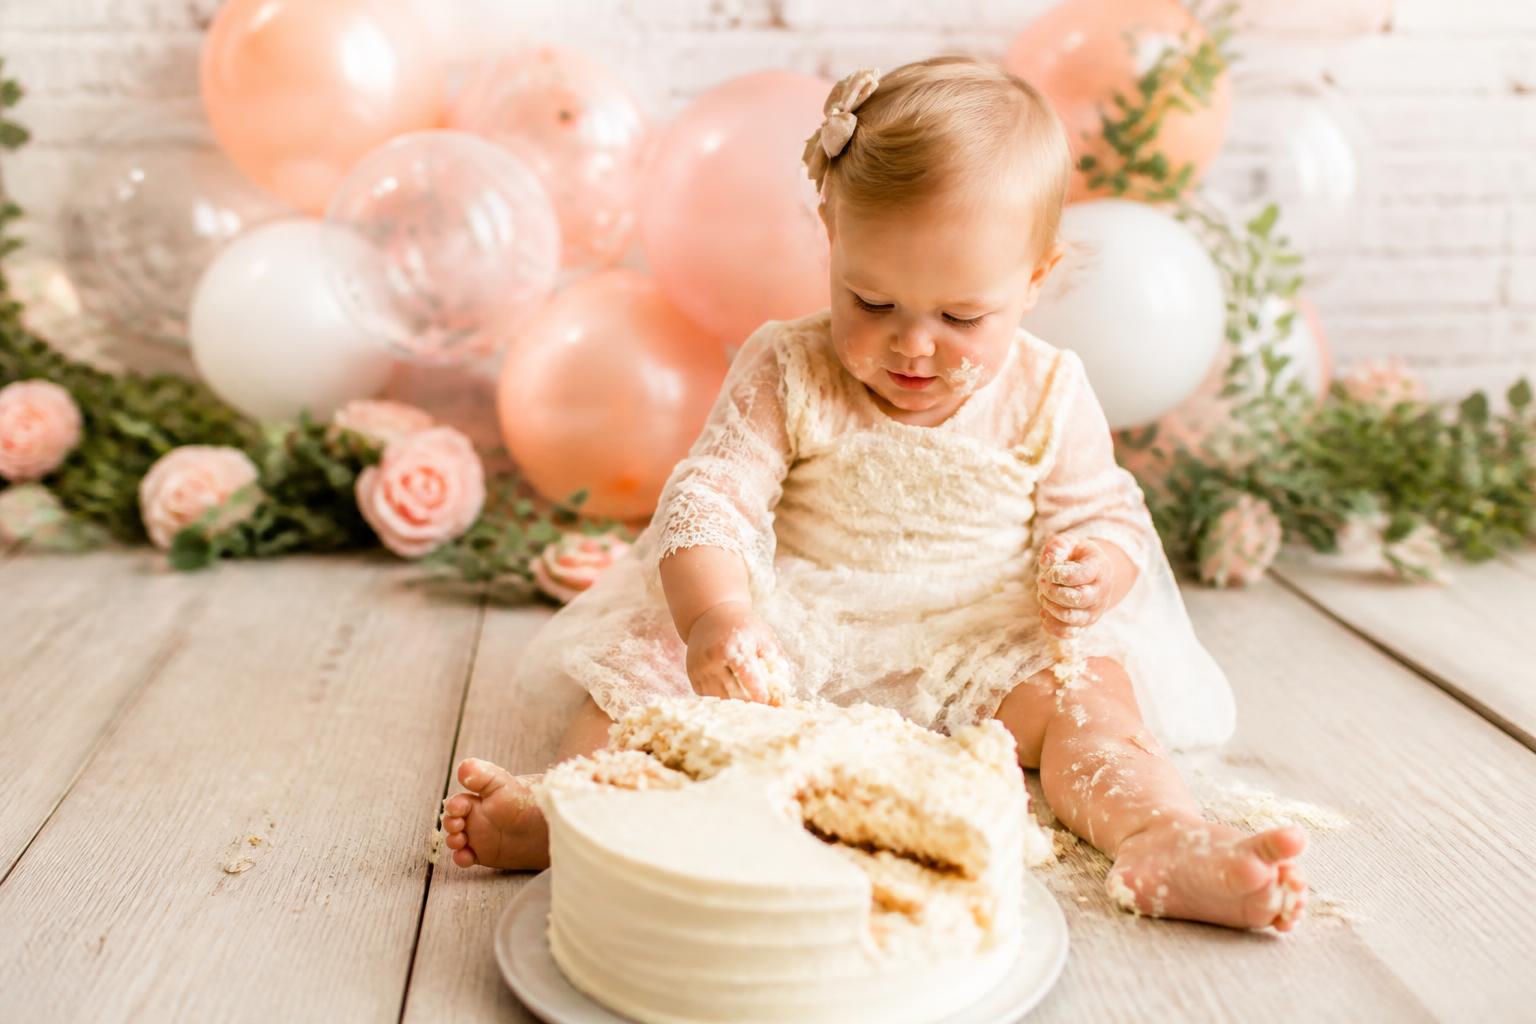
Cake Poses Photo Ideas for Sweet, Storybook Birthdays
Some birthday photos feel staged from the first frame. The most memorable ones do not. The best cake poses photo ideas capture a small story unfolding in real time: the curious first look, the cautious finger dip into frosting, the delighted mess, and the tired but happy finish. That is why cake smash photography remains such a favorite for first birthday celebrations and playful birthday shoots. It gives parents, photographers, and stylists a chance to create portraits that feel personal rather than generic.
Whether you are planning an at-home setup, booking a local studio, or designing a more polished session inspired by photographers like Melissa Sampson or Grace Photography PDX, the strongest results usually come from thoughtful decisions made before the cake ever reaches the set. Age, lighting, color palette, props, backdrop, cake type, and session flow all shape which poses work naturally and which ones feel forced. This guide brings those pieces together so you can choose ideas that photograph well, suit the child’s age and personality, and make practical sense for your timeline, style, and budget.
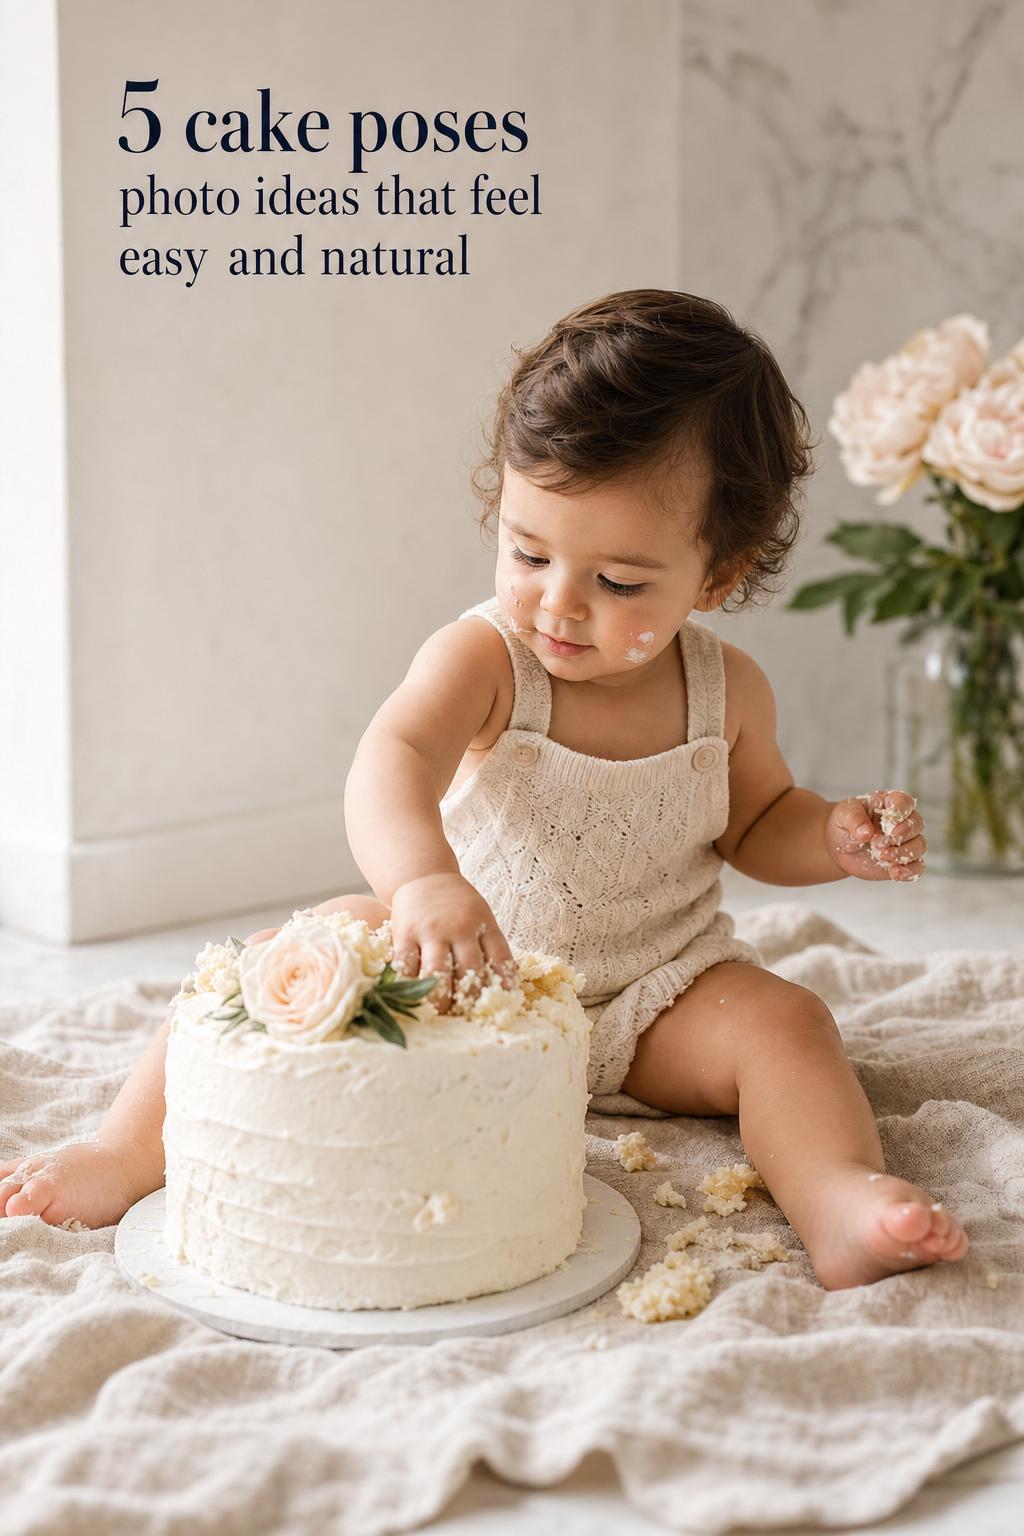
What makes a cake pose worth capturing
A strong cake smash image is rarely about the cake alone. It works because the pose, setting, and emotion support each other. In a well-planned session, the cake becomes both a prop and a storytelling device. A child seated upright in soft window light with a buttercream cake and a simple wood backdrop creates a very different mood from an energetic toddler surrounded by balloons in bold primary colors. Neither is automatically better. The right choice depends on the birthday context, visual style, and how much movement you want in the session.
For family birthday portraits, the most successful poses usually balance three things: visibility of expression, easy interaction with the cake, and a clean composition. This is why many photographers mix candid and posed moments rather than relying on one approach. A posed starting image gives structure, while candid frames bring personality. For parents planning the shoot themselves, this approach also reduces pressure. You do not need every frame to be perfectly styled. You need a sequence that tells the story well.
Turn wedding inspiration into a plan you can actually follow.
Zarellea brings your guest list, budget, vendors, and day-of details into one shared space — so no beautiful idea gets lost in the shuffle.
Best for: first birthday sessions, milestone portraits, and relaxed family celebrations where the photos matter as much as the party details.
Why it works: cake smash photos feel lively because they naturally create expressions, movement, and texture. Frosting, props, and reactions give the image visual depth without needing a complicated setup.
How to make it work: start with a simple portrait before the child touches the cake, then transition into interactive poses. This creates a fuller gallery and gives you a clean hero image in case the more active frames happen quickly.
Budget tip: if you are choosing where to spend, put more of the budget into lighting or a clean backdrop than into too many decorations. Strong light and a controlled set improve every single frame.
Common mistake to avoid: building a setup so busy that the child disappears in the scene. Balloons, letter boards, floral pieces, and banners can help, but too many competing elements make the final image harder to read.
Real-life styling tip: before the session starts, place the cake exactly where you want it and sit on the floor at camera height to test the composition. This small step often reveals whether the backdrop feels balanced or whether one side is visually heavier than the other.
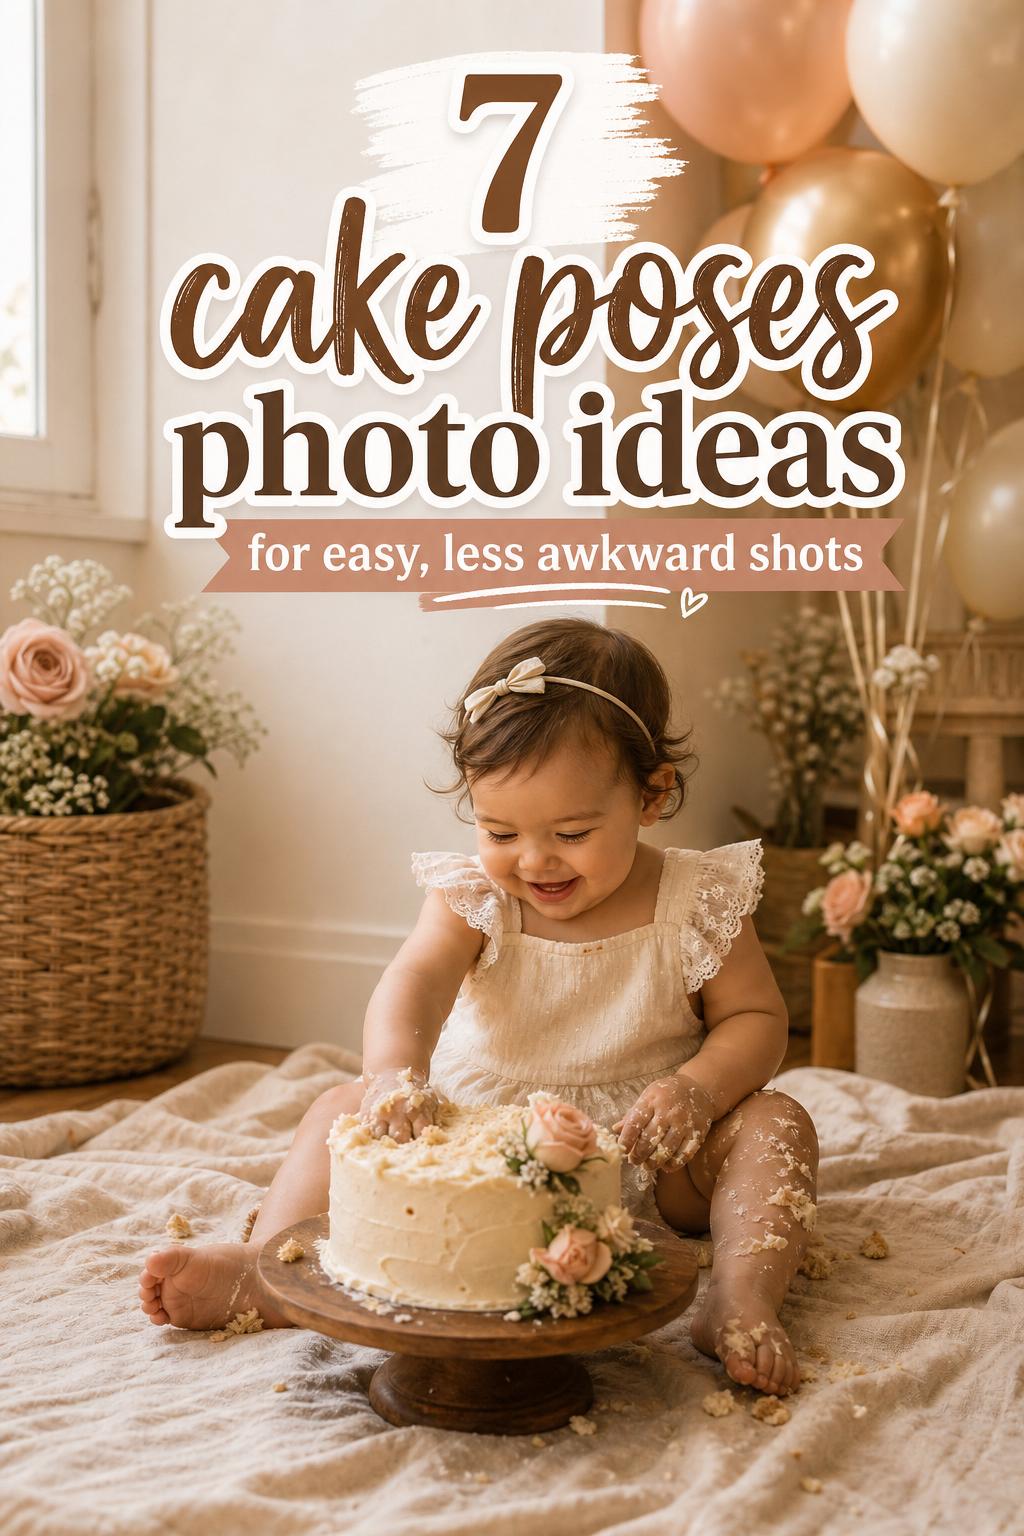
Age changes the pose more than most people expect
One reason many cake smash guides feel incomplete is that they treat all children as though they will react the same way. In practice, pose selection should follow age and comfort level. A 12-month-old often gives softer, more tentative interactions. An older toddler may stand, reach, laugh, and move through the set quickly. Matching your pose plan to the child’s stage creates more usable images and a calmer session flow.
12 to 16 months: soft, curious portraits
This age range often works best with grounded, stable poses. Think seated portraits, side glances toward the cake, gentle hand-on-cake moments, and frosting on fingertips rather than full smashing right away. Expressions tend to be subtle, which makes close framing especially useful. A neutral minimalist set or soft pastel palette often supports these gentler moments well because it does not overpower small facial changes.
Best for: first birthday sessions with babies who are just starting to explore textures and may need time to warm up.
Why it works: this age often gives sweet eye contact and small gestures that feel intimate on camera. A lower-energy setup helps preserve those details.
How to make it work: begin with the cake slightly in front of the child, not pressed against them. This gives space for a clean portrait and makes reaching motion more natural.
Common mistake to avoid: expecting dramatic action immediately. If the child is hesitant, forcing interaction can create distress rather than memorable photos.
16 to 24 months: active exploration
This stage usually brings more movement and stronger reactions. The most useful poses involve action: leaning over the cake, lifting a frosting-covered hand, turning toward a parent off camera, clapping, or reaching for balloons nearby. These moments benefit from a slightly wider frame and more room around the subject. Bold color palettes and themed props often work well here because the child can engage with the set rather than just sit in it.
Best for: children who are comfortable sitting independently and enjoy tactile play.
Why it works: the session feels energetic without needing constant direction, so candid and posed images blend naturally.
How to make it work: keep the main props close enough to enter the frame but far enough from the cake that they do not distract from the central action.
Budget tip: instead of buying many props, choose one standout item such as a balloon cluster or themed hat and let the cake provide the rest of the texture.
Age 2 and up: playful, character-driven setups
Older children often respond better when the shoot feels like a game or a themed mini world. Seasonal concepts, animal-inspired motifs, and more expressive birthday photography work especially well here. The pose is less about waiting for spontaneous curiosity and more about encouraging interaction with character. Laughing over the cake, pretending to guard it, pointing at toppers, or standing behind a small cake table can all feel natural for this age group.
Best for: birthday shoots beyond the classic first birthday milestone, especially when the child already has clear preferences for colors or themes.
Why it works: older toddlers can engage with more layered storytelling, which creates a gallery that feels more intentional.
How to make it work: choose a theme the child will recognize quickly. If the setup is too abstract, the session may feel visually pretty but emotionally flat.
Real-life styling tip: if you are working with a character-driven setup, photograph one clean full-set image before frosting smears or moved props change the scene. That frame often becomes the best album opener.
Color palettes that shape the entire mood
Many people choose a cake first and build the session around it, but the stronger approach is usually the reverse. Decide on the visual mood, then let the cake, backdrop, and props support it. This keeps the final gallery cohesive and makes pose choices easier. Color affects not only styling but also how skin tones, frosting texture, and facial expressions read on camera.
Soft pastels for gentle, light-filled portraits
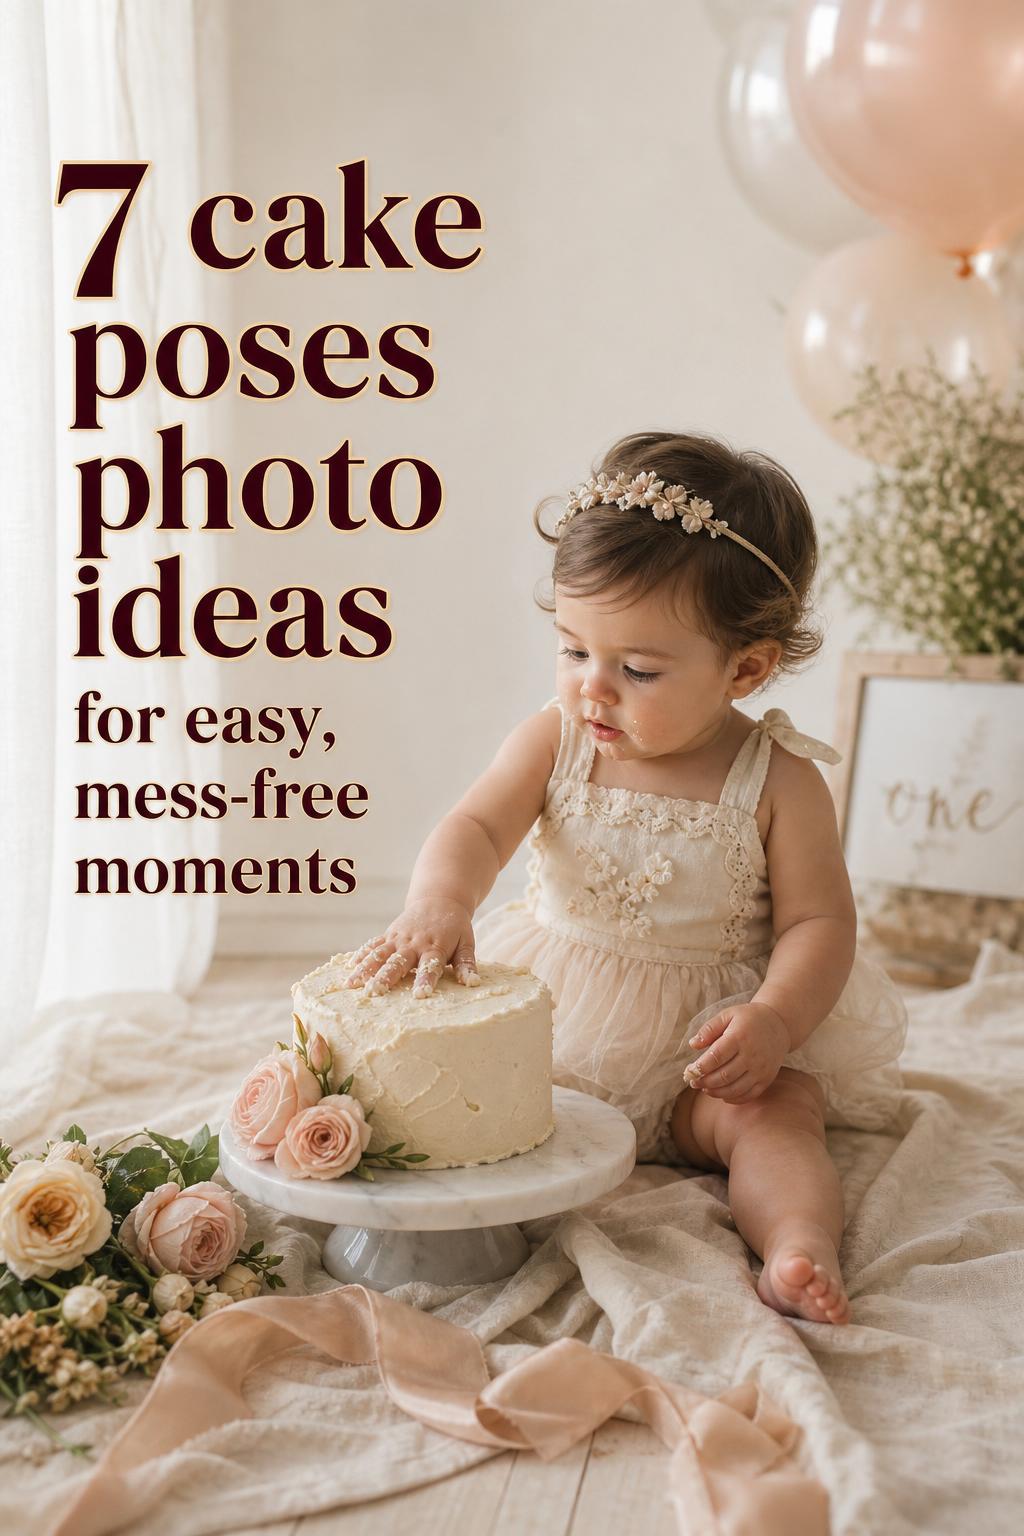
Baby pink, mint, cream, and similar soft tones work especially well with natural window light and close-up portraits. They support the emotional softness many parents want in a first birthday session and pair easily with buttercream cakes, simple balloons, and floral-inspired backdrops.
Best for: spring birthdays, smaller home setups, and parents who want a timeless rather than trend-heavy result.
Common mistake to avoid: choosing pastel décor with a bright, highly saturated cake. The mismatch can make the set feel accidental rather than styled.
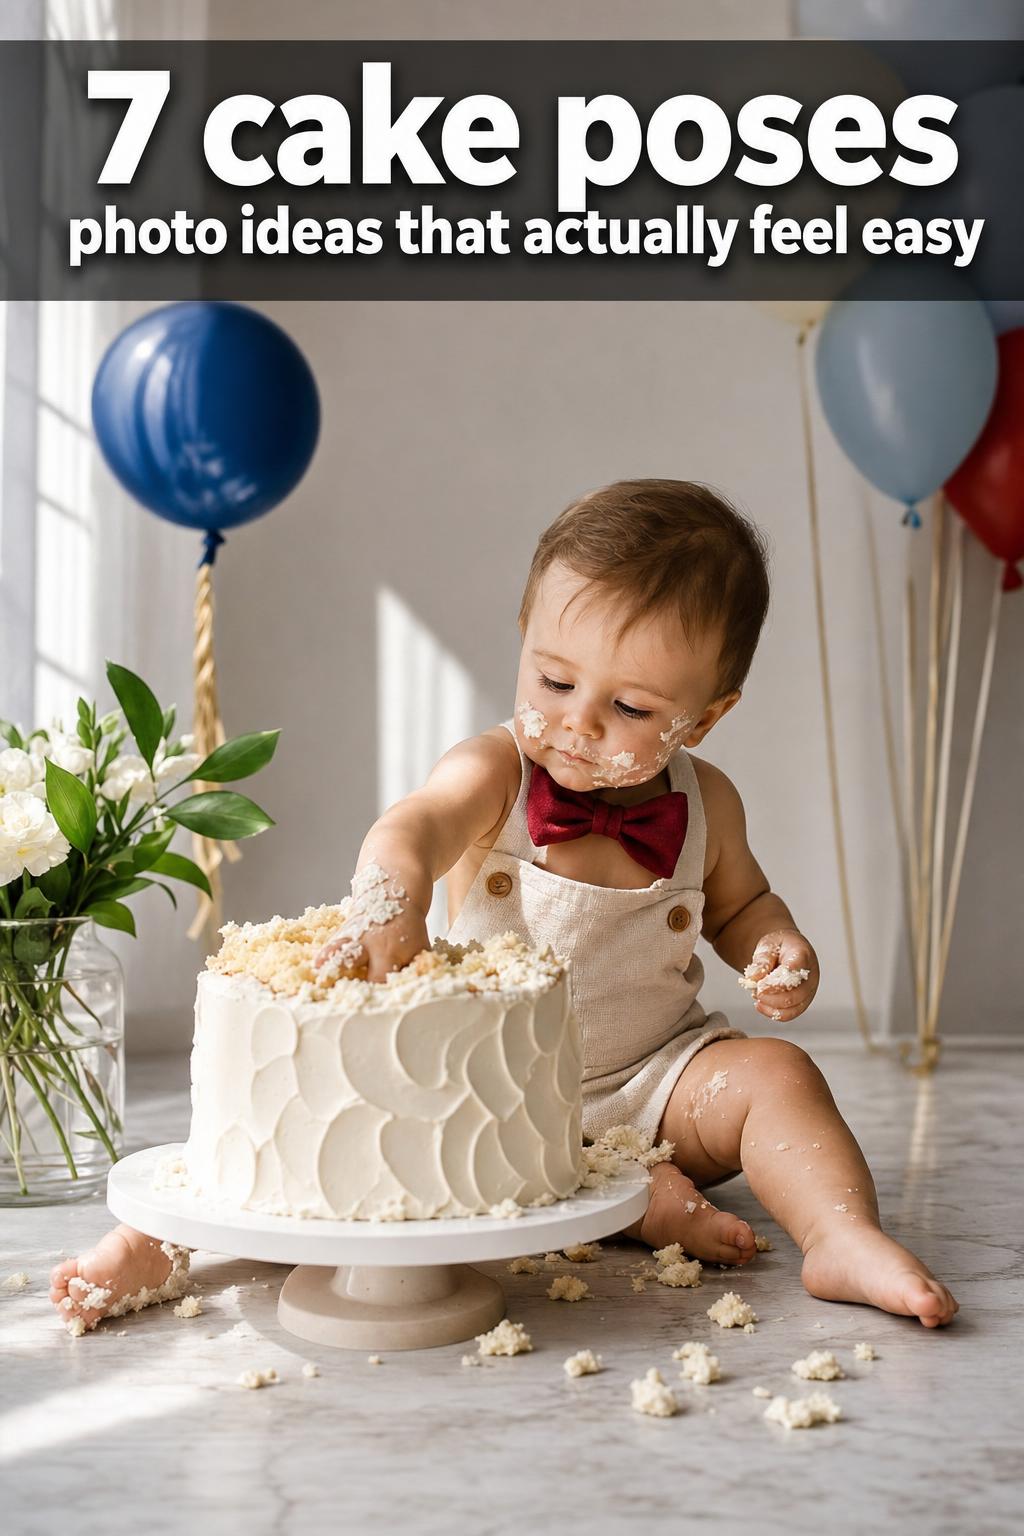
Bold primary colors for high-energy birthday frames
Red, yellow, and blue create a more graphic look and often support active children well. This palette tends to feel playful and upbeat, especially when paired with balloons, letter boards, and candid movement. It can also help the set feel lively in wider compositions where softer palettes might fade.
Best for: energetic toddlers, larger spaces, and more graphic birthday photography inspired by editorial-style setups.
Why it works: stronger color contrast can make frosting action and facial expressions pop in the frame, especially when the child moves around the set.
Neutral minimalist styling for modern galleries
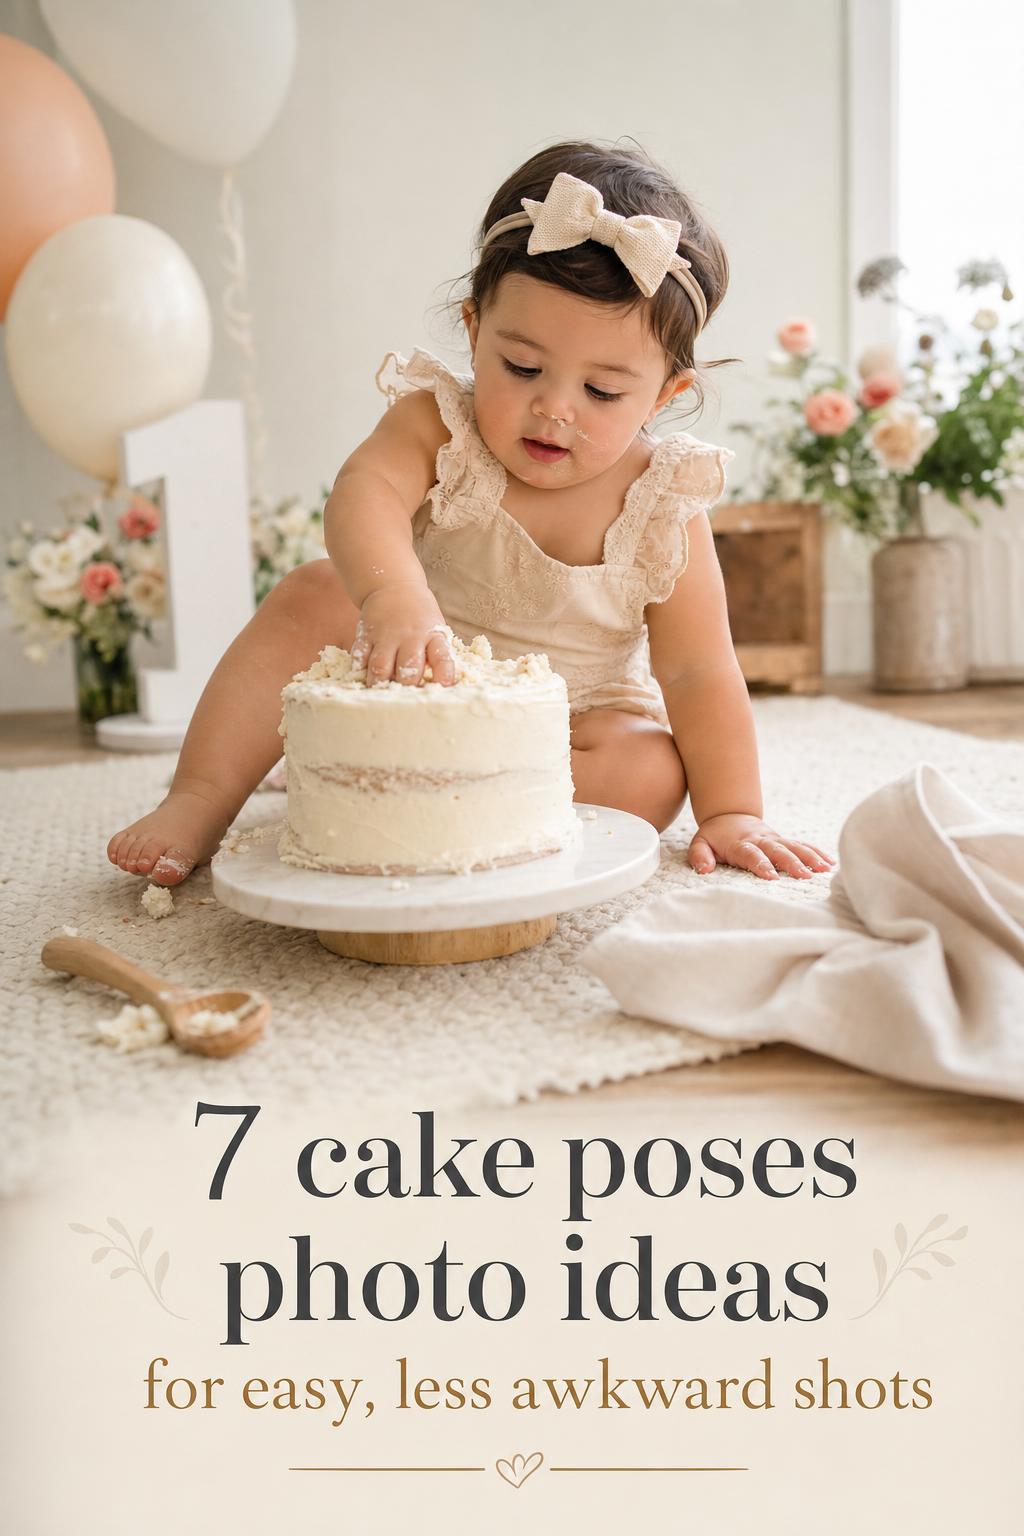
Beige, white, cream, and natural wood create a calmer visual field that keeps the child’s expression at the center. A naked cake or softly textured buttercream often suits this direction better than highly sculpted fondant. Wood and marble backdrops can support this look, and a restrained prop selection keeps the image polished.
Best for: modern homes, studio portraits, couples or families who prefer understated styling, and sessions where the images may be displayed as wall art later.
Budget tip: minimalist setups often cost less because they rely on fewer decorative elements, but consistency matters. It is better to use three coordinated items than eight unrelated ones.
Seasonal and local US-inspired themes
Seasonal styling gives the session an immediate point of view. Spring garden sets can feel light and fresh, while autumn harvest tones add warmth and texture. For readers planning a more location-aware shoot, city-inspired aesthetics can help narrow choices too. A bright, airy approach may suit Los Angeles-inspired styling, while a cleaner graphic look can feel closer to New York City energy. Chicago-inspired setups can lean into richer seasonal tones and structured compositions. These references work best when they guide the mood rather than become costume-like.
Common mistake to avoid: overloading seasonal sessions with too many literal details. A few clear signals are usually more elegant than a fully crowded set.
Choosing cake styles, props, and backdrops with intention
Props are most effective when they help the pose rather than simply fill space. The same is true for the cake itself. Different cake styles photograph and behave differently, and those differences matter. Frosting texture affects how messy the interaction looks. Backdrop material changes the mood. Props influence where the eye goes first.
Buttercream, fondant, and naked cakes
Buttercream is often the most flexible option for cake smash photography because it shows texture clearly and responds quickly to touch. Fondant creates a cleaner, more sculpted look and may suit polished themed sessions, but it can reduce the messy softness many parents expect from a cake smash. Naked cakes work especially well in neutral minimalist setups and natural-light portraits because the texture reads beautifully without extra decoration.
Best for: buttercream for classic messy birthday photos, fondant for highly styled themes, naked cakes for minimal and rustic-inspired portraits.
How to make it work: match the cake finish to the mood of the session. If the set is soft and natural, a heavily sculpted cake can feel too formal. If the theme is bold and graphic, a plain cake may look unfinished.
Common mistake to avoid: choosing the tallest or most elaborate cake without considering how the child will interact with it. A cake that blocks the face from camera height can limit your best frames.
Props that support movement, not clutter
Popular props across birthday shoots include balloons, hats, sashes, letters, and letter boards. These can all work, but each should have a purpose. Balloons add color and height. Hats can reinforce a theme. Letters can anchor the birthday milestone. A sash may help signal the occasion in a close-up portrait. If a prop does not improve the composition or the story, it probably does not belong on set.
- Use balloons to frame the top or side of the image rather than surrounding the child completely.
- Choose hats or crowns only if they stay comfortably in place and do not pull attention away from the face.
- Keep letter boards readable but secondary; they should not become the visual center of every frame.
- Use one or two supporting props near the cake, not an entire spread of small objects.
Real-life styling tip: if you are photographing at home, tape a few sample balloons or hold up the hat against the planned backdrop the day before. This simple test can reveal color conflicts that are easy to miss while shopping.
Backdrop materials that affect the final feel
Wood, marble, and floral backdrops each create a different foundation. Wood tends to feel warm and grounded, making it useful for rustic, minimalist, or autumn-inspired sessions. Marble gives a cleaner and more polished look. Floral backdrops support softer, themed, and pastel-focused portraits. In many DIY cake smash photos, the backdrop does more work than people expect. It is not just a background. It controls visual noise and helps define style.
Best for: wood for earthy or seasonal sessions, marble for editorial polish, floral for sweet first birthday themes.
Budget tip: if you are working with limited resources, choose one backdrop with a strong visual identity and keep the rest of the styling simple. The backdrop often delivers more impact per dollar than several small props.
Lighting decisions that flatter frosting, skin tone, and expression
Good pose ideas fall flat in weak light. Lighting shapes how frosting texture appears, whether the child’s eyes look bright, and how natural the skin tone feels. For cake smash photography, the most practical choices usually come down to natural window light, softbox support, or a simple fill strategy using reflectors or controlled contrast.
Natural window light for softness and ease
Window light is often the easiest way to create flattering birthday portraits at home. It works especially well with pastel and neutral setups and supports the softer, candid look many families want. Positioning the setup near a broad source of natural light usually gives enough shaping without making the image feel harsh.
Best for: DIY sessions, smaller budgets, and calm portrait-led shoots.
Why it works: natural light tends to preserve skin tone and keeps buttercream texture looking appealing rather than overly shiny.
Softbox and reflector setups for consistency
Softbox lighting can help when you want more control or when indoor light is inconsistent. A reflector or simple fill approach can also soften shadows and maintain detail across the face and cake. For photographers using Canon or Nikon systems, the exact camera body matters less here than consistent exposure and a clean direction of light. The point is not fancy gear for its own sake. The point is repeatable results through the whole session.
Best for: studio work, sessions with multiple outfit changes, or setups that need to match across a full gallery.
Common mistake to avoid: mixing too many light sources without checking how the color and contrast interact. The result can make skin tones look uneven and frosting color harder to correct later.
Composition and settings matter as much as the light source
Even in a simple setup, camera height and framing control whether the image feels intimate or chaotic. Low angles often work well for seated babies because they keep the face and cake on the same visual plane. Wider framing helps when a child is active and you want balloons, backdrop, and movement in the image. Tighter crops suit the first frosting touch, hand details, and curious expressions. A practical session often alternates among all three.
Real-life styling tip: once the cake smash begins, keep one framing anchor in mind. If every image is from a different height and distance, the gallery can feel disconnected even when the styling is consistent.
Safety and comfort should shape the shoot from the start
Safety is often mentioned briefly in birthday photography, but it deserves more attention. The child’s comfort affects the mood of the session, and practical hazard checks help everyone stay focused. A successful cake smash is not just visually appealing. It is calm, supervised, and manageable from start to finish.
- Check props for choking hazards before placing them on set.
- Keep constant adult supervision throughout the session.
- Choose décor and styling that do not interfere with movement or balance.
- Think through food handling and studio hygiene before the child arrives.
- Build short breaks into the timeline if the child becomes overwhelmed.
Best for: every cake smash session, whether at home or in a professional studio.
Why it works: a child who feels safe and comfortable is more likely to engage naturally, which improves both expressions and pacing.
How to make it work: do a full hazard check at floor level. Adults often evaluate the set standing up, but the child experiences it from a completely different perspective.
Common mistake to avoid: focusing so much on decorations that cleanup and comfort are ignored. Once frosting, props, and movement come together, an overcomplicated set can become difficult to manage.
Planning the shoot flow from prep to proofs
The strongest cake smash galleries usually come from a deliberate sequence. Session flow matters because children tire quickly, and once the cake is touched, the visual setup changes fast. A thoughtful order helps you capture a full story rather than a random collection of messy frames.
Before the session begins
Start with the set completely ready. Cake in place, props tested, lighting checked, and camera angle decided. This is where many DIY sessions lose momentum. Last-minute setup changes after the child arrives often increase stress and shorten the useful shooting window.
During the session
A practical timeline often moves through four stages: clean portrait, first interaction, active smash, and finishing details. The clean portrait gives you a polished opener. The first interaction captures curiosity. The active smash provides the high-energy images. The finishing details include frosting hands, side glances, and little moments that often become family favorites.
After the shoot
When delivering proofs or planning your final gallery, variety matters. Include wide scene-setting images, medium interaction shots, and close detail photos. This creates a more complete visual story and helps parents use the images for albums, invitations, or wall displays.
Budget tip: if you are hiring a photographer, ask about session flow and deliverables in advance instead of focusing only on the number of photos. A clear process often matters more than a larger but less intentional gallery.
Real-life styling tip: keep a small towel or cleanup cloth just outside the frame, not across the room. The fastest way to lose momentum is needing to interrupt the best moments to search for practical essentials.
Editing choices that keep the images natural
Post-processing should support the mood of the session rather than transform it. In cake smash photography, color correction, skin tone balance, and gentle finishing tend to matter more than heavy retouching. If the session was built around soft pastels, warm neutrals, or bold primary colors, the edit should preserve that styling logic.
Subtle cleanup can be useful, especially when frosting or distractions pull attention from the expression. Some photographers also use AI-assisted editing workflows for faster proofs and minor refinements, but the best results still look believable. The image should feel like the moment parents remember, only a little more polished.
Best for: families who want a finished gallery that still feels real, and photographers balancing speed with consistency.
Common mistake to avoid: over-smoothing skin or overcorrecting frosting tones until the scene loses texture. The mess is part of the story.
US style notes: how location can influence the final look
Regional style trends are not always dramatic, but they can help narrow your direction if you feel overwhelmed by options. A West Coast-inspired setup may lean airy, bright, and lightly styled. A New York City-inspired shoot may feel cleaner, more graphic, and more fashion-aware in composition. Chicago-inspired birthday portraits can carry stronger seasonal cues and richer tones. In Portland, OR, where Grace Photography PDX sits within a creative local studio culture, natural textures and theme-forward setups often feel especially at home. These are not rules, only useful style prompts.
Best for: families and photographers who want the session to feel connected to place, home, or local visual culture.
Why it works: location-aware styling helps the images feel personal without needing to add unrelated props or overcomplicated themes.
How to make it work: pull one or two cues from your location, such as color tone, texture, or overall mood, instead of trying to represent an entire city literally.
Smart gear choices for professionals and DIY planners
Whether you are working with a full photography kit or a simple home setup, the best gear is the gear that helps you maintain consistent light, safe shooting conditions, and enough flexibility to respond quickly. Editorial resources from places like SLR Lounge, Adorama, and Ted’s Cameras often emphasize the same practical basics: camera, lighting support, and a stable setup matter more than collecting too many accessories.
- Must-have priorities: camera, reliable light source, clean backdrop, and a simple prop plan.
- Useful additions: tripod, reflector, extra outfit, and quick cleanup supplies.
- Budget-friendly mindset: rent or borrow lighting before buying multiple decorative items that may only be used once.
- For at-home sessions: focus on one strong window-light area and a controlled background rather than trying to style a whole room.
Best for: photographers building a repeatable process and parents creating DIY cake smash photos without unnecessary spending.
Common mistake to avoid: putting too much budget into props while neglecting the technical foundation. Even the most attractive décor cannot compensate for poor light and inconsistent framing.
A few creative pose combinations that feel fresh but practical
Rather than treating each pose as a separate idea, it often helps to think in short combinations. This creates mini story arcs, which can make the final gallery feel more polished and emotionally satisfying.
The clean portrait to messy close-up sequence
Start with the child seated upright behind the untouched cake, move to a hand reaching forward, then capture a close-up once frosting reaches the fingers and cheeks. This sequence works especially well for first birthday sessions and is one of the easiest ways to create a complete narrative without changing the set.
The side glance and parent interaction setup
Place a parent just off camera to draw eye contact, then photograph the child turning between the cake and the familiar face. This often produces more natural expressions than constant direct prompting from behind the camera.
The prop-led movement frame
Use one balloon cluster or a themed object to create a reason for movement across the set. This works best for active toddlers and can prevent every image from becoming the same seated composition.
The frosting detail ending
Once the central action is done, photograph hands, toes, smudges on the cake stand, and a final tired expression. These frames may seem secondary at the time, but they often become the emotional finish to the story.
Real-life styling tip: if you only have a short shooting window, prioritize one complete sequence over many disconnected ideas. A small story almost always feels stronger than a scattered gallery.
Final thoughts for creating cake photos that feel personal
The most lasting birthday portraits are rarely the ones with the most decorations or the largest cake. They are the ones where styling, comfort, and timing come together in a way that feels honest to the child and the family. A soft pastel setup in natural window light, a bold primary color set with playful balloons, or a neutral minimalist scene with a naked cake can all work beautifully when the pose choices support the mood and the session is planned with care.
As you shape your own cake smash session, think less about chasing every trend and more about building a clear visual story. Choose a palette that suits the setting, props that help rather than distract, a cake style that fits the mood, and a pace that respects the child’s comfort. That is what turns a birthday photo into something a family will return to long after the frosting has been cleaned away.
FAQ
What is the best age for a cake smash session?
The most common age is around the first birthday, especially in the 12 to 16 month range for softer, curious portraits and 16 to 24 months for more active interaction. The best age depends on whether you want gentle exploration or more playful movement.
Which cake type photographs best for cake smash photos?
Buttercream is often the most flexible because it shows texture clearly and responds well to touch, creating the messy detail many families want. Fondant gives a cleaner, more sculpted look, while naked cakes suit minimalist and natural-light setups especially well.
How do I choose between candid and posed cake photos?
A mix usually works best. Start with one or two posed portraits before the cake is touched, then move into candid interaction. This gives you a polished opening image and still captures the spontaneous expressions that make cake smash photography feel personal.
What kind of lighting is best for cake smash photography?
Natural window light is often the easiest and most flattering option for DIY sessions, especially with soft pastel or neutral styling. Softbox lighting is useful when you need more consistency in a studio or when indoor light changes during the session.
How many props should I use in a cake smash setup?
Usually fewer than you think. One or two strong supporting props, such as balloons or a themed hat, often create a better result than many small items. The child and cake should remain the clear visual focus.
Are fondant cakes too neat for a cake smash?
Not necessarily, but they create a different look. Fondant suits polished themed sessions, while buttercream tends to deliver a softer and more visibly messy interaction. The better choice depends on whether you want a structured or more playful result.
What safety issues should I check before the session starts?
Check props for choking hazards, make sure the set is stable at floor level, keep constant supervision in place, and think through food handling and cleanup before the child begins interacting with the cake. Comfort and safety should guide every styling decision.
Can I do a cake smash photoshoot at home?
Yes, and many DIY cake smash photos turn out beautifully when the setup is simple. Choose one area with strong window light, use a controlled backdrop, keep props minimal, and plan the full set before bringing the child in so the shooting window is not wasted.
What should be included in the final photo gallery?
A balanced gallery usually includes a clean portrait before the smash, mid-session interaction shots, wider scene-setting images, and close detail frames of frosting, hands, and expressions. This creates a fuller visual story rather than a series of similar messy shots.