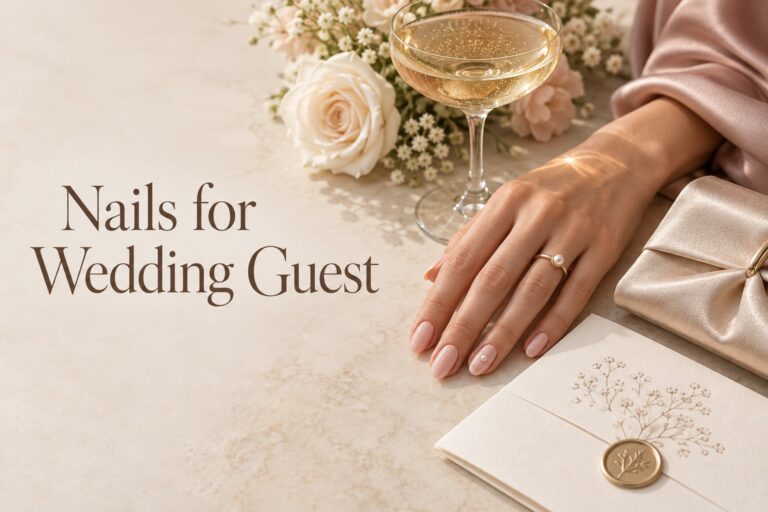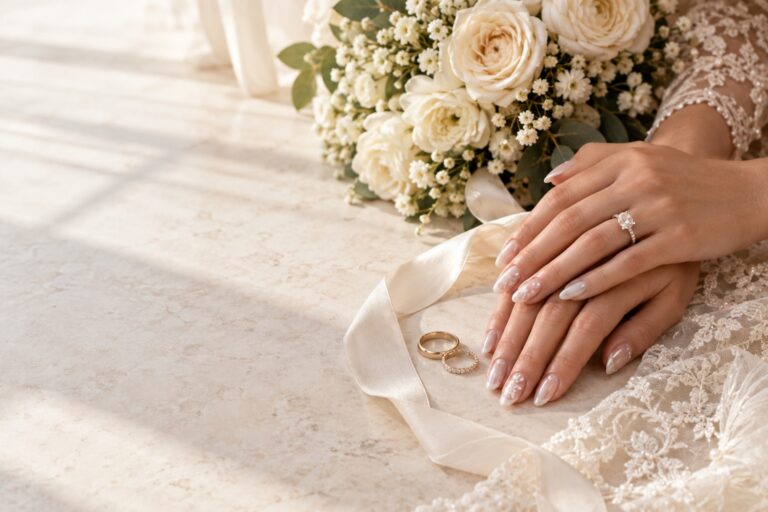
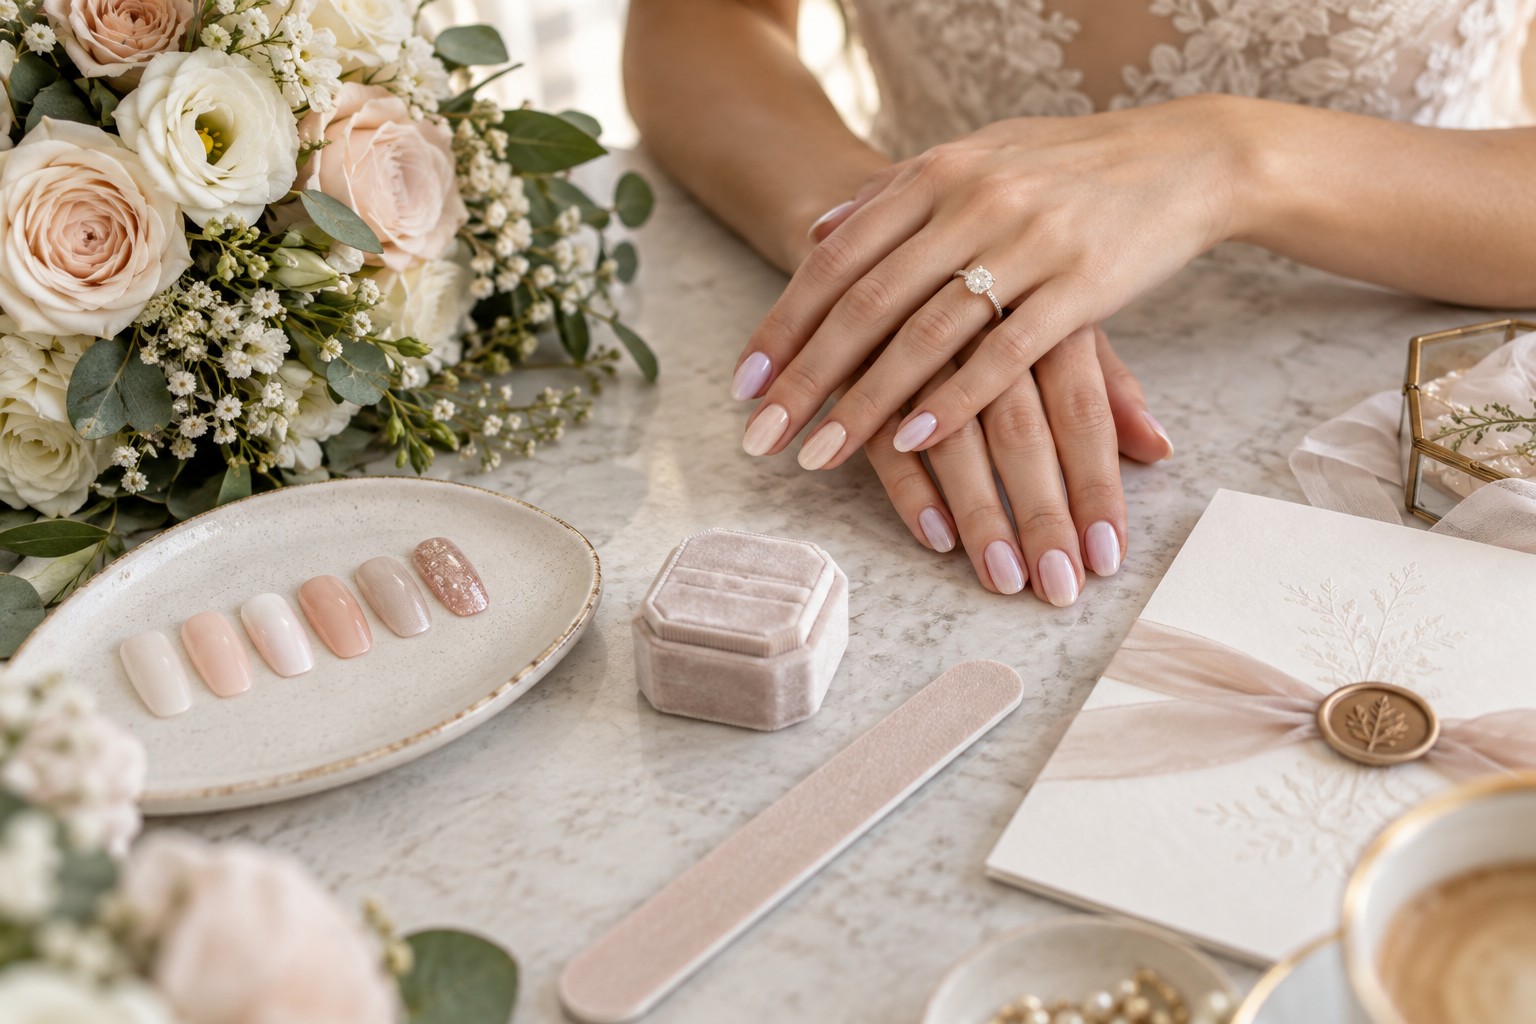
Nails for Wedding: A Practical Choice Checklist
Choosing nails for wedding plans is easier when you treat the manicure as part of the whole day rather than as a last-minute decoration. Your hands may appear in ring photos, bouquet portraits, place-card details, hugs, cake cutting, and countless unplanned moments. That does not mean your nails need to be elaborate. It means the shape, color, finish, and maintenance plan should support how you want to feel and how you will use your hands.
This checklist is designed for brides, bridesmaids, and wedding guests. Start with your role and outfit, then make four decisions in order: shape, color, finish, and detail. After that, plan the appointment around a trial and a realistic wedding-day window. The result can be a sheer blush manicure, a precise French tip, a short glossy red, a pearl finish, or a tiny blue accent. The best choice is the one that looks intentional, stays comfortable, and still feels like you.
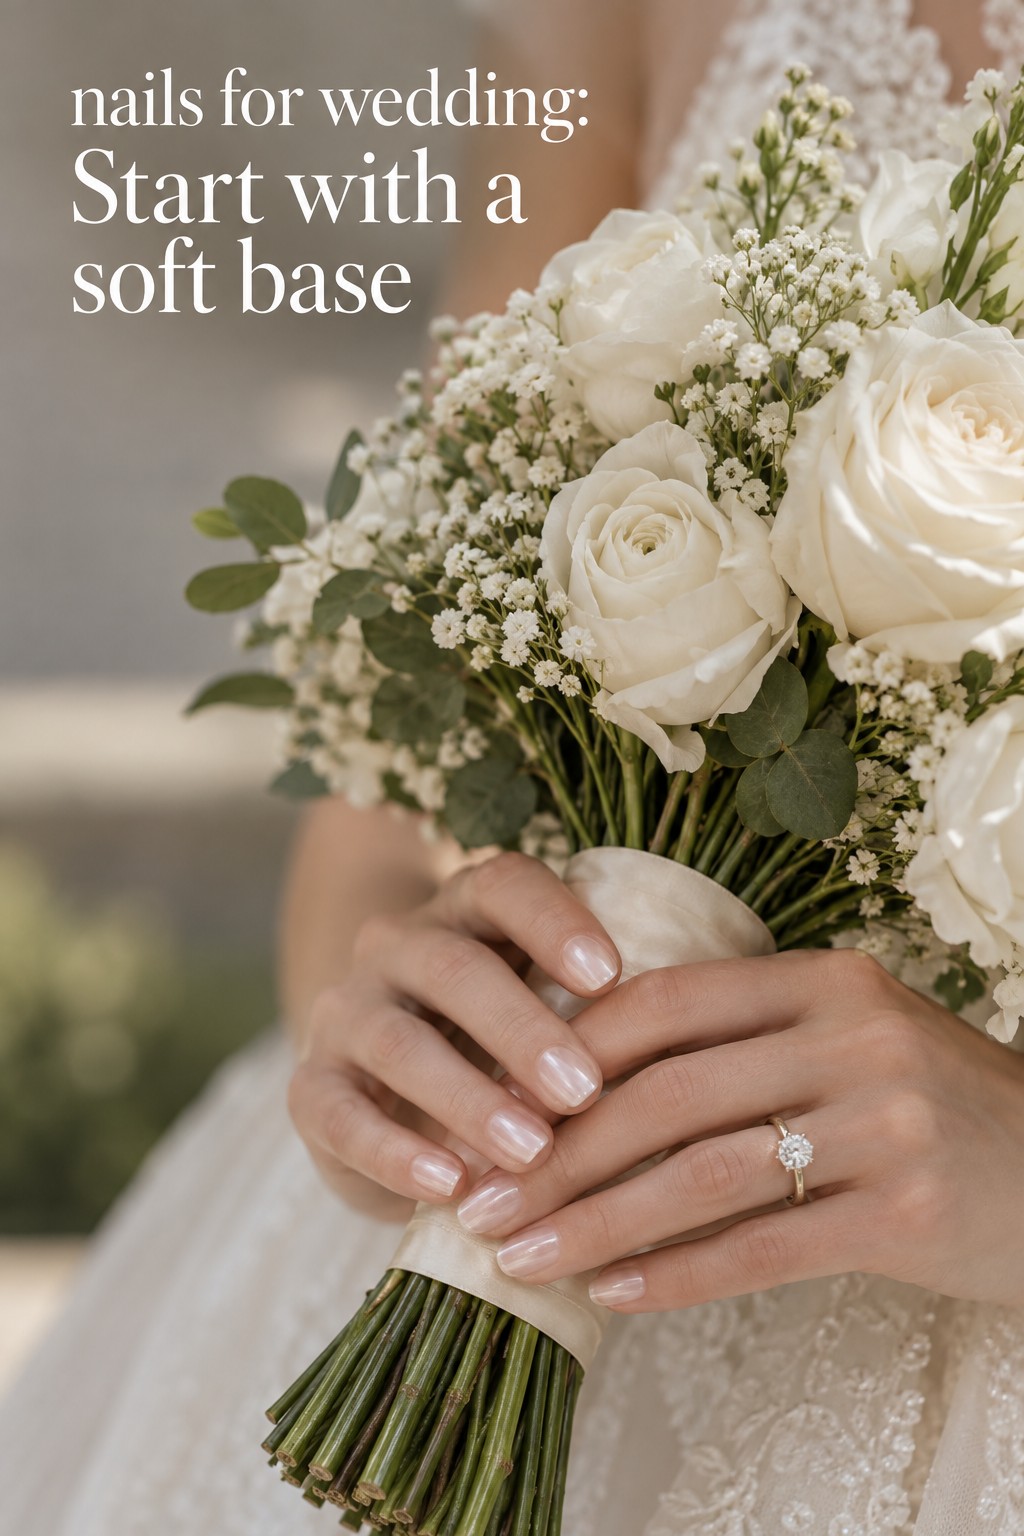
Start with the wedding role, outfit, and comfort limit
Before saving another manicure photo, write down your role at the wedding. A bride may want the manicure to feel meaningful and especially polished in close-ups. A bridesmaid often needs to coordinate with a group without making every person wear the same design. A guest can choose something festive while keeping the look respectful of the dress code and the couple’s overall mood. These are not rigid rules. They are useful starting points that prevent an attractive design from feeling wrong for the event.
Next, look at the outfit details that will sit closest to your hands. Consider the metal of your rings or jewelry, the undertone of the fabric, the bouquet colors, and whether the wedding feels formal, relaxed, romantic, modern, or colorful. You do not need an exact match. A soft ivory manicure can bridge a white dress and warm flowers, while a muted rose can connect a blush outfit with gold jewelry. Think in relationships rather than identical shades.
Turn wedding inspiration into a plan you can actually follow.
Zarellea brings your guest list, budget, vendors, and day-of details into one shared space — so no beautiful idea gets lost in the shuffle.
- For the bride: prioritize a shape that photographs well from several angles, a color that works with the ring, and a finish you will not tire of when you see it in an album.
- For the bridesmaid: choose a shared color family or finish, then let each person adjust length, shape, or small details for comfort.
- For the guest: read the dress code, consider the season and venue, and choose a polished manicure that complements your outfit without trying to recreate the bride’s full look.
- For everyone: decide how much daily maintenance you can realistically manage before choosing extensions, intricate art, or a very long shape.
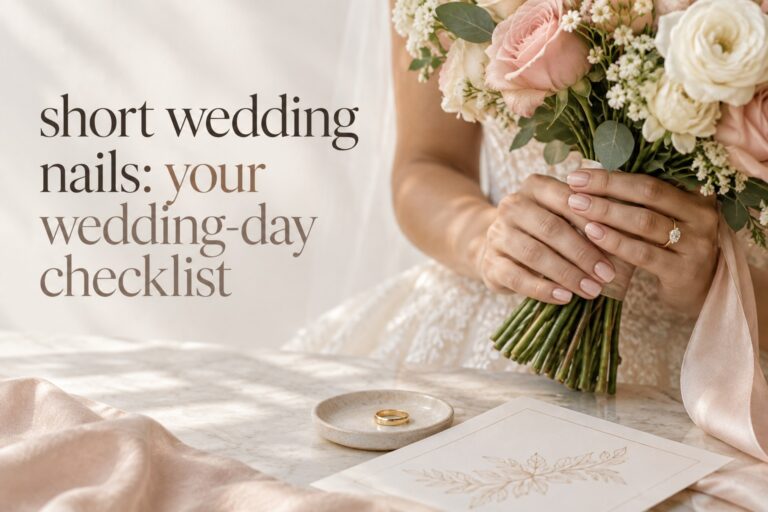
Your comfort limit matters more than a saved image. If you type, cook, care for children, play an instrument, work with your hands, or simply dislike catching a long tip on fabric, keep the length modest. Short squoval, short oval, and softly rounded shapes can look refined with a sheer base or a narrow French tip. A manicure is successful when it lets you hold a bouquet, fasten a bracelet, open a compact, and greet people without thinking about your nails.
Make a one-line brief before your appointment: “I want short almond nails in a sheer pink with a soft pearl finish, comfortable enough for a full day.” That sentence gives a technician more useful information than a folder of unrelated screenshots. Add a second line if you have a non-negotiable, such as “Please keep the free edge low because I am not used to extensions.” A clear brief protects the practical outcome as much as the visual one.
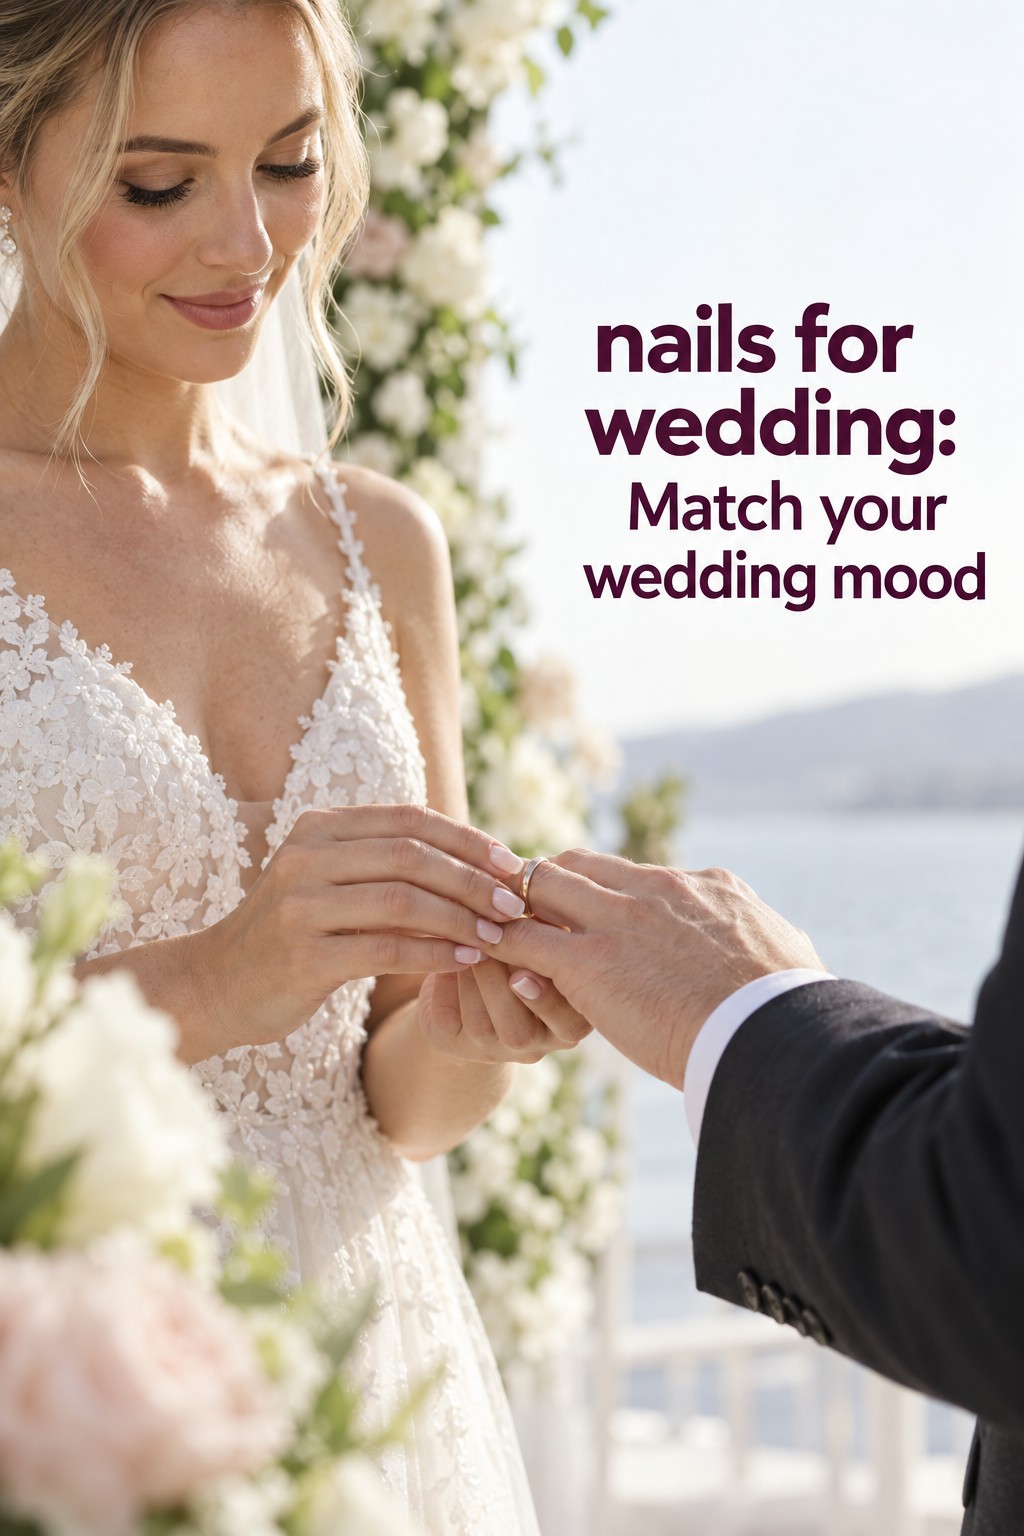
Use the decision checklist: shape, color, finish, and detail
Make the shape decision first. Shape changes the silhouette of the hand and the way a design reads from a distance. Almond can create a lengthened look when there is enough natural or extended length. Oval is gentle and versatile. Squoval gives short nails a clean, structured edge. Coffin or tapered square can support a more fashion-forward design, but it needs enough length and may be less comfortable for a hands-on wedding day. There is no universally correct bridal shape, so use your hand habits and outfit mood as the filter.
If you are unsure, ask for two shapes during a trial or use a temporary press-on set to test the outline. Photograph your hands holding a ring, a small bouquet, and a champagne glass. Look at the images in ordinary lighting instead of judging only in the salon chair. The shape should look balanced when your fingers are relaxed, not only when they are posed. It should also leave enough room for natural movement and any jewelry you plan to wear.
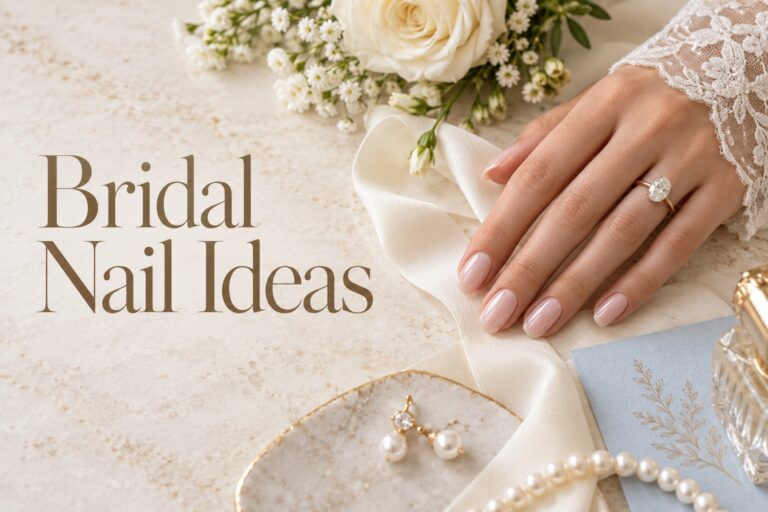
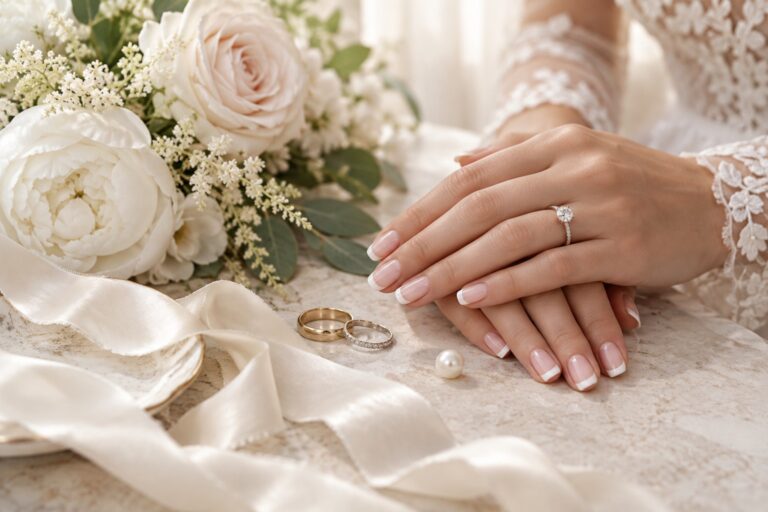
Choose color second. Sheer blush, milky pink, soft ivory, and neutral beige are popular because they make the hand look finished without competing with the ring or bouquet. A classic white tip adds definition while staying familiar. A warm caramel, muted mauve, dusty blue, or soft sage can connect the manicure to a wedding palette. A deeper berry, red, or plum can be beautiful for an evening celebration, especially when the rest of the look is simple.
- For a minimalist gown: consider a translucent base, micro-French tip, or one controlled pearl accent.
- For lace or vintage styling: try a soft ivory base, fine lace-like detail, or a narrow warm-white tip.
- For satin and modern tailoring: a clean solid color, glazed sheen, or subtle chrome can echo the smooth surface.
- For a colorful bouquet: choose one quiet shade from the flowers or keep the nails neutral so the bouquet remains the focal point.
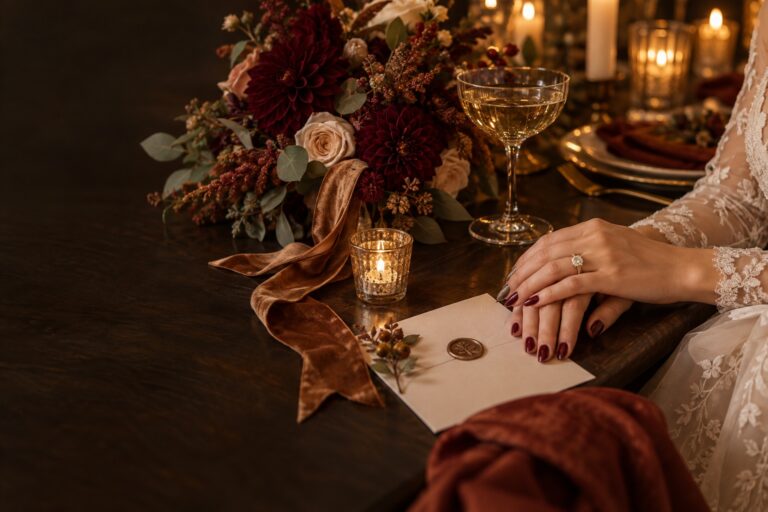
- For a formal evening: a deep red, wine, navy, or restrained metallic can feel intentional when the shape stays tidy.
Finish is the third decision. Gloss reflects light and usually looks crisp in photographs. Satin or soft-matte finishes create a quieter effect, although they may show marks differently. Pearl, glazed, and chrome effects add dimension without requiring a complicated drawing on every nail. If you want sparkle, decide whether it belongs on all ten nails, at the tips, along the cuticle line, or on one accent nail. Concentrated shine is often easier to coordinate than a busy design repeated everywhere.
Detail comes last. A small detail can carry personal meaning: a blue tip, a tiny flower, a fine gold line, a pearl, or a ring-finger accent. Keep the scale proportional to the nail length. On short nails, a thin line or small dot may read more clearly than a large floral scene. On longer nails, negative space can make a detailed design feel lighter. Ask the technician to show you the size of the art on one nail before committing to all ten.
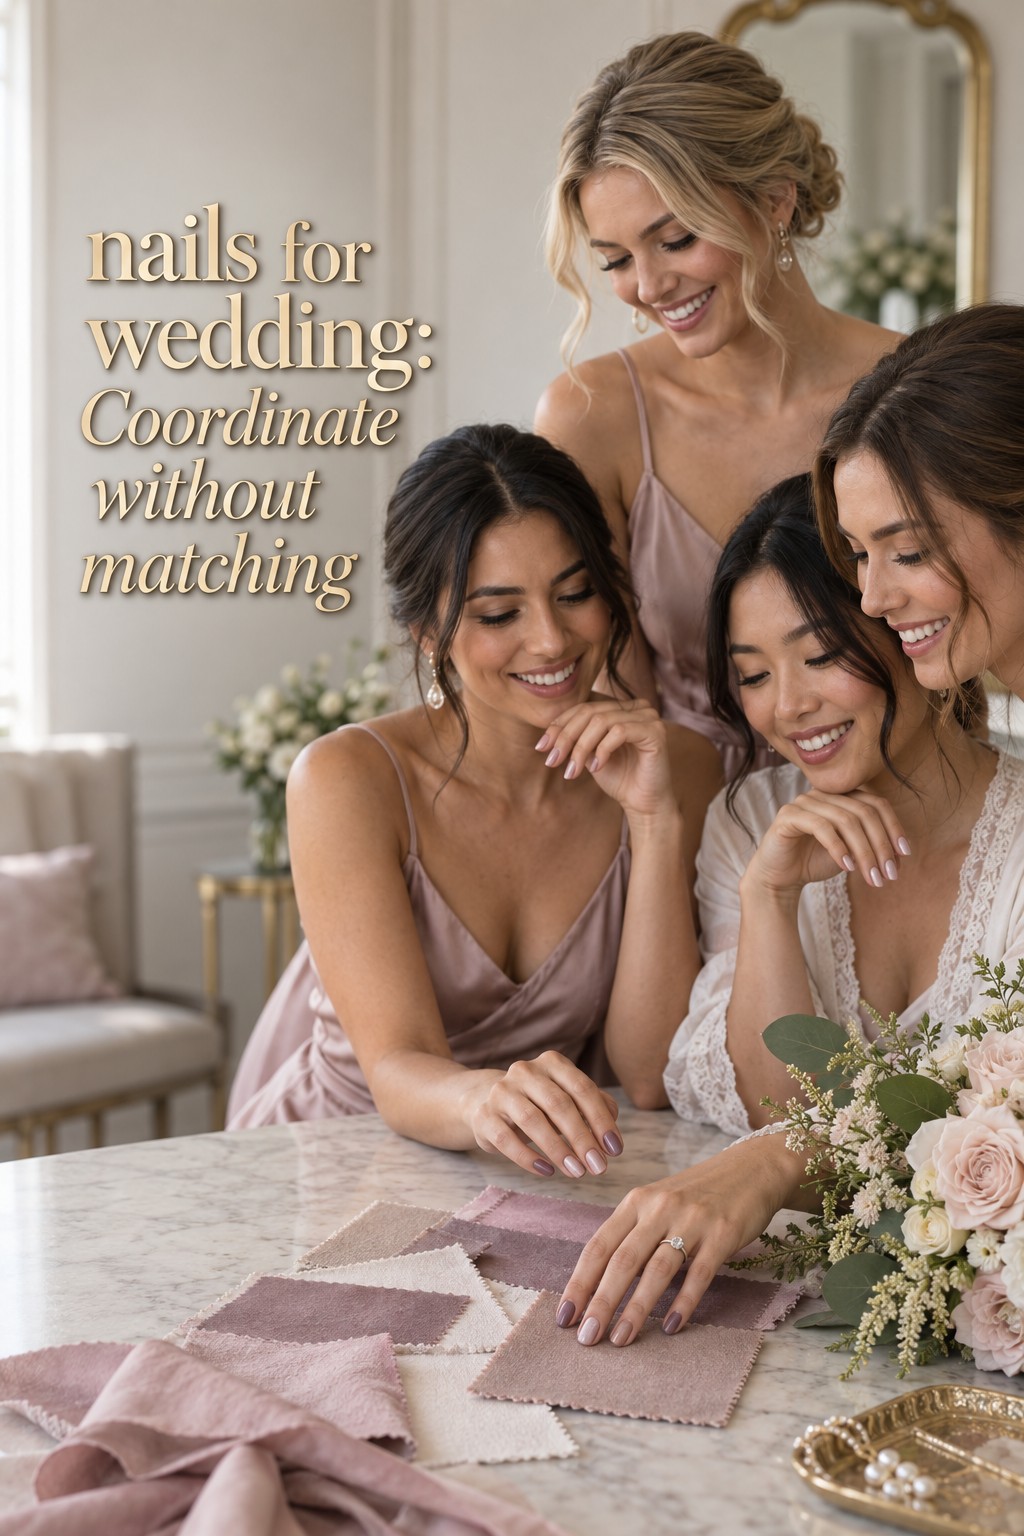
For bridesmaids, a coordinated capsule is often more comfortable than a strict uniform. Set two or three shared parameters, such as a blush-to-mauve color family, glossy finish, and short-to-medium length. One person can wear a micro-French, another a pearl finish, and another a plain color. The group will look connected in photographs while each person keeps a shape and maintenance level that works for her.
Guests have more freedom, but the same sequence still works. Match the level of polish to the event rather than copying a bridal manicure. A short glossy red, soft French, tiny gold tip, or deep berry can look special without becoming a costume. If the invitation suggests a formal evening, a more deliberate finish may feel right. If it is a daytime garden celebration, a sheer color or small floral detail can be enough.
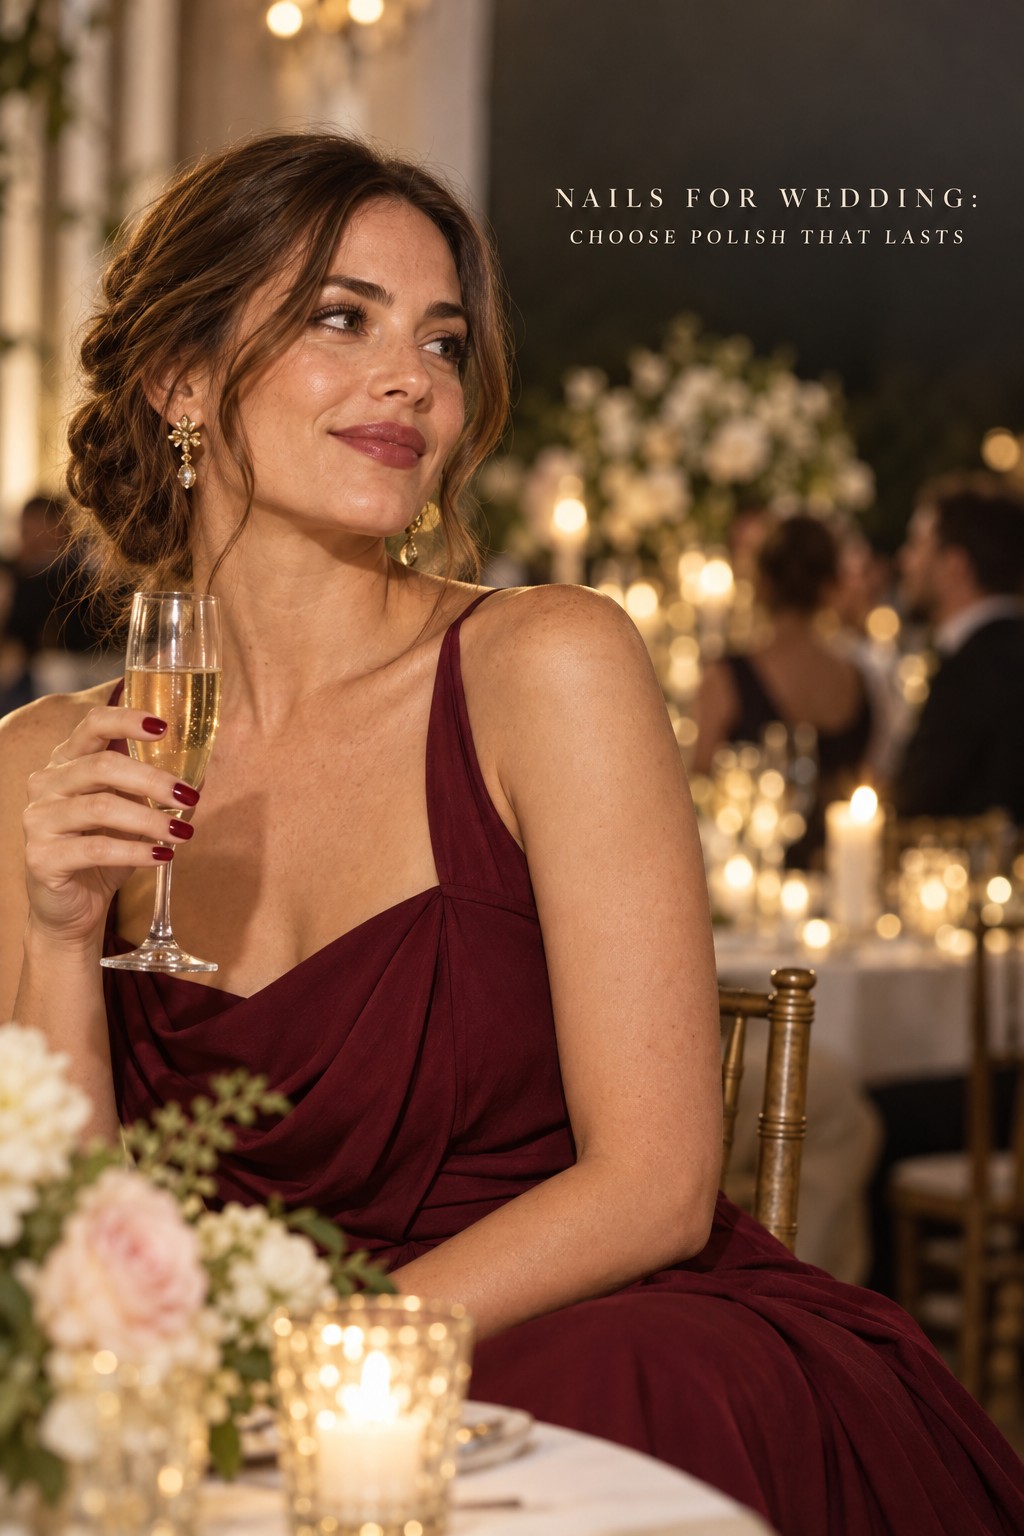
Build the appointment plan from trial to wedding day
Plan backward from the wedding instead of booking the first available appointment. A trial is useful when you are changing shape, trying extensions, testing gel, or considering art that you have not worn before. Use it to check comfort, not just appearance. Wear the trial for several ordinary days if possible. Notice whether the length interferes with work, whether the color looks right in daylight, and whether you still like the design after the initial excitement fades.
Bring your dress or bouquet color reference, ring, jewelry, and the exact inspiration image to the trial. A good reference shows the shape, length, base color, finish, and detail. If a screenshot is heavily filtered, tell the technician what you like about it rather than asking for an identical shade. “I like the milky translucent effect and the very thin white line” is actionable. “I want this exact color” may be difficult if the image has altered lighting.
- Several weeks before: decide whether you want natural nails, gel, extensions, or press-ons; begin gentle nail care; and test any unfamiliar length.
- During the trial: confirm shape, length, base color, finish, and the scale of any art. Photograph the result beside the ring and outfit reference.
- About a week before: avoid dramatic changes unless you have time for a correction. Confirm the final appointment and ask what to bring or avoid.
- Close to the wedding: schedule the fresh manicure within the window recommended by your technician and the system you are using. Freshness matters, but so does leaving enough time to fix a problem calmly.
- The day before and wedding morning: protect the manicure from unnecessary soaking, harsh cleaning, and last-minute experiments. Pack a tiny emergency kit if the venue schedule is long.
Do not choose a nail system only because it lasts the longest in theory. Gel, acrylic, builder gel, natural polish, and press-ons each require different preparation, removal, and maintenance. Ask how the system will feel, how it should be removed, and what happens if one nail lifts. Proper removal matters because peeling or picking can damage the natural nail. If you have allergies, sensitive skin, or a history of reactions, tell the technician before products are applied and follow professional advice.
Press-ons can be a practical option for a guest, bridesmaid, or bride who wants a short appointment and a defined design. The fit is the key. A set that is too wide, too long, or poorly secured will be distracting. Test the exact set ahead of time, keep spare adhesive or tabs according to the product instructions, and avoid applying a new set minutes before you leave. A salon manicure can also be simple. The important question is whether the process matches the result you need.
Build a small emergency kit around realistic problems. Include a file, the polish color if you have it, a cotton swab, a small piece of adhesive material for a press-on issue, and hand cream to use after any correction has set. Do not try to repair lifting product by trapping moisture underneath it. If a nail is painful, cracked, or showing a reaction, stop and seek professional guidance. Wedding photos are important, but comfort and nail health come first.
For a group appointment, give each person a short written brief. List the shared palette, the acceptable length range, the preferred finish, and any individual limitations. This prevents the appointment from turning into a rushed debate. It also allows one bridesmaid to choose a lower-maintenance option without looking disconnected. Coordination should reduce stress, not create a new obligation.
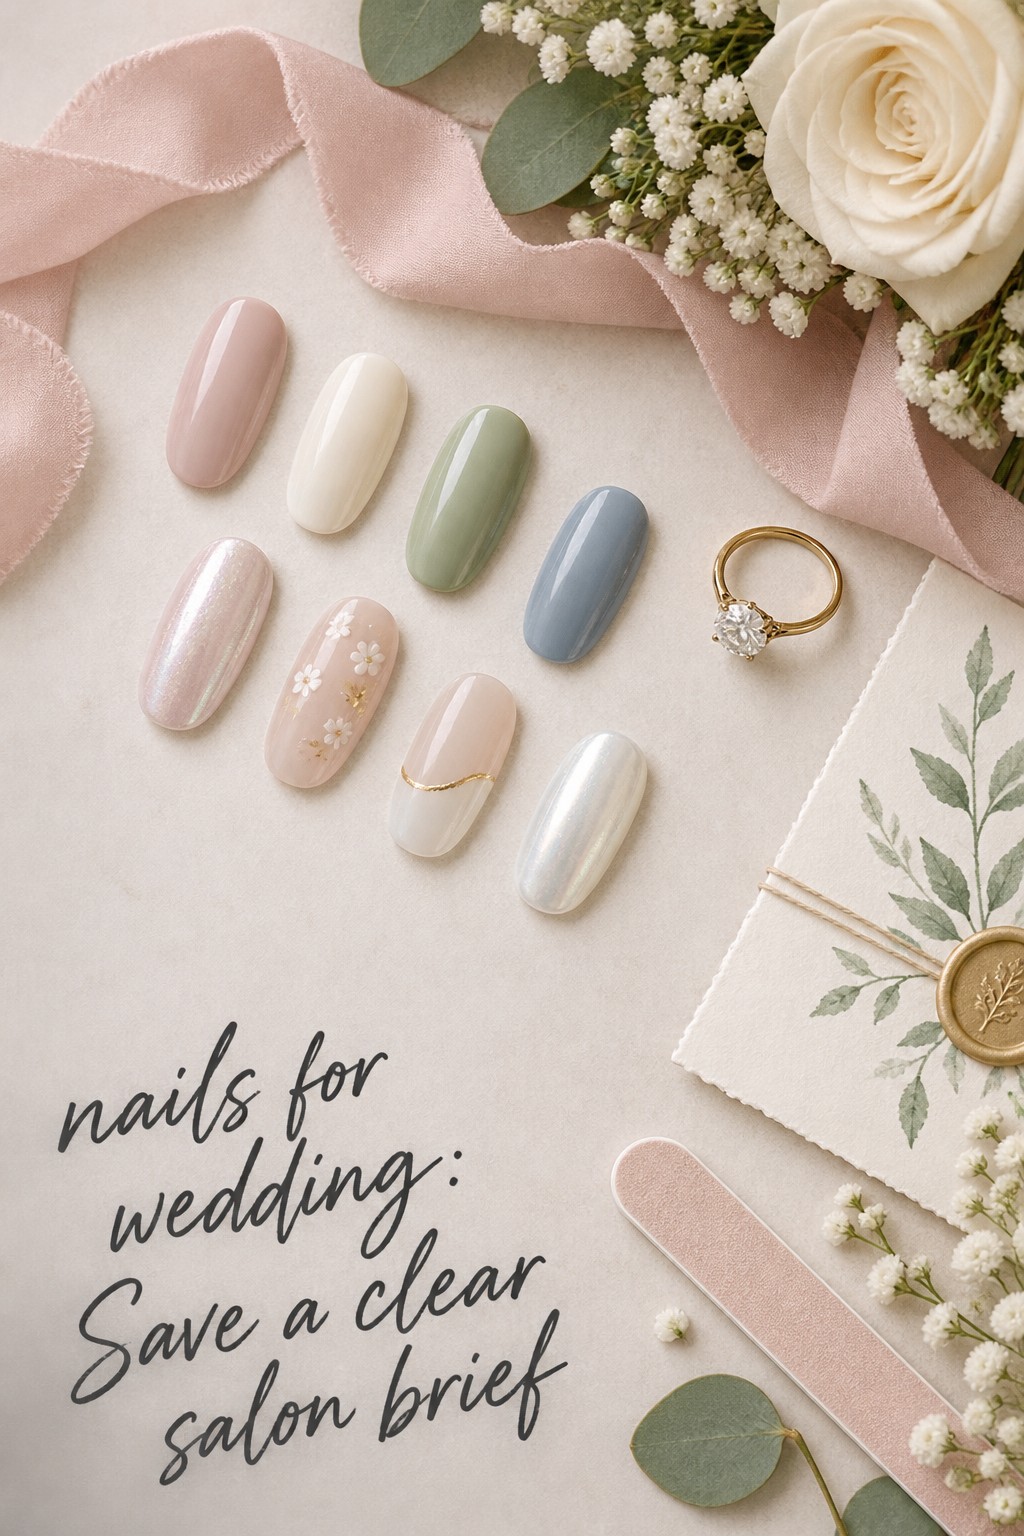
Run the final wedding-nails review
At the final review, inspect the manicure in three ways: close-up, at arm’s length, and while moving. Close-up checks the cuticle area, edges, and art. Arm’s length checks whether the color and shape look balanced with the outfit. Movement checks whether you can hold the bouquet, clasp your hands, use your phone, and wear your rings without discomfort. A design can be beautiful in a static salon photo and still be inconvenient for the day.
- Are all nails the intended shape and similar length?
- Does the base color work with the ring, jewelry, outfit, and bouquet?
- Is the finish even under daylight and indoor lighting?
- Are the tips, sidewalls, and cuticle area clean and comfortable?
- Can you make a fist, hold a glass, and fasten your own jewelry?
- Does any detail feel too large, too bright, or likely to catch on fabric?
- Do you know how to handle a chip, lift, or broken tip without making the problem worse?
Check the manicure with the ring on, but do not let the ring become the only test. Photograph both hands in the positions you expect to use: holding the bouquet, touching the veil, exchanging rings, signing a guest book, and holding a partner’s hand. Small changes in finger position can make a French line or metallic accent appear different. You are looking for a design that remains attractive when the hands are natural, not only when every finger is carefully arranged.
If the result is not right, ask for a focused correction. A softer top coat, shorter free edge, narrower tip, or one removed accent may solve the problem without starting over. Avoid changing every element at once unless the manicure is genuinely unsuitable. Clear feedback is easier when you name the issue: “The tip feels too wide in photos,” “The color reads gray beside the dress,” or “The length makes it hard to hold the bouquet.”
Remember that “wedding nails” do not have to mean pale or highly decorated nails. They can be classic, dramatic, colorful, nearly bare, or entirely practical. A short navy manicure can be elegant. A vivid red can feel bridal when it reflects your personal style. A natural-looking press-on can be the right answer for a busy guest. The checklist is there to help you make a confident choice, not to narrow everyone into one look.
For a final planning reference, compare your choice with the professional-led inspiration and timing guidance in Vogue’s wedding nail ideas and the broader planning notes in Plana’s wedding nail guide. Use those pages for ideas, then return to your own role, outfit, comfort limit, and appointment schedule. The strongest manicure is the one that supports the day you are actually going to have.
FAQ
What nails are best for a wedding?
The best nails for wedding plans are comfortable, neatly shaped, and connected to the outfit or event mood. Sheer pink, milky nude, soft French, pearl, and glossy neutral manicures are versatile, but a short red, berry, navy, or blue detail can also work when it reflects your style. Choose the length and system you can comfortably wear for the full event.
How should I choose a nail shape for a wedding?
Choose shape by comfort, natural nail length, hand habits, and the visual mood of your outfit. Short squoval and oval are practical starting points. Almond can look lengthening when the nail has enough length, while tapered or coffin shapes create more fashion impact. Test the shape before the final appointment if you are not used to it.
Should bridesmaids have matching nails?
Bridesmaids do not need identical nails. A shared color family, finish, or length range can create coordination while allowing different shapes and small details. Agree on the visual boundaries in advance, then let each person choose the version that fits her comfort and maintenance needs.
Can wedding guests wear bold nail colors?
Yes. Wedding guests can wear bold colors when the manicure suits the dress code, outfit, venue, and personal style. A glossy red, deep berry, navy, or muted metallic can look polished. Keep the shape tidy and consider whether the color competes with a highly detailed outfit. The goal is festive and intentional, not invisible.
When should I get my wedding manicure?
Schedule the final manicure close enough to the wedding that it looks fresh, while leaving enough time to correct an unexpected issue. The exact timing depends on the product system, your technician’s advice, and how quickly your nails grow or your polish shows wear. A trial earlier in the planning process is especially helpful for unfamiliar shapes, extensions, or detailed art.
What should I bring to a wedding-nail appointment?
Bring a clear inspiration image, your ring or jewelry reference, a photo of the outfit or bouquet, and a short description of your preferred length and comfort limit. Tell the technician about sensitive skin, allergies, previous reactions, or concerns about removal. For a group appointment, bring the shared palette and any agreed boundaries so each person receives a coordinated but workable result.