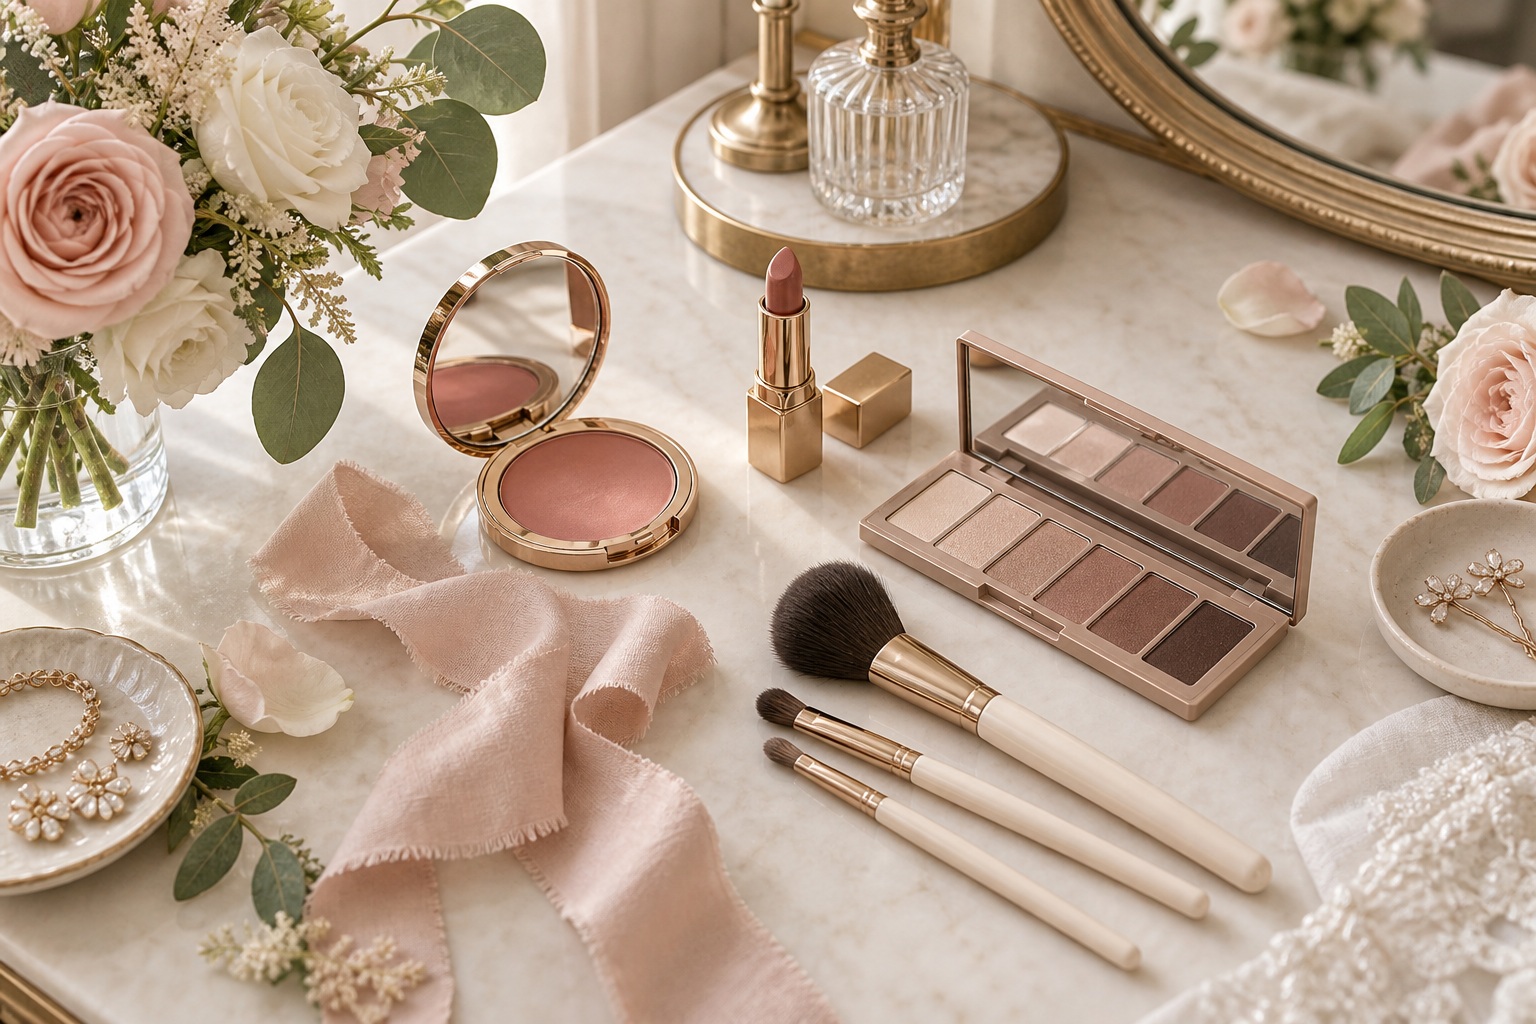
Mother of the Bride Makeup: A Fresh, Lasting Look
There is a quiet minute before the wedding morning becomes public. The dress is hanging on the wardrobe door, the invitation suite is waiting on a nearby table, and the mother of the bride is looking at herself in a mirror while someone fastens an earring. This is the moment when makeup needs to do its most useful job. It should help her feel composed, recognisable and ready for every photograph, hug and happy tear ahead.
The best mother of the bride makeup is not a costume and it is not a test of how much product the face can hold. It is a considered version of the way she already wants to look, adjusted for wedding light, a long schedule and the texture of real emotion. The goal can be luminous, softly defined, classic or more colourful. The method is the same: begin with comfortable skin, choose thin layers, place definition where it helps, and test the finished look before the day.
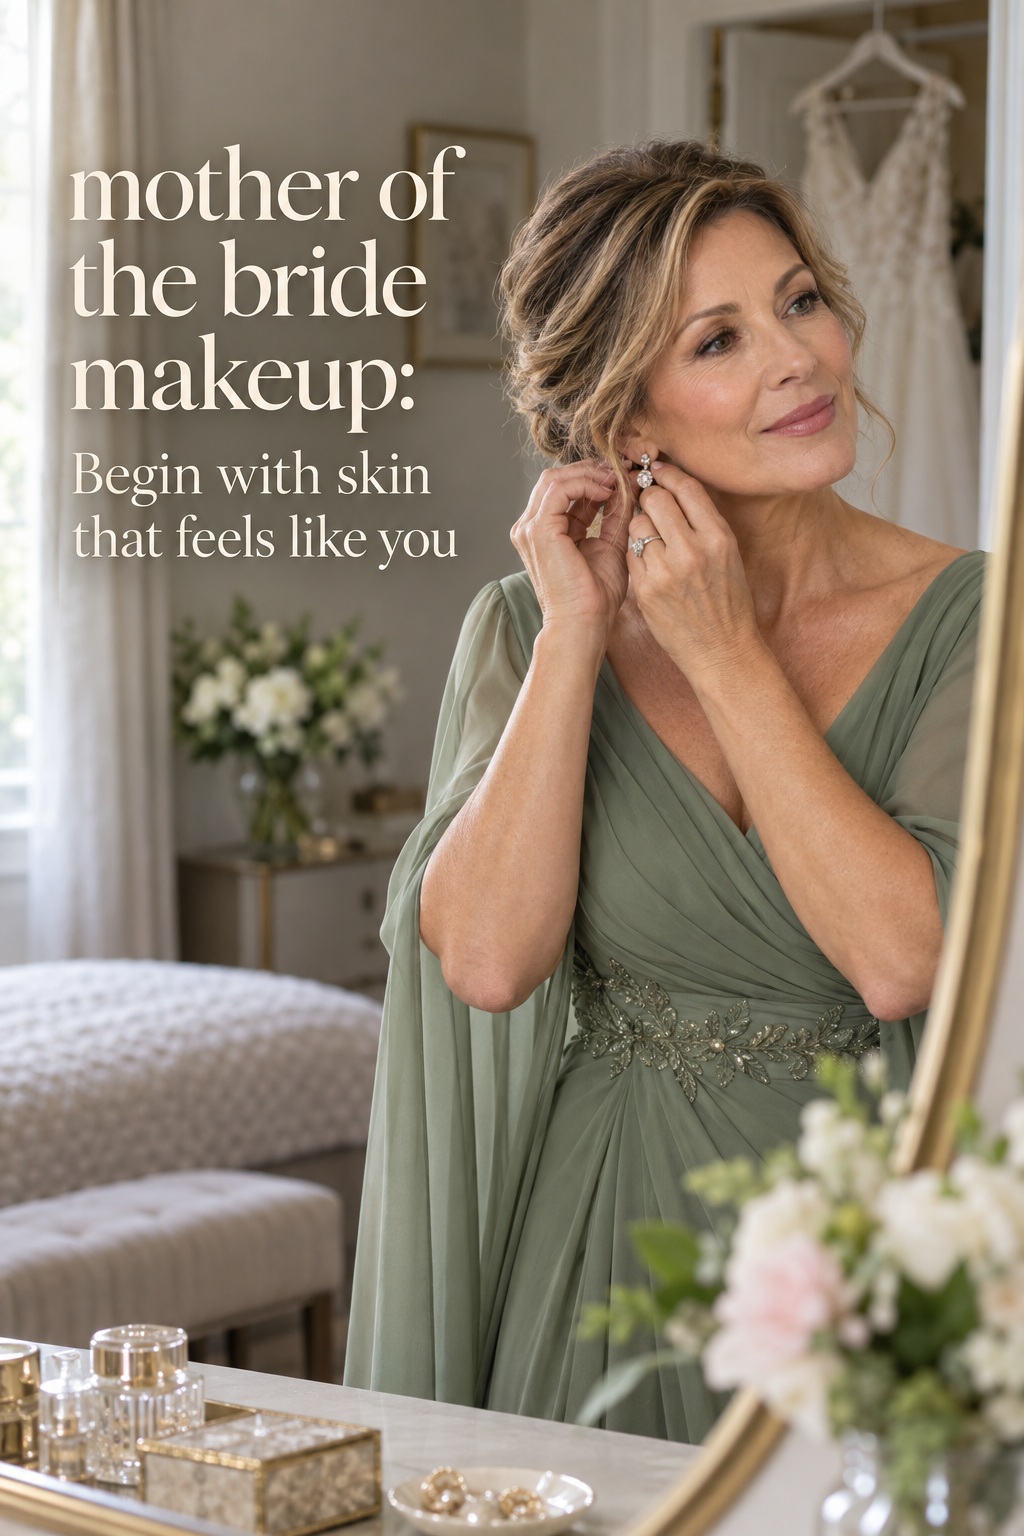
The moment before the aisle: build a beauty brief that sounds like you
Before choosing a foundation or eyeshadow, finish this sentence: “On the wedding day, I want to look like myself, but…” The ending might be “more rested,” “a little more polished,” “warm and glowing,” or “defined enough for the photographs.” That answer is more useful than a saved image of a celebrity whose lighting, skin and face are entirely different from yours.
Turn wedding inspiration into a plan you can actually follow.
Zarellea brings your guest list, budget, vendors, and day-of details into one shared space — so no beautiful idea gets lost in the shuffle.
Think about the wedding as a sequence of settings. There may be soft window light while you get ready, direct sun during portraits, a dim ceremony, warm reception lighting and a phone camera close to your face during a toast. Makeup that looks beautiful in one of those places may need a small adjustment for the others. A soft-focus finish usually travels well. Very shiny high points, stark contour or heavy powder can become distracting when light changes.
- Choose the feeling first: fresh, elegant, romantic, modern, classic or quietly dramatic.
- Choose the level of change: your usual makeup, your usual makeup with more definition, or a clearly special-event version.
- Name your non-negotiables: visible freckles, a favourite lipstick colour, glasses, a bare brow, a soft eye or no false lashes.
- Consider the outfit: makeup should support the colour and neckline, not compete with them.
If you wear glasses, tell the makeup artist or account for them in a DIY trial. Lenses can cast shadows around the eyes, frames can rub against foundation and mascara can touch the glass. If you normally wear little makeup, ask for improved tone and definition rather than a thick transformation. If you love colour, keep it. The right colour in a sheer or softly blended formula can look more personal than a neutral face that makes you feel unlike yourself.
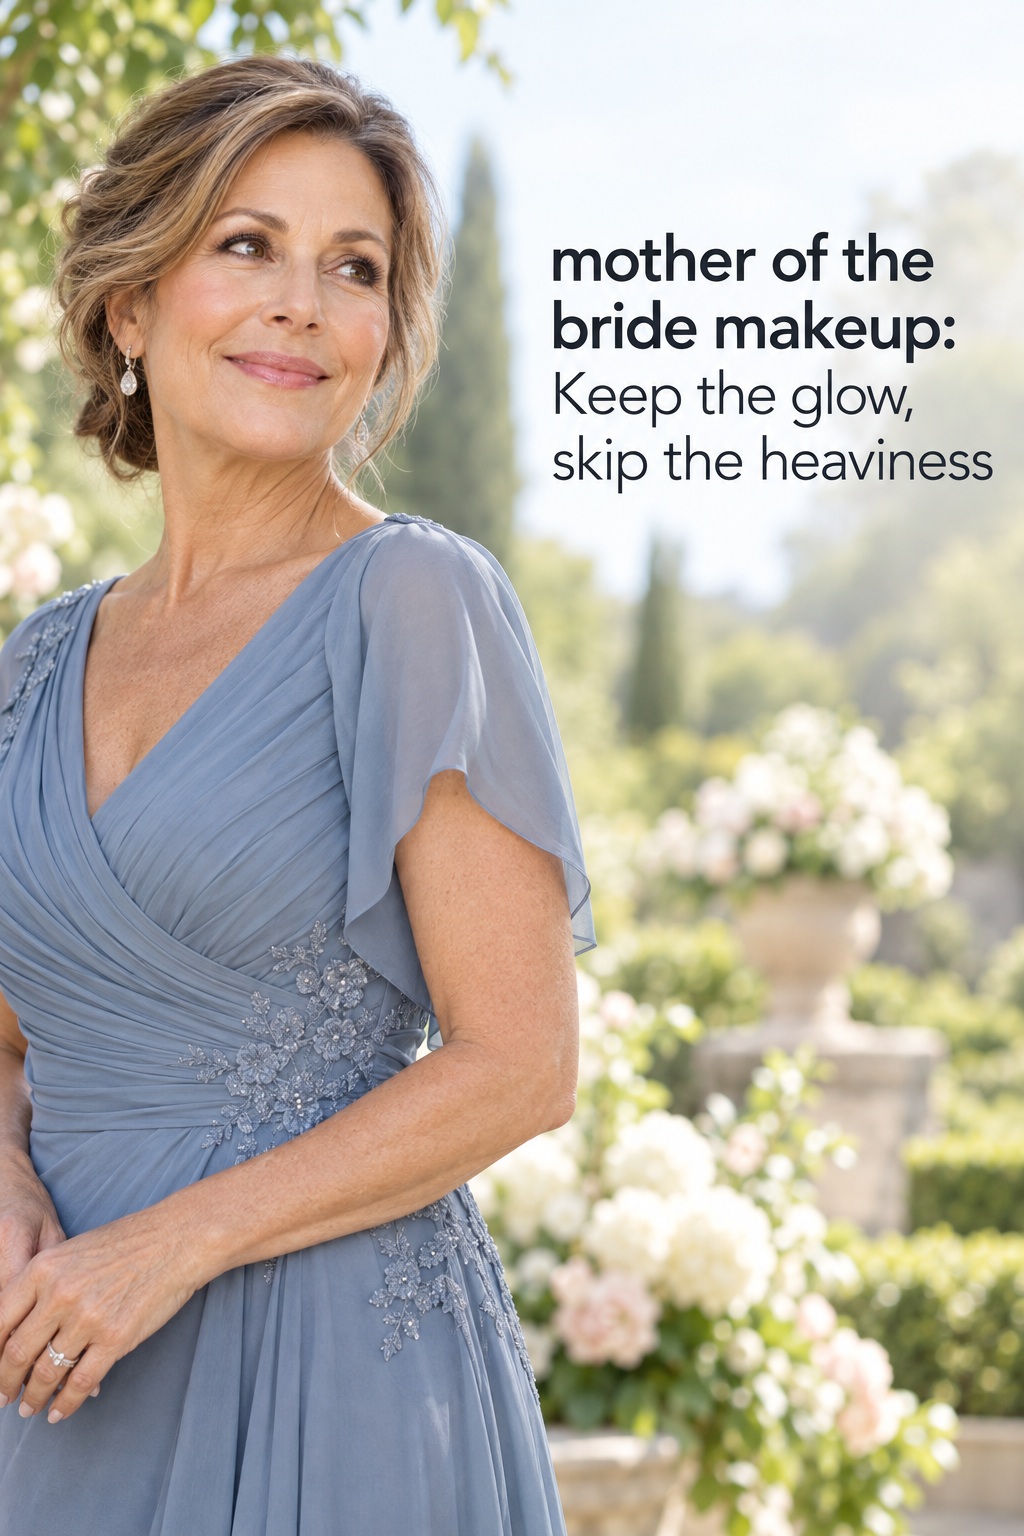
Start with skin, not coverage
Skin preparation decides how almost every later step behaves. The evening before, keep your routine familiar. This is not the time to introduce a strong peel, a new retinol or an experimental facial. In the morning, cleanse gently if you need to, then use the moisturiser your skin already tolerates. Give each layer a few minutes to settle. A hydrated surface lets a thinner base move with the face instead of collecting around dry patches.
Primer should solve a problem
Primer is not automatically better because there is more of it. Choose a hydrating primer when the skin feels tight, a blurring primer only where pores or texture need softening, or a lightly radiant primer when the complexion looks flat. You can use different formulas on different areas. Keep rich slip away from places where makeup tends to separate, such as around the nose, and press rather than rub products over delicate texture.
Use base where it is needed
A skin tint, tinted moisturiser or light-to-medium foundation can create a polished complexion without hiding its natural dimension. Apply a small amount from the centre of the face outward, then add coverage only to areas that need it. A damp sponge can soften edges. A flexible brush can place product precisely around the nose, mouth and hairline. Check the jaw and neck in daylight before deciding the shade is right.
Do not ask foundation to correct everything. Use a creamy concealer in a thin layer for redness, a spot or the inner corner of the eye. If under-eye concealer gathers, reduce the amount, allow it to settle, then remove the excess with a clean fingertip before setting. Brightening does not require a very pale shade. A close match with a little light reflection usually looks more natural in photographs.
Powder with a small brush
Powder has a job: keeping makeup in place where it moves or becomes oily. It does not need to cover the entire face. Press a small amount around the sides of the nose, the centre of the forehead, the chin and any area that will touch glasses. Leave the high points of the cheeks softly alive if that is part of the look. A mist or setting spray can bring the layers together and take away a dry, overly powdered appearance.
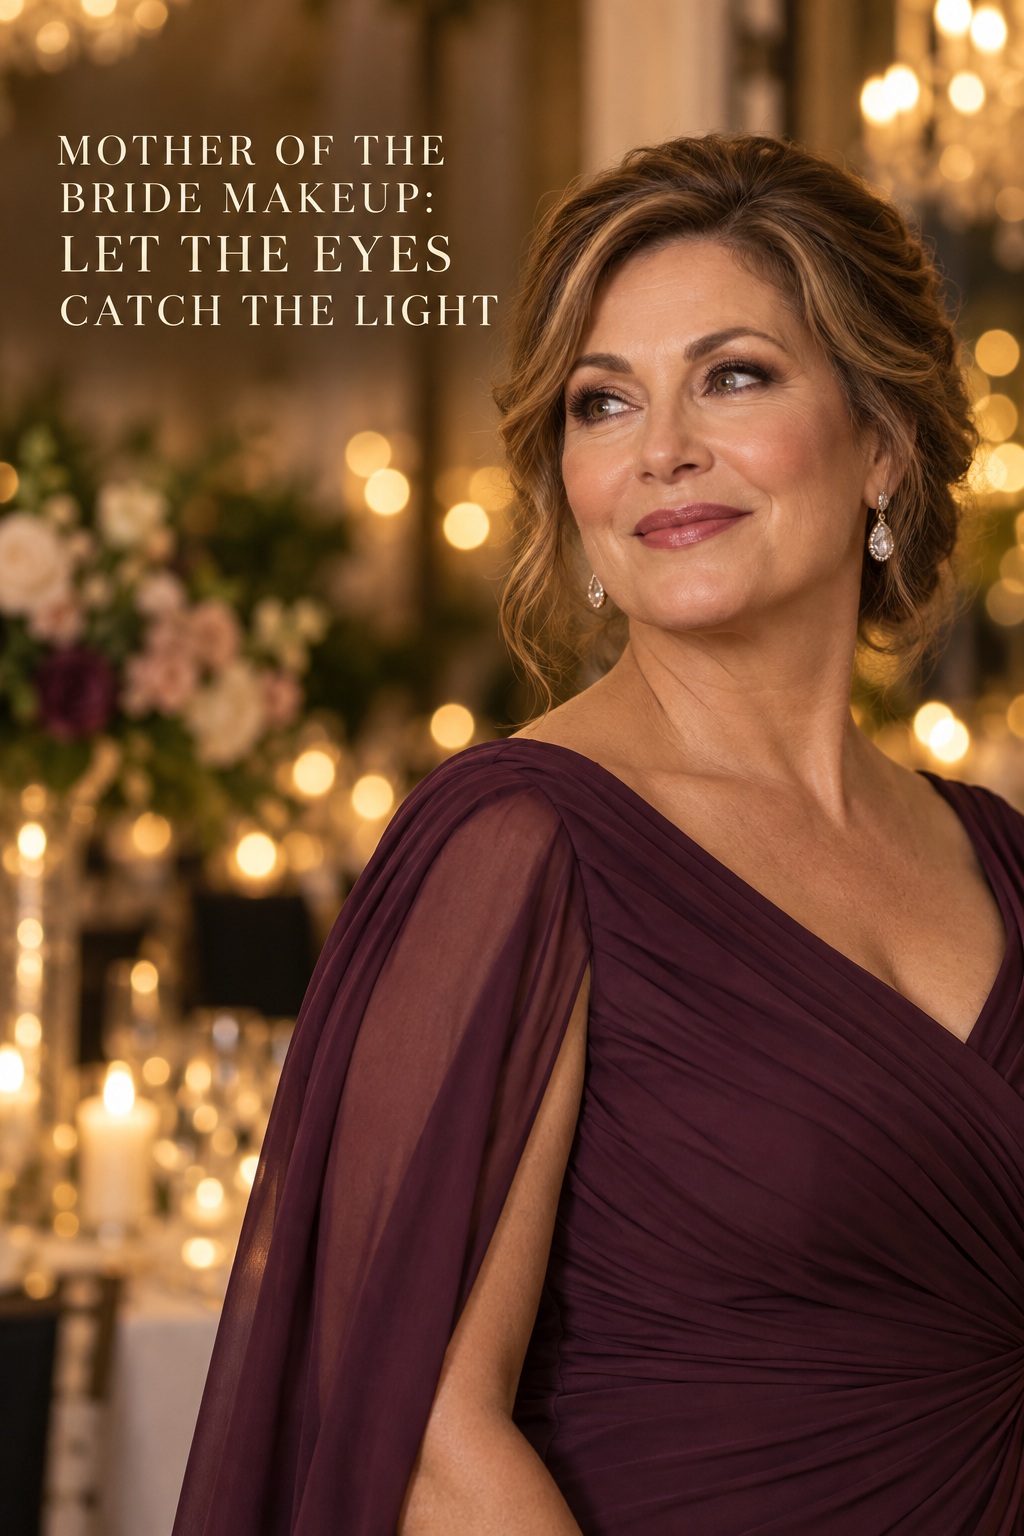
Shape eyes, cheeks and lips for photos and emotion
Once the base is even, the face needs structure. The most flattering structure is usually not a hard line. It is a series of softly placed shapes that remain visible when you smile, turn toward a window or dab away a tear.
Eyes: definition at the lash line
For a gentle eye, start with an eye primer or a very thin layer of concealer, then use a matte or satin shade close to your skin in the crease. Add a medium brown, soft plum or charcoal-brown shade at the outer corner and along the upper lash line. This gives the eye shape without requiring a perfect liquid line. A small amount of pearlescent or satin colour on the centre of the lid can catch light beautifully. Avoid large glitter particles, which can emphasise texture and scatter in photographs.
Keep the lower lash line lighter than the upper line. A softly smudged pencil can make the eyes look defined; a heavy ring can make them look smaller. Curl the lashes if that is comfortable, then choose waterproof mascara, especially if the ceremony or speeches are likely to be emotional. If you want more impact, individual lashes at the outer corner often look lighter than a dense strip. Test them before the wedding, including how they feel after several hours.
Brows: keep the expression
Brows frame the eyes, but they should not become two solid shapes. Fill sparse areas with small strokes in a shade that matches the brow hair, then brush through with a tinted or clear gel. If your brows are naturally light, a slightly deeper shade can help them register in a photograph. Ask for softness at the inner brow and a clean, supported tail rather than an exaggerated arch.
Cheeks: warmth and a believable flush
Cream blush is a natural choice when you want the cheeks to look fresh and connected to the skin. Choose rose, peach, berry or apricot according to your undertone and outfit, then tap it onto the fullest part of the cheek and blend slightly upward. A small veil of powder blush over the centre can extend wear without turning the cheek flat. Bronzer belongs where the sun would naturally warm the face: the temples, upper forehead and a light touch across the bridge of the nose. Contour is optional. If used, keep it close to the cheekbone and blend until no stripe remains.
Lips: comfort first, then staying power
Start lip preparation early enough that balm has time to soften the surface. Blot before colour. A lip liner close to your natural lip tone can give the lipstick a gentle boundary and help it wear evenly. Fill in the lips with the liner if you want more durability, then add lipstick with a brush for control. Satin, cream and softly blurred finishes are often easier to refresh than a very dry long-wear formula.
Choose a colour you will enjoy seeing in every photograph. A rose, pink-brown, soft berry, coral or classic red can all work. Take the final shade outside and beside the dress. If the lipstick makes you look pale, grey or overly flushed in daylight, change it before the wedding. Put the lipstick, liner and a small mirror in a touch-up bag. Reapplication after a meal is more realistic than expecting one layer to remain perfect for ten hours.
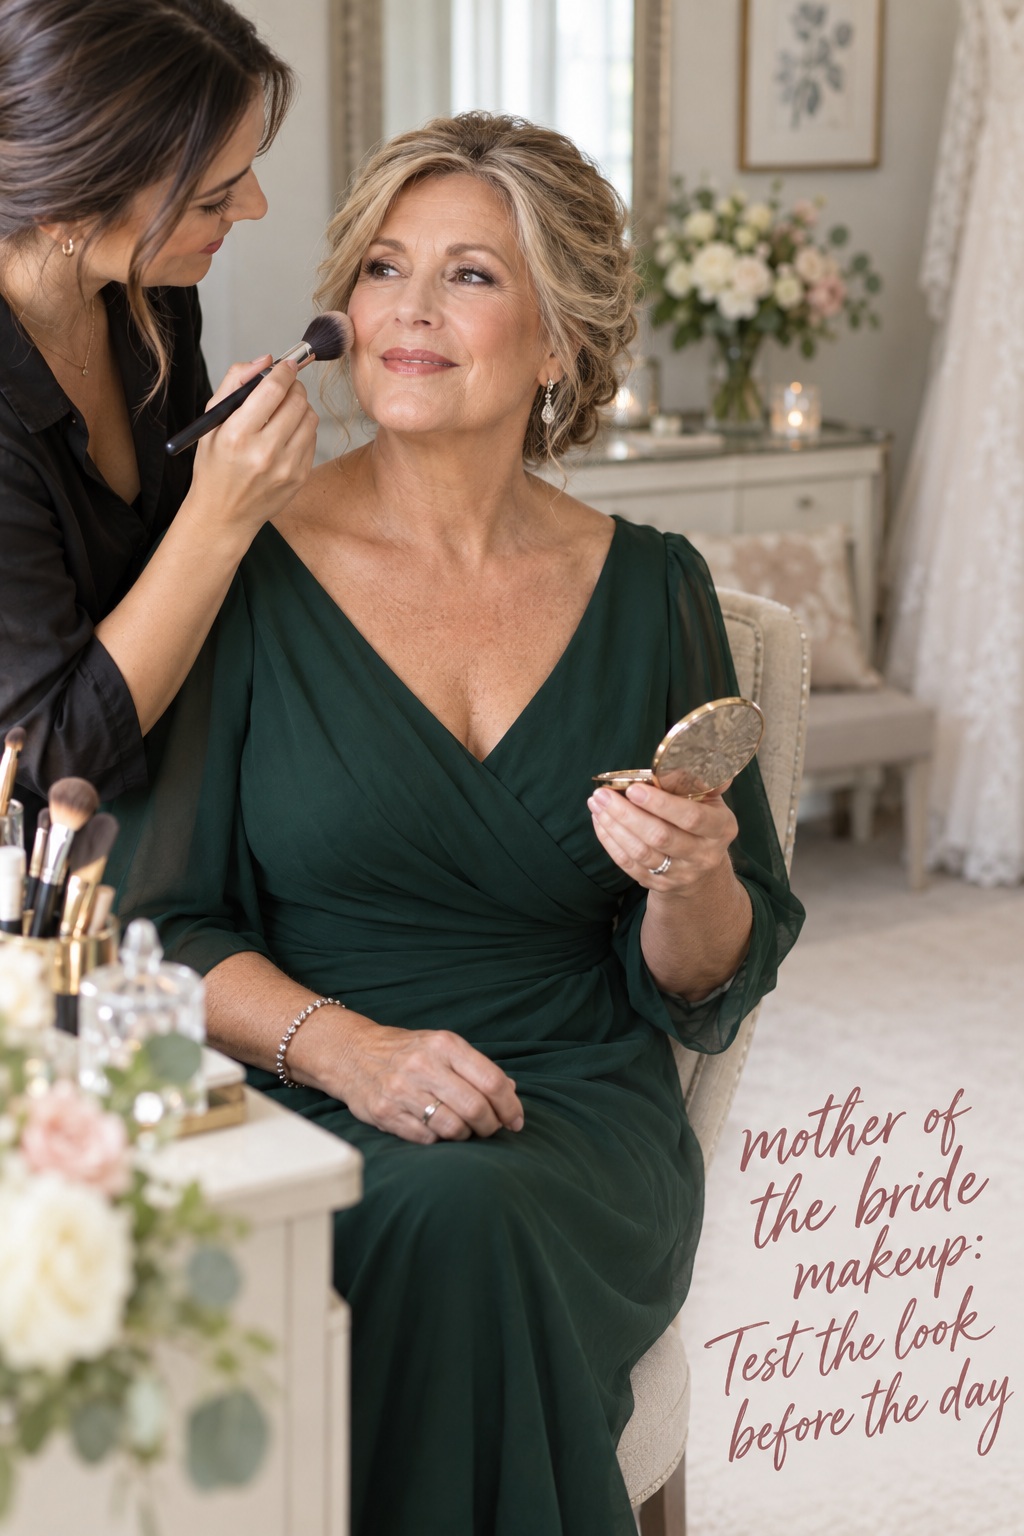
Make the look survive light, weather and a long day
Longevity comes from preparation and thin, compatible layers. It does not come from applying the heaviest product available. Book or perform a trial at a similar time of day to the wedding if possible. Wear the planned hairstyle or glasses, use the same skincare, and leave the makeup on for at least six hours. Take photographs near a window, outdoors and under the kind of indoor lighting expected at the reception.
- Ask whether the base photographs well with flash and with a phone camera.
- Check the face from the side, not only straight on.
- Smile, talk, eat and dab your eyes during the trial.
- Notice whether the skin feels tight, slippery, itchy or heavy.
- Record the products and shades so a replacement is easy.
Weather changes the plan. In humidity, use a lighter moisturiser, targeted primer and a setting spray tested on your skin. In cold or dry weather, spend more time on hydration and use less powder. For an outdoor ceremony, keep a tissue, blotting paper, lipstick, cotton swabs and a small concealer in the emergency kit. A trusted person can watch for shine or lipstick after the ceremony, so you do not have to monitor your own face all day.
Think about the wedding schedule when setting your appointment. Leave enough time for the makeup to be completed calmly, photographs before the ceremony and a small buffer for a lost earring or an emotional pause. If several family members are being made up, ask for a written order and realistic durations. The mother of the bride should not be the person pushed to the end of the room with five minutes before portraits.
Choose a makeup artist, DIY or a smart hybrid
A makeup artist is useful when you want calm, reliable timing or a look that is difficult to create yourself. Look for someone whose portfolio includes mature skin and real faces, not only heavily retouched close-ups. During the consultation, describe what you normally wear, show a photograph of yourself in makeup you loved, and say clearly what you dislike. “I want my eyes defined but still soft” is more helpful than “make me look younger.”
- How do you prepare and set mature or dry skin?
- Can I see examples photographed in daylight?
- Which products will you use around my eyes and lips?
- How do you handle glasses, tears and touch-ups?
- How long is the trial, and what should I bring?
- What is included in the price, and what happens if timing changes?
DIY can be the best choice when your routine already feels dependable. Do the trial exactly as you plan to do it on the wedding day. Lay products out in order, use a timer and take notes. Consider replacing only the items that need extra wear, such as a waterproof mascara, setting spray or lip colour. There is no requirement to purchase a complete new collection.
A hybrid plan often gives the most comfort. An artist can create the complexion and eyes, while you choose and carry your own lipstick. Or you can book a lesson several weeks before the wedding, practise once, then do the final look yourself. The right route is the one that leaves you feeling prepared, not the one that sounds most elaborate.
Mistakes to avoid
- Trying a new treatment immediately before the wedding: familiar, calm skin is more valuable than a last-minute promise.
- Using one thick layer everywhere: build coverage only where you need it.
- Setting every surface with powder: target movement and shine, then keep some life in the cheeks.
- Choosing a shade only under bathroom lights: check daylight and photographs.
- Testing only for ten minutes: wear the complete look long enough to discover creasing or discomfort.
- Ignoring the outfit: compare the makeup, dress and jewellery together.
- Forgetting the touch-up plan: someone should know where the lipstick and tissues are.
FAQ
What makeup should the mother of the bride wear?
She should wear the level of makeup that feels like her, refined for the wedding setting. A comfortable, even base, softly defined eyes, shaped brows, fresh cheek colour and a lip she can refresh are a reliable starting point. The colour and intensity should reflect her outfit, personality and usual routine.
How can makeup look natural on mature skin?
Prepare the skin, use thin flexible layers and apply coverage only where it is needed. Choose hydrating or softly luminous formulas, blend the edges carefully and use powder selectively. Natural makeup still needs definition for photographs, so focus on the lash line, brows, cheeks and lips rather than adding more foundation.
Should the mother of the bride book a makeup artist?
Book one if you want help with timing, technique or staying calm during a busy morning. DIY is equally valid when your routine is familiar and you have tested it. A trial or lesson is a useful middle option. Always check the artist’s experience with mature skin and ask to see unretouched examples in natural light.
How do I make mother of the bride makeup last through tears?
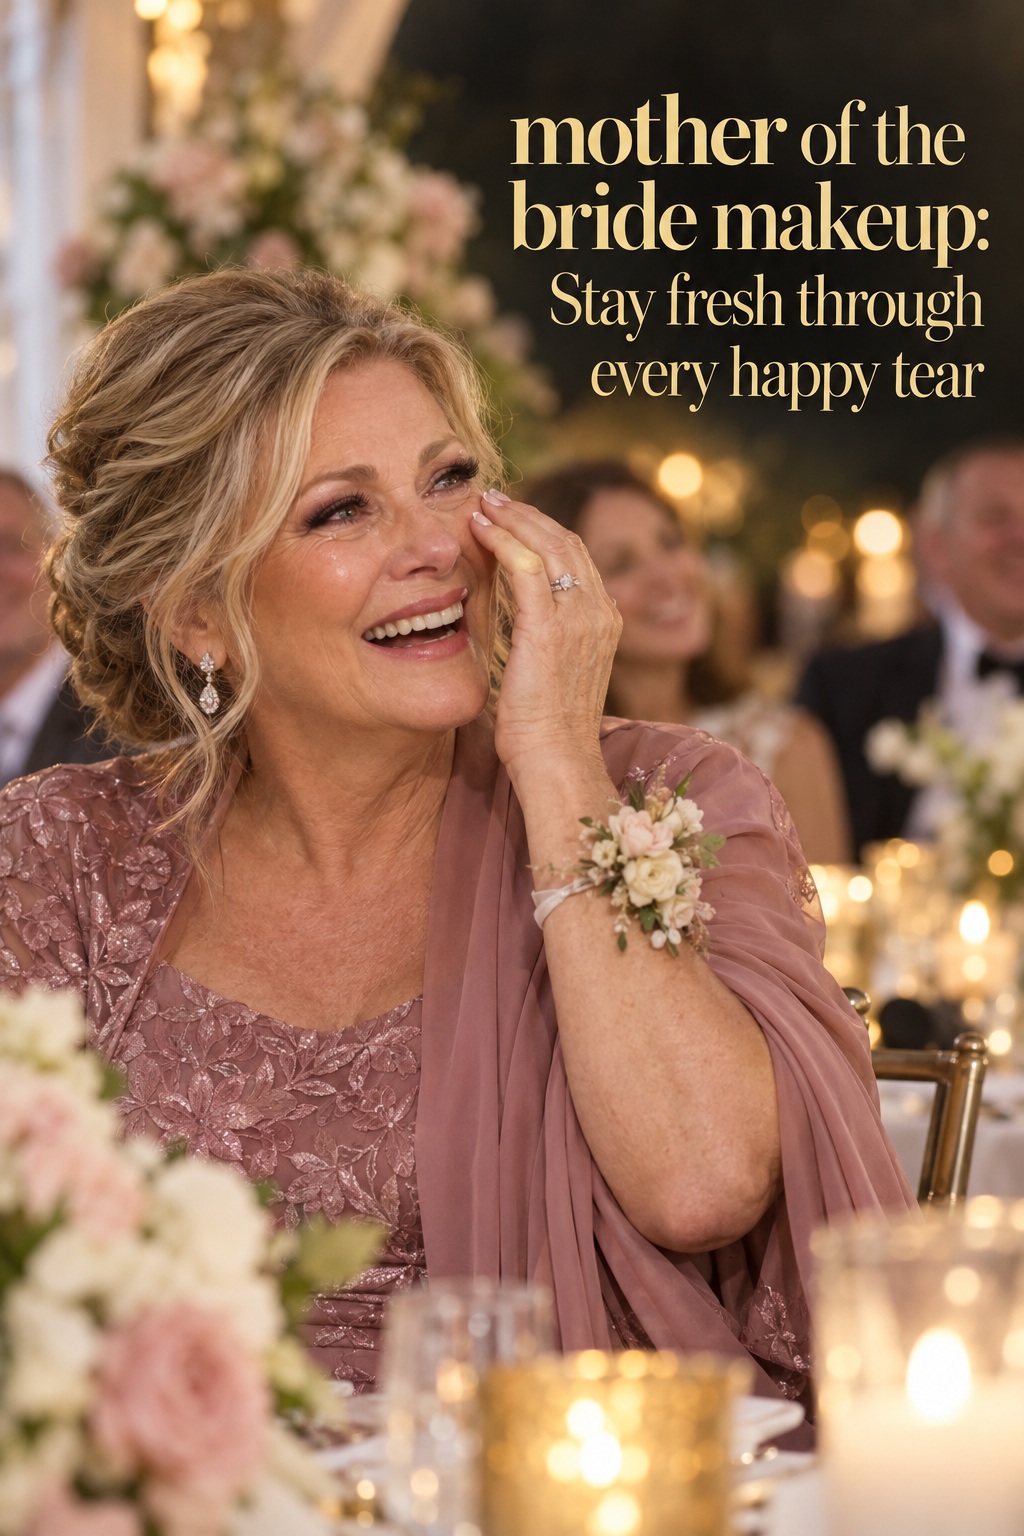
Use tested, thin layers, waterproof mascara and a setting spray that suits your skin. Avoid rubbing tears away. Press a clean tissue gently beneath the eye, then use a cotton swab to tidy any movement. Keep concealer, powder and lipstick with a trusted person for quick repairs.
Is cream makeup better for mature skin?
Cream formulas can look beautifully connected to the skin, especially for blush and eyeshadow, but the best formula is the one that works with your texture, climate and wear time. You can combine cream colour with a small amount of powder to extend it. Test the combination before the wedding instead of relying on a product label.
What should be in a mother of the bride touch-up kit?
Pack lipstick and liner, tissues, blotting paper, cotton swabs, a small mirror and a little concealer. Add powder only if you know you will need it. If you wear glasses, include a clean lens cloth. Give the kit to someone who will be near you after the ceremony and during photographs.
When should I have my makeup trial?
Schedule it several weeks before the wedding, early enough to adjust the products or book a different artist if needed. Repeat the trial at least once if the look changes. Bring a photograph of the outfit, wear any glasses you will use and test the makeup for several hours in more than one kind of light.