Nail Art Minimalist: A Practical Design Checklist
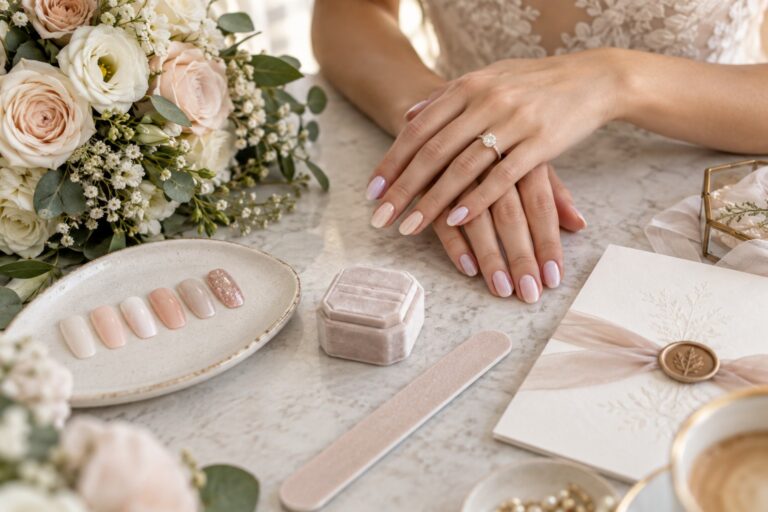
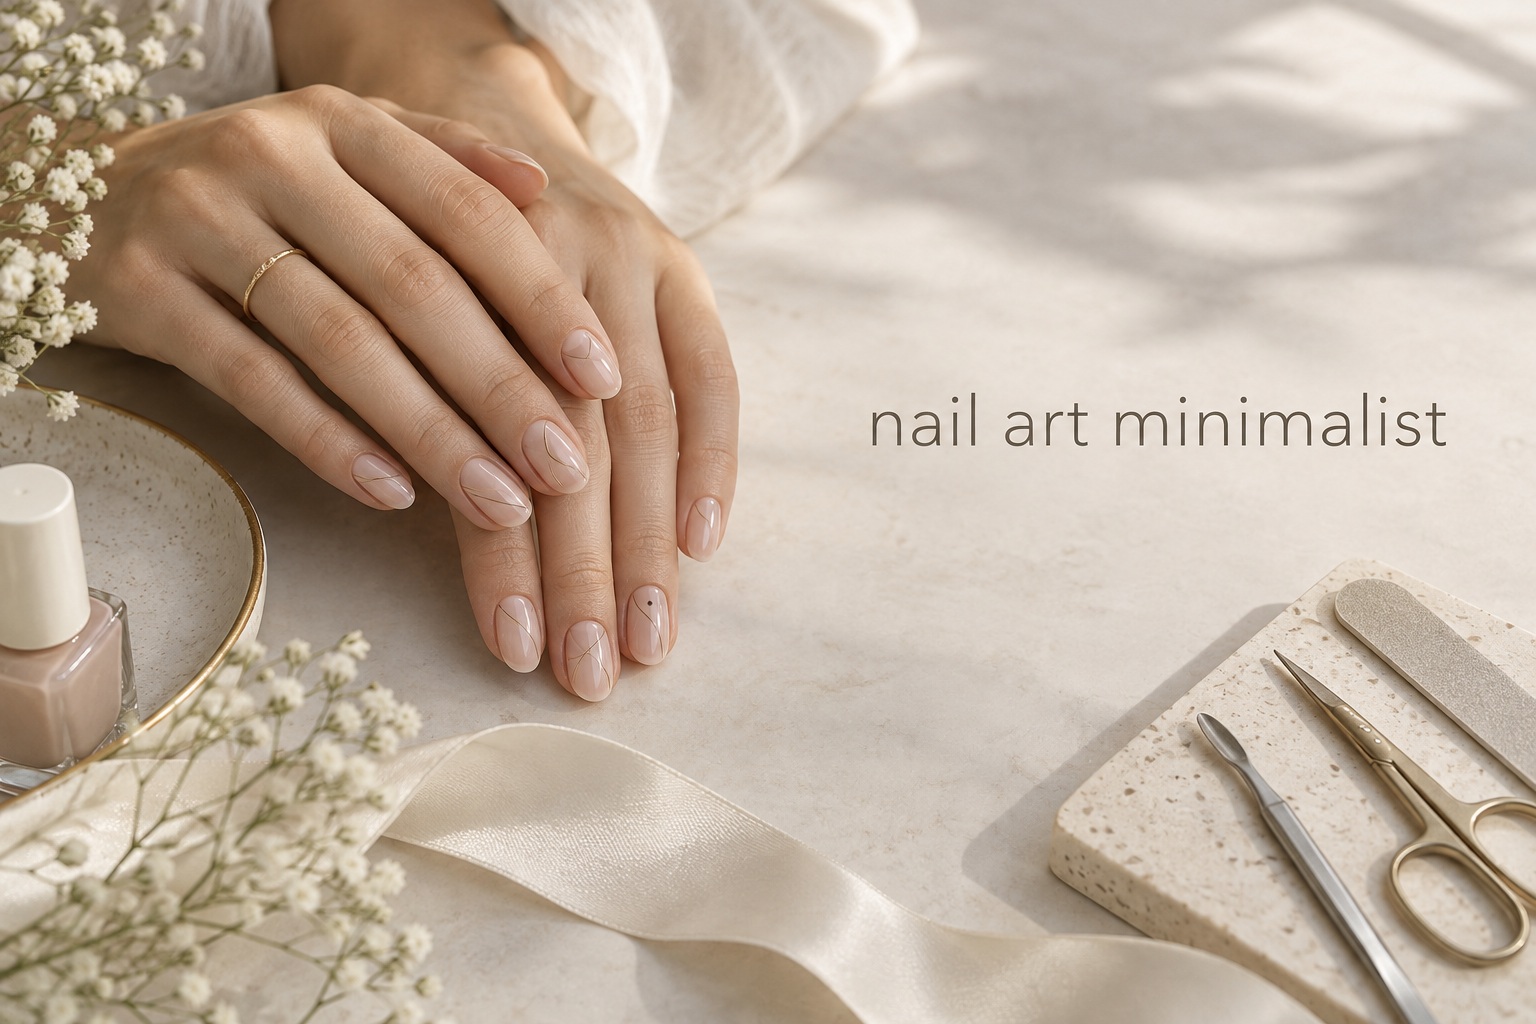
Minimalist nail art looks simple because it edits the design down to its most useful details. That does not mean choosing the first nude polish you see and hoping the result feels finished. The strongest minimalist manicure has a clear base, one controlled accent, enough breathing room, and a shape that supports the design. Before you save another inspiration photo, decide what you want the manicure to do: lengthen short nails, coordinate with a wedding outfit, look polished at work, or give you a manageable DIY project.
This checklist helps you make that decision without getting lost in endless galleries. You will define a minimalist brief, compare the parts that matter, work through six adaptable design formulas, and run a final review before your appointment or polish session. The goal is not to make every nail identical. It is to make every detail feel intentional.
Preparation: Set the Minimalist Brief Before You Choose a Design
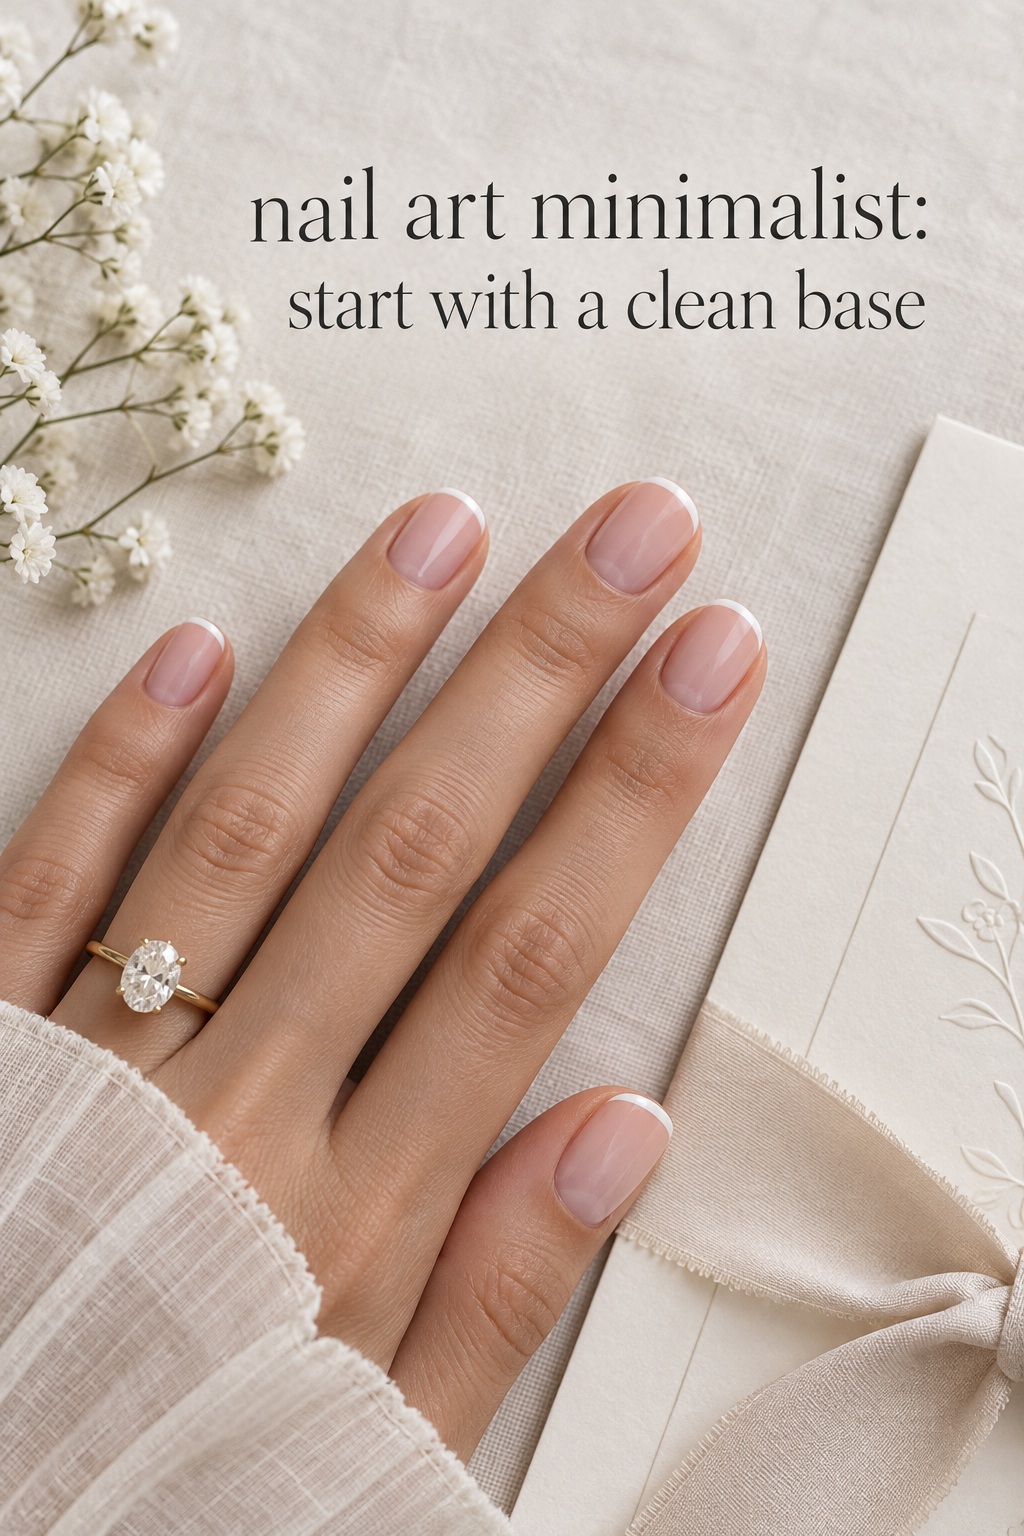
Start with five decisions: nail shape, base color, accent color, detail, and finish. Writing these down takes less than a minute, but it prevents a common problem: collecting references that look attractive individually and impossible to combine. Minimalist nail art is easiest to wear when the visual language stays consistent from the first nail to the last.
Turn wedding inspiration into a plan you can actually follow.
Zarellea brings your guest list, budget, vendors, and day-of details into one shared space — so no beautiful idea gets lost in the shuffle.
Choose the result you want people to notice
Ask whether you want the manicure to read as clean, romantic, graphic, delicate, or quietly unusual. Clean usually means a sheer base and crisp micro French. Romantic can use a tiny heart, petal, or pearl. Graphic points toward lines and negative space. Delicate works with lace-inspired marks or a single metallic dot. Quietly unusual might be a black dot on a milky base or a different half-moon on each little finger. Choose one leading impression, then let the rest of the manicure support it.
Use negative space as part of the design
Negative space means allowing some of the natural nail or a sheer base to remain visible. It can be a bare diagonal, a clear half-moon, a narrow stripe, or an unpainted area around a small motif. The empty area is not unfinished space. It creates contrast and keeps a line, dot, or shape from becoming visually heavy. If your nails are short, a narrow vertical section of negative space can also keep the design from looking crowded.
Limit the palette before adding interest
Two colors are usually enough for a minimalist set, and a third can work as a small metallic or pearl accent. Start with the base you will actually enjoy seeing every day: clear, sheer pink, beige, milky white, soft gray, pale blue, or a muted brown. Then choose an accent that has enough contrast to be visible in normal light. A white line on a chalky white base may disappear, while a soft taupe line on a pink sheer base can look refined. Check the combination under daylight before committing.
Decision Checklist: Choose the Right Design System
Once you have a direction, compare the design against your real life. The best minimalist nail art is not only attractive in a close-up image. It should suit the nail length you can maintain, the time you have available, and the level of precision you can request or achieve.
Match the detail to your nail length
Short nails can carry a single dot, a tiny half-moon, a side stripe, a narrow French tip, or one small accent nail. Keep the marks fine and leave a little space around them. Soft square and squoval shapes give graphic lines a stable edge, while short oval nails make dots and tiny curves feel gentle. Medium almond shapes can hold a longer line, delicate lace work, or a small abstract composition. The important question is proportion, not whether a design is technically allowed on a certain shape.
Separate DIY-friendly ideas from salon details
A sheer base, sticker guide, simple dot, and single side line are reasonable starting points for a home manicure. Use a fine brush, dotting tool, toothpick, or striping tape, and practice on a sample nail first. Very thin parallel lines, hand-painted lace, raised bows, and perfectly matched micro French tips demand more control. If a detail must look identical on every finger, show the reference to a technician and ask what length and shape will make it achievable.
Plan for the finish you will maintain
Glossy top coat makes sheer neutrals and metallic details look crisp. Matte top coat can make ivory, black, and geometric lines feel more modern, but it may show uneven texture more clearly. Pearl or chrome powder adds light without requiring a complicated drawing, although it is best tested on your chosen base. If you are preparing for a wedding or event, book a trial with the actual shape, color family, and finish instead of deciding from a swatch alone.
Use the outfit and occasion as editing tools
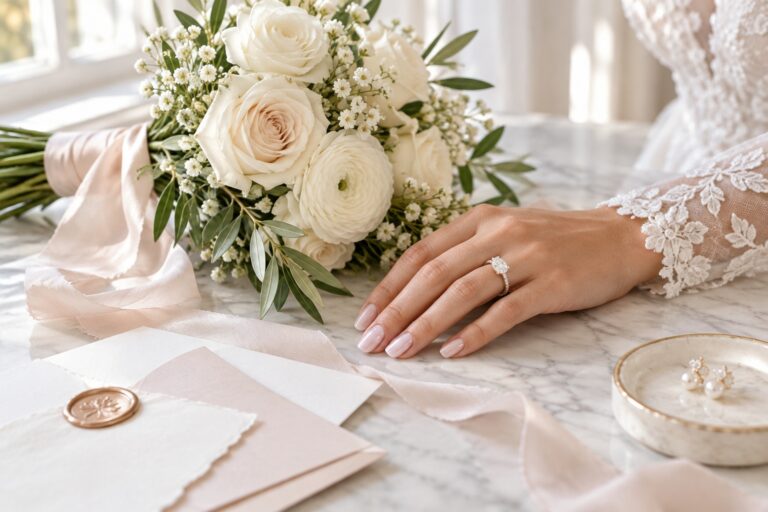
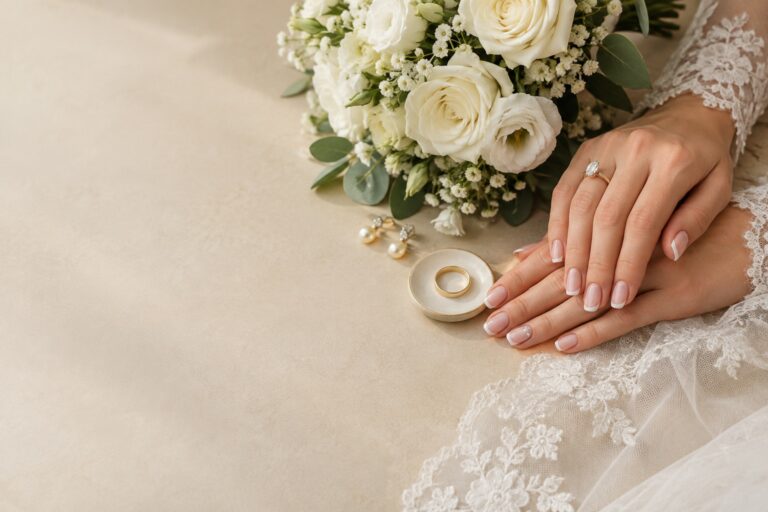
Minimalist nail art works with an outfit when it repeats one small idea rather than copying every detail. A silver line can echo jewelry, a sheer pink can complement a blush bouquet, and a pale blue dot can act as a discreet something blue. For everyday wear, choose an accent that will not compete with the colors you already own. For a wedding, remember that hands appear in ring, bouquet, invitation, and cake photos. A restrained design should remain legible without stealing attention from the ring or dress.
Worked Examples: Six Minimalist Nail Art Directions
Use these formulas as starting points, not fixed rules. Each one has a base, a controlled detail, and a reason it works. You can keep the formula exactly as written or swap one color to make it more personal.
1. Sheer base with a micro French tip
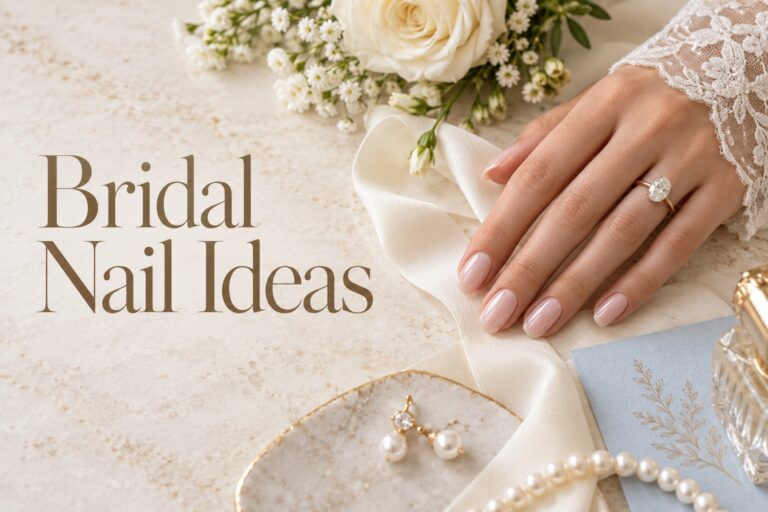
Choose a sheer pink, beige, or milky base and add an ultra-thin tip in white, black, silver, or a muted color. The line should follow the natural edge instead of becoming a thick smile line. This is one of the safest designs when you want a polished result that works with several outfits. On short nails, keep the tip narrow and consider a soft square edge. On almond nails, a slightly curved tip can emphasize the silhouette.
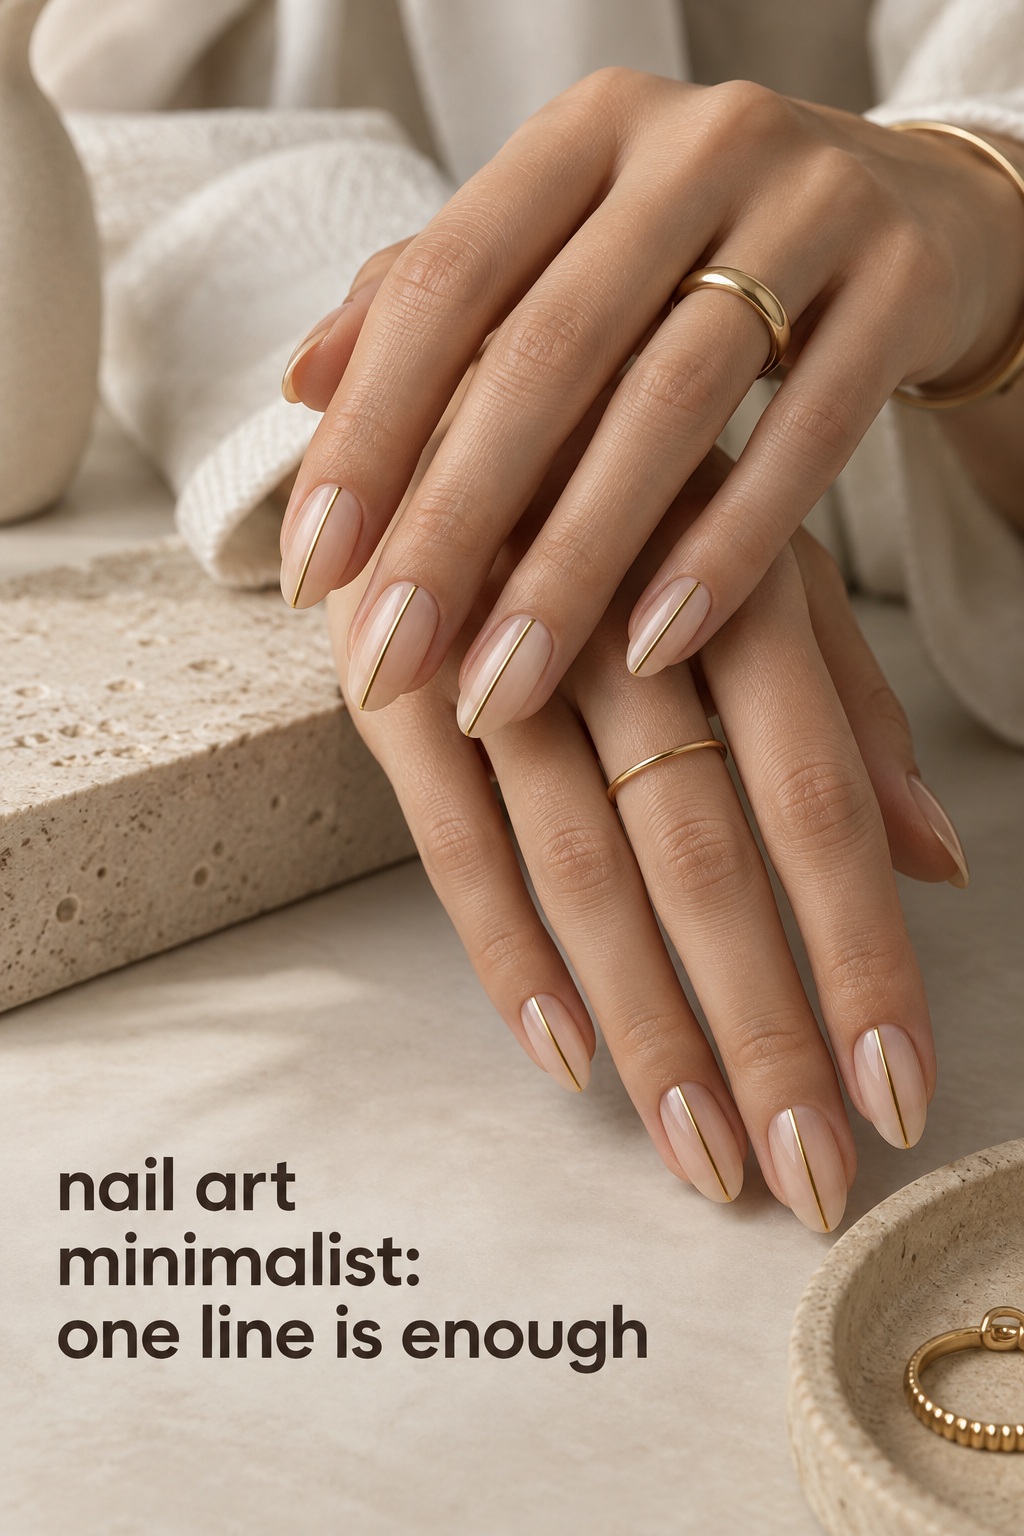
2. One vertical or diagonal line
Apply a calm base and place one fine line down the center, slightly off-center, or diagonally across each nail. Repeat the same direction for a cleaner look, or alternate two directions if you want a more editorial effect. Gold and silver feel jewelry-like, while black and deep brown create stronger contrast. Leave the line alone rather than adding dots, glitter, and a second outline. Its value comes from the empty space around it.
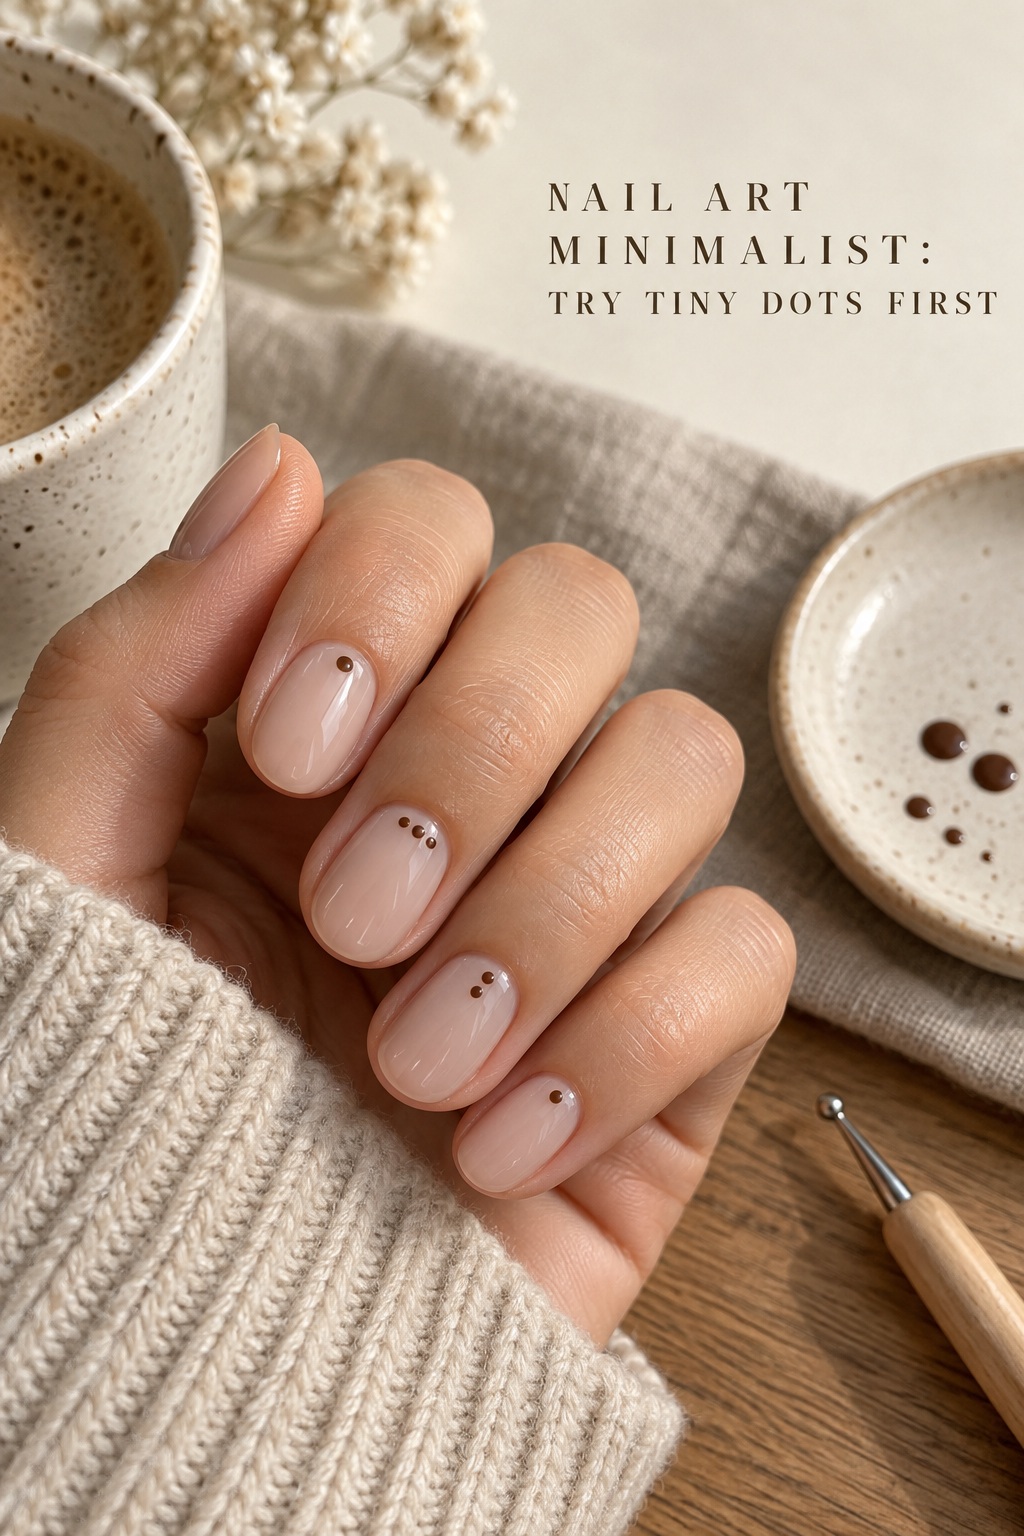
3. Sparse dots with a small variation
Use a dotting tool to place one dot near the cuticle on two or three nails, then leave the remaining nails plain or add a smaller dot. A deep brown or black dot on a sheer nude base gives a graphic result without covering the whole nail. For a softer manicure, use white, pearl, or a shade just darker than the base. Varying the dot placement slightly can keep the set from looking mechanical, but keep the size family consistent.
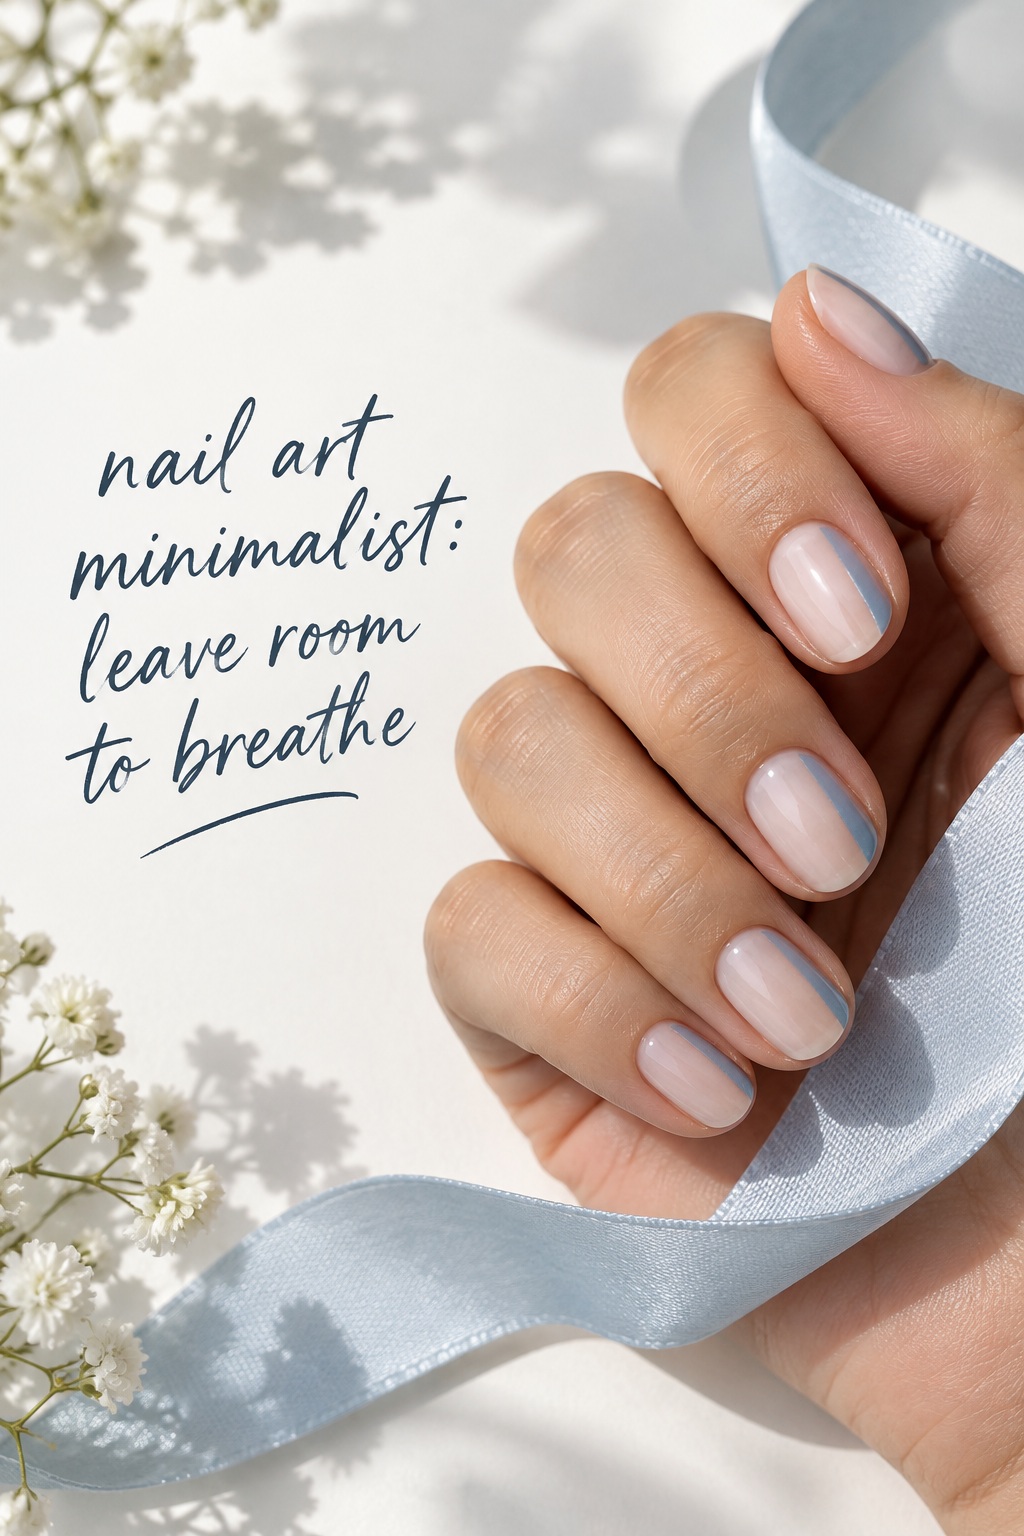
4. Negative-space side stripe
Paint a narrow colored stripe along one side of a clear or sheer nail, leaving a visible strip of natural-looking space beside it. This formula is especially useful when you want something modern on short nails. Use tape for a straight edge or a fine brush for a softer organic line. A neutral base with white, cocoa, muted blue, or metallic champagne keeps the look wearable. Seal the edge carefully so the exposed section looks intentional instead of chipped.
5. Pearl or metallic accent on a quiet base
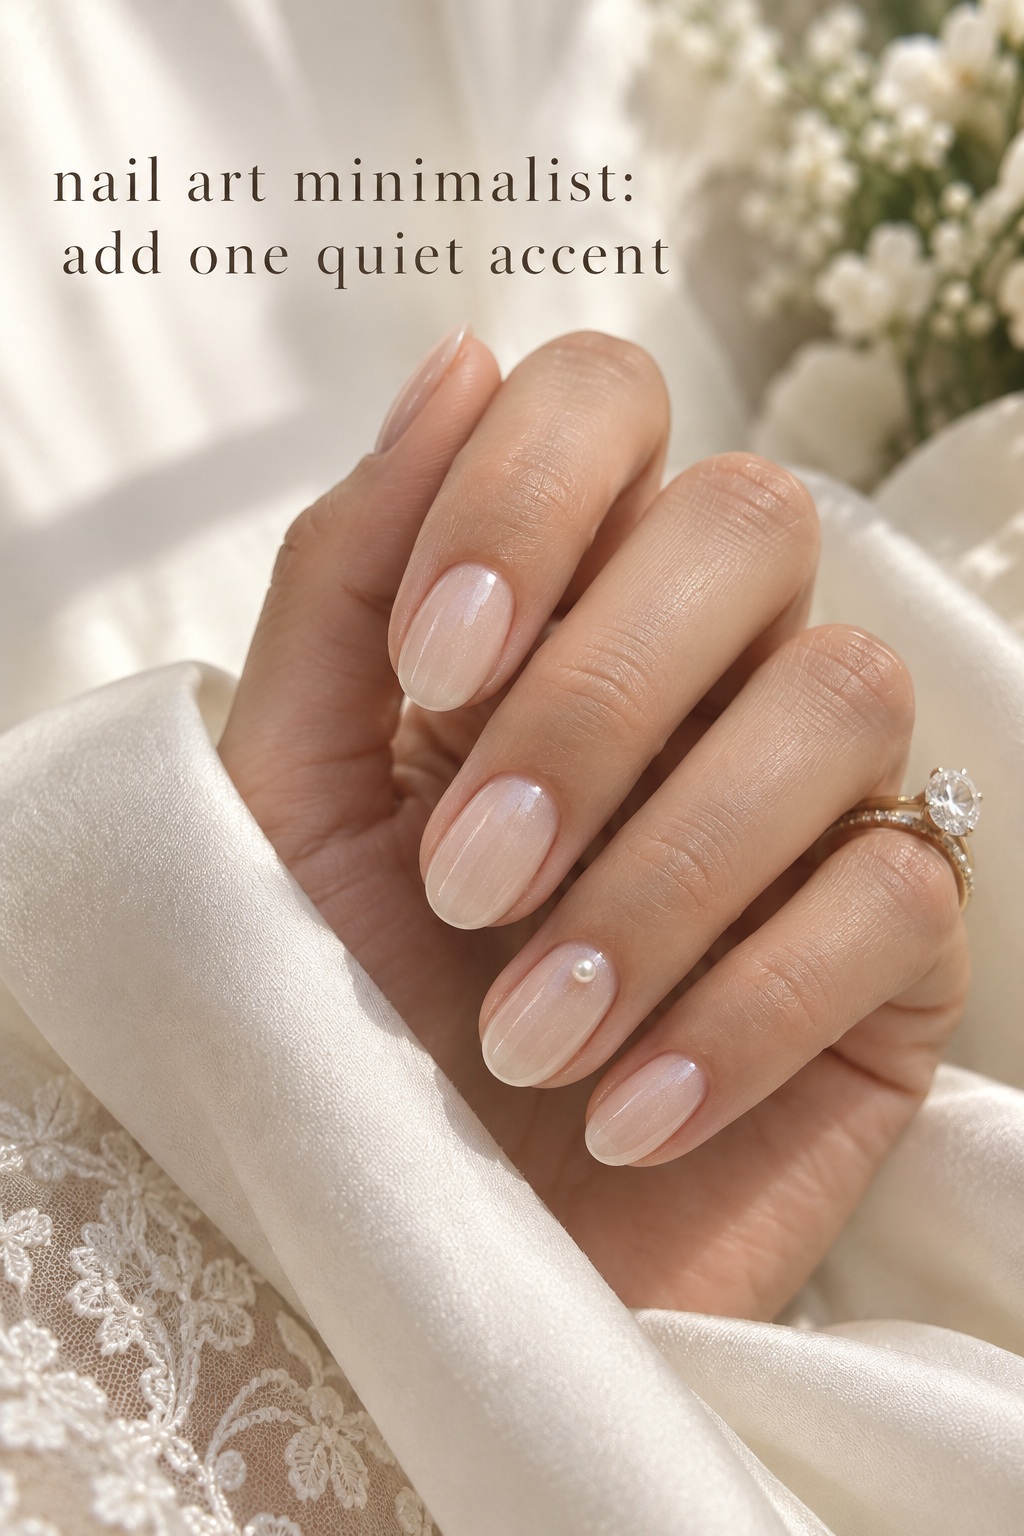
Choose a single finish rather than a collection of embellishments. A glazed pearl surface across a sheer nude set creates a soft reflective effect with no drawn design. Alternatively, place one tiny pearl, silver curve, or gold dot near the cuticle on the ring finger. This is a useful bridal direction because it adds a close-up detail while leaving the overall manicure calm. If you use a raised accent, test how securely it sits and avoid placing it where it catches on clothing.
6. Delicate lace-inspired line art
Start with a sheer nude or milky base and use a fine white line to suggest one small lace motif on an accent nail. You do not need to reproduce the whole pattern from a dress. A curved scallop, tiny loop, or two intersecting lines can be enough. This idea suits a garden or romantic event, but it requires a steady hand and enough surface area. If you want the design to match your wedding lace, bring the dress or veil reference to the appointment and ask the technician to simplify it for the nail.
Final Review: Make Minimal Art Look Intentional
Before the final manicure, review the design as a practical object. Minimal details show every wobble, uneven edge, and mismatch, so a short rehearsal is valuable. Take a photo of the sample in daylight and under indoor light. Look at it from arm’s length, not only in a close-up. If the detail disappears completely, increase contrast slightly. If it dominates the hand, reduce the scale before adding more decoration.
Prepare a clear salon or DIY brief
- the exact nail shape and approximate length you want
- the base family, such as sheer pink, milky white, beige, or clear
- one accent color or finish, not a list of unrelated options
- the number of accent nails and the intended placement
- a reference photo plus one sentence explaining what you want copied
- the finish you prefer and the date by which the manicure must look fresh
Good communication is more useful than showing ten photos and hoping the same elements appear in the result. Tell the technician which part matters most: the thinness of the line, the amount of visible natural nail, the warmth of the nude, or the quietness of the finish.
Check the common failure points
- too many colors make the manicure look busy
- thick lines erase the negative space that makes the design minimal
- an accent placed on every nail can overwhelm a small nail plate
- an opaque base can hide the delicate quality you wanted
- unsealed edges make clean geometry look accidental
- choosing a reference for a different nail length can distort the proportions
- waiting until the event week to test an unfamiliar gel, extension, or shape creates avoidable stress
If the design still feels wrong, remove one element before adding another. Take away the second color, reduce the number of accent nails, or replace a complex motif with one dot or line. Minimalism is often found in the edit.
Protect the result after the appointment
Give the manicure time to settle according to the product instructions, use gloves for cleaning, and keep cuticle oil nearby if the finish begins to look dry. For an event, carry a tiny emergency kit with a file, clear top coat, and the accent color if you have it. If a nail chips, smooth the edge first rather than repeatedly adding polish to a raised spot. A calm repair keeps the overall set looking deliberate.
Minimalist nail art is successful when it feels like a decision, not a compromise. A clear brief lets you choose a design that suits your hands and your life, whether that is a barely-there micro French, a single graphic line, a few dots, or a tiny bridal detail. Leave enough space for the idea to breathe, and the manicure will stay polished long after the inspiration board changes.
FAQ
What is minimalist nail art?
Minimalist nail art uses a limited palette, clean shapes, small accents, and intentional empty space. Common examples include micro French tips, single lines, sparse dots, simple geometry, and one restrained metallic or pearl detail.
What minimalist nail art works best on short nails?
Short nails suit fine micro French tips, one small dot, a narrow side stripe, a tiny half-moon, or a single vertical line. Keep the marks proportionate and avoid filling the entire nail with a large motif.
Can I do minimalist nail art at home?
Yes. Start with a sheer base, one dot, a striping-tape line, or a simple accent nail. Use a small brush or dotting tool, practice on a sample, and work in thin layers. Leave detailed lace, perfectly matched micro French, and raised embellishments to a technician if precision is important.
Which colors look best for minimalist nails?
Sheer pink, nude, beige, milky white, clear, soft gray, muted blue, brown, white, black, gold, and silver all work well. The strongest combination usually has one quiet base and one accent with enough contrast to remain visible.
How many accent nails should a minimalist manicure have?
One to three accent nails are a useful starting point, especially when the detail is larger or metallic. A repeated tiny dot or micro line can appear on every nail if the scale stays consistent and the base remains quiet.
Is minimalist nail art suitable for a wedding?
Yes. Sheer bases, thin French tips, pearl finishes, small metallic accents, and delicate line art can look elegant in ring and bouquet photos without competing with the dress. Test the design before the wedding and choose a shape you can comfortably wear.
How do I explain the design I want to a nail technician?
Bring one strong reference image and describe the parts that matter: nail shape, length, base color, line thickness, accent placement, and finish. Explain what you do not want as well, such as thick tips, heavy glitter, or a fully opaque base. This gives the technician room to adapt the design to your nails.